I still remember the first time I pulled a Dutch Apple Pie Recipe out of my own oven instead of buying one from the bakery down the street. The kitchen smelled like cinnamon and warm butter, and I honestly couldn’t stop peeking through the oven door.
Once I tasted that crumbly, sugary topping against the soft cinnamon-apple filling, I knew this was going to be my go-to dessert for every holiday. I’ve made it more times than I can count since then, and I’m sharing every trick I picked up along the way so your first try turns out just as good as mine.

Cooking Time
- Prep Time: 45 minutes
- Cooking Time: 55 minutes
- Total Time: 1 hour 40 minutes (plus 1 hour chilling time for the dough)
Ingredients
- 1 cup unbleached all-purpose flour – I always go unbleached here, it gives the crust a better bite and flavor
- 2 tsp granulated sugar – just enough to add a faint sweetness to the crust without making it cakey
- 1/4 tsp salt (heaping) – don’t skip this, it keeps the crust from tasting flat
- 8 tbsp unsalted butter, well chilled and cubed – cold butter is the secret to a flaky, layered crust
- 3-5 tbsp ice water – add it slowly, you want the dough to just come together, not turn sticky
- 1 1/4 lbs golden delicious apples, peeled and sliced – these break down slightly and add natural sweetness
- 1 1/4 lbs granny smith apples, peeled and sliced thin – the tartness balances the sweeter apples perfectly
- 1 tbsp fresh lemon juice – brightens the filling and keeps the apple slices from browning
- 1/2 cup packed light brown sugar – this is what gives the filling that deep, caramel-like flavor
- 1/2 tsp ground cinnamon – the classic apple pie spice, don’t be shy with it
- 1/4 tsp ground nutmeg – a small amount adds warmth without overpowering the cinnamon
- 3 tbsp unbleached all-purpose flour – this thickens the apple juices so your filling isn’t runny
- 1 cup unbleached all-purpose flour (for topping) – forms the base of that irresistible streusel
- 1/2 cup packed light brown sugar (for topping) – gives the crumb its golden, caramelized crunch
- 6 tbsp unsalted butter, melted – melted butter (not cubed) is what makes this topping clump into crumbs
- 1 tsp vanilla extract – adds a warm, bakery-style aroma to the crumb topping
Note: this recipe serves 8
Equipment You Need
- 9-inch pie dish – holds the crust, filling and topping together as it bakes
- Rolling pin – for rolling the chilled dough into an even round
- Pastry blender or fork – cuts the cold butter into the flour for a flaky crust
- Mixing bowls – one each for the crust, filling and streusel topping
- Sharp paring knife – makes peeling and slicing the apples quick and even
- Measuring cups and spoons – for accurate ingredient portions
- Aluminum foil or pie shield – protects the crust edges from over-browning
- Wire cooling rack – lets air circulate under the pie so the bottom crust doesn’t turn soggy
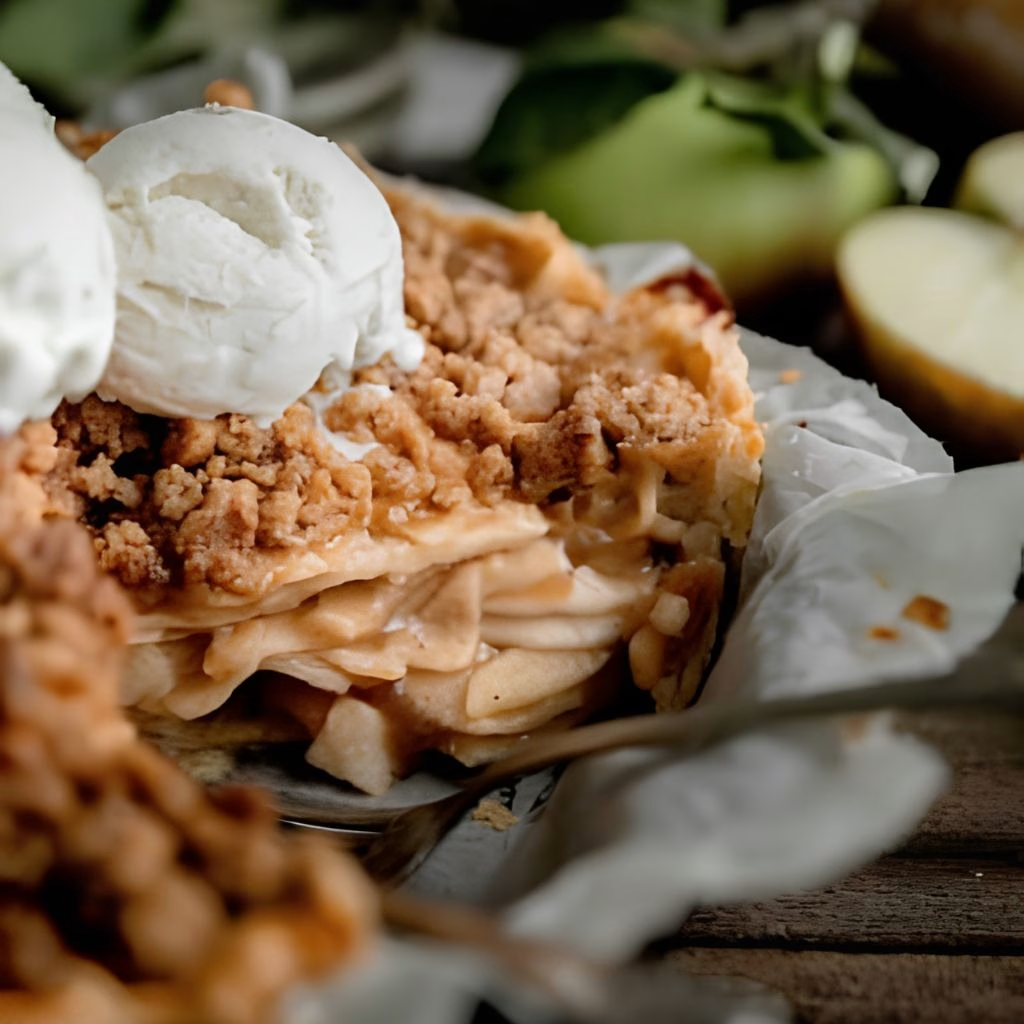
How to Make Dutch Apple Pie Recipe?
Making this pie isn’t complicated, it just takes a little patience while the dough chills and the pie bakes. I like to break the whole process into three parts: the crust, the filling, and the crumb topping. Once you’ve done it once, you’ll see how simple it really is.
Make the Pie Dough
Whisk the flour, sugar and salt together in a bowl, then cut in the cold butter with a pastry blender until you get pea-sized clumps. Add ice water a tablespoon at a time, tossing gently until the dough just clumps together. Shape it into a disc, wrap it, and chill for about an hour so it firms up nicely.
Roll and Fit the Crust
Once chilled, roll the dough out on a lightly floured surface into a round about an inch and a half wider than your pie dish. Gently transfer it into the dish, easing it into the corners without stretching it. Trim the excess edges and crimp them however you like, then pop the crust back in the fridge while you prep the filling.
Prepare the Apple Filling
Toss your sliced golden delicious and granny smith apples with lemon juice so they don’t brown while you work. Add the brown sugar, cinnamon, nutmeg and flour, then stir everything together until the apples are evenly coated. The flour is what thickens the juices into that glossy, spoonable filling everyone loves.
Mix the Streusel Topping
In a separate bowl, combine the flour and brown sugar, then pour in the melted butter and vanilla extract. Stir with a fork until the mixture turns into small, buttery clumps rather than a smooth paste. This crumb is what gives Dutch apple pie its signature texture, so don’t rush this step.
Assemble the Pie
Pour the apple filling into the chilled crust, mounding it slightly in the center since the apples will shrink as they bake. Sprinkle the streusel topping evenly over the top, covering every bit of exposed filling. Press down lightly so the crumbs hold together once baked.
Bake to Golden Perfection
Bake at 375°F for about 55 minutes, tenting the edges with foil if they start browning too fast. You’ll know it’s done when the topping turns deep golden and the filling bubbles up around the edges. Let it cool on a wire rack for at least two hours before slicing.
Additional Tips for Making This Recipe Better
I’ve made this pie enough times to pick up a few tricks that really make a difference.
- I always chill my dough for the full hour, rushing this step makes the crust tough instead of flaky.
- I mix golden delicious and granny smith apples because using just one variety makes the filling too sweet or too tart.
- I bake my pie on the lowest oven rack so the bottom crust cooks through and never turns soggy.
- I let the pie cool completely before slicing, otherwise the filling runs everywhere on the plate.
- I keep my butter in the freezer for ten minutes before using it, it makes cutting it into the dough so much easier.
Common Mistakes to Avoid
Over the years I’ve made a few of these mistakes myself, so I know exactly what to watch for.
- I used warm butter once and my crust came out dense instead of flaky, so I always keep it ice-cold now.
- I skipped the lemon juice on the apples one time and they turned brown before I even finished slicing.
- I didn’t add enough flour to my filling once and ended up with a soupy, runny pie.
- I overfilled the crust edges early on and the juices bubbled over and burned on my oven floor.
- I sliced the pie while it was still warm and lost that clean, bakery-style slice I was going for.
How to Serve Dutch Apple Pie
I like serving this pie slightly warm with a scoop of vanilla ice cream melting right into the crumb topping. A light drizzle of caramel sauce over the top makes it look extra special for holiday tables.
For a cozy fall presentation, I dust the plate with a little extra cinnamon and add a few thin apple slices on the side. If you’re planning a full dessert spread, this pie pairs beautifully next to a slice of our pumpkin pie recipe for guests who can’t decide between the two classics.
Variations
- Swap the butter in the crust and topping for a plant-based alternative to make this dairy-free.
- Use a sugar substitute like monk fruit sweetener in the filling for a lower-sugar version.
- Add a handful of chopped walnuts or pecans to the streusel topping for extra crunch.
- Stir in a pinch of ground cloves or allspice for a spicier, more warming flavor.
- Toss in a handful of raisins or dried cranberries with the apples for a fruitier filling.
- Use a gluten-free flour blend in both the crust and topping to make it celiac-friendly.
Nutritional Information
Here’s a general idea of what one slice of this pie looks like nutritionally, based on 8 servings.
- Calories: approximately 420 per slice
- Protein: approximately 4g per slice
- Carbohydrates: approximately 58g per slice
- Fat: approximately 20g per slice
Make Ahead and Storage
Make Ahead: You can prepare the pie dough up to 2 days in advance and keep it wrapped tightly in the fridge. The apple filling can also be mixed a day ahead and stored in a covered bowl until you’re ready to assemble.
Storage: Once baked and cooled, this pie stays fresh at room temperature for about 2 days if loosely covered. For longer storage, keep it in the fridge for up to 5 days.
Freezing: You can freeze the fully baked and cooled pie for up to 3 months, wrapped tightly in plastic and foil. Thaw it in the fridge overnight and warm individual slices in the oven at 300°F for about 10 minutes before serving.
Why You’ll Love This Recipe?
This pie has earned a permanent spot in my recipe box, and here’s why I think you’ll feel the same way.
- Easy to prepare: Even though it looks impressive, the steps are simple enough for a weekend afternoon in the kitchen.
- Perfect texture combo: The flaky crust, soft apple filling and crunchy streusel topping all work together in every single bite.
- Great for any occasion: It’s dressed up enough for holidays but simple enough for a regular Sunday dinner.
- Customizable: You can easily adjust the spices, sweetness or add-ins to match your own taste.
- Freezer-friendly: You can make it ahead and freeze it, which is a lifesaver during busy holiday seasons.
If you love apple-based desserts, you’ll probably also enjoy trying our apple crisp recipe, which uses a similar oat-crumble topping but skips the pie crust altogether for a quicker weeknight treat.
FAQs
Can I use a store-bought pie crust instead of homemade?
Yes, a store-bought crust works fine if you’re short on time, though the homemade version does have a flakier texture.
What’s the best apple to use for Dutch apple pie?
A mix of golden delicious and granny smith gives you the best balance of sweetness and tartness in the filling.
Why is my streusel topping too dry or too wet?
If it’s dry, add a touch more melted butter, and if it’s too wet, mix in a little extra flour until it clumps properly.
Can I make this pie ahead of the holidays?
Absolutely, you can bake it a day or two ahead and store it at room temperature, or freeze it for even longer storage.
How do I keep the bottom crust from getting soggy?
Baking on the lowest oven rack and letting the pie cool completely before slicing both help keep the bottom crust firm.

Dutch Apple Pie Recipe
Ingredients
Method
- Whisk the flour, sugar and salt together in a bowl, then cut in the cold butter with a pastry blender until you get pea-sized clumps. Add ice water a tablespoon at a time, tossing gently until the dough just clumps together. Shape it into a disc, wrap it, and chill for about an hour so it firms up nicely.
- Once chilled, roll the dough out on a lightly floured surface into a round about an inch and a half wider than your pie dish. Gently transfer it into the dish, easing it into the corners without stretching it. Trim the excess edges and crimp them however you like, then pop the crust back in the fridge while you prep the filling.
- Toss your sliced golden delicious and granny smith apples with lemon juice so they don’t brown while you work. Add the brown sugar, cinnamon, nutmeg and flour, then stir everything together until the apples are evenly coated. The flour is what thickens the juices into that glossy, spoonable filling everyone loves.
- In a separate bowl, combine the flour and brown sugar, then pour in the melted butter and vanilla extract. Stir with a fork until the mixture turns into small, buttery clumps rather than a smooth paste. This crumb is what gives Dutch apple pie its signature texture, so don’t rush this step.
- Pour the apple filling into the chilled crust, mounding it slightly in the center since the apples will shrink as they bake. Sprinkle the streusel topping evenly over the top, covering every bit of exposed filling. Press down lightly so the crumbs hold together once baked.
- Bake at 375°F for about 55 minutes, tenting the edges with foil if they start browning too fast. You’ll know it’s done when the topping turns deep golden and the filling bubbles up around the edges. Let it cool on a wire rack for at least two hours before slicing.
Notes
- I always chill my dough for the full hour, rushing this step makes the crust tough instead of flaky.
- I mix golden delicious and granny smith apples because using just one variety makes the filling too sweet or too tart.
- I bake my pie on the lowest oven rack so the bottom crust cooks through and never turns soggy.
- I let the pie cool completely before slicing, otherwise the filling runs everywhere on the plate.
- I keep my butter in the freezer for ten minutes before using it, it makes cutting it into the dough so much easier.