If you’re anything like me, you probably keep ground beef and a couple of bell peppers in your fridge as go-to weeknight dinner ingredients. Over the years, I’ve come to appreciate how versatile and comforting a good ground beef and peppers recipe can be.
It’s hearty, packed with flavor, and honestly, it’s one of those dishes that tastes even better the next day. Whether I’m making it as a quick skillet dinner or turning it into stuffed peppers, there’s always room to make it your own.
Flavor Tips I Swear By
When it comes to cooking ground beef and peppers together, I’ve learned a few small tricks that make a big difference in flavor. First off, I always season the beef in stages.
Instead of dumping all the salt and spices in at once, I start seasoning early — usually right after the meat starts browning — and then adjust again once the peppers go in. It helps the flavors layer better.
Another thing I swear by is sautéing the peppers just long enough to keep a bit of crunch. If they’re too soft, they lose that fresh, slightly sweet bite that balances the richness of the beef.
If I’m feeling extra, I might even roast the peppers separately to give them that slight char before mixing them into the beef. That bit of smokiness is magic.
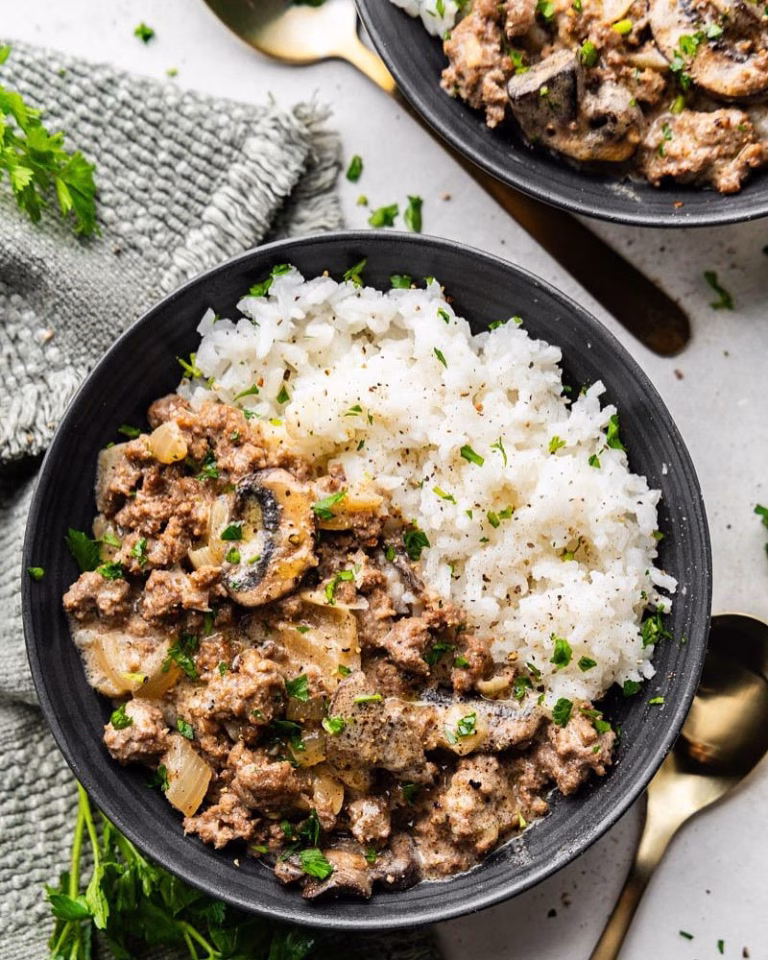
This technique also works beautifully if you’re experimenting with variations like a ground beef stroganoff recipe — layering flavors is the key in both.
The Right Beef-to-Pepper Ratio
I used to overdo the beef and skimp on the peppers, but now I go for a more balanced ratio. For me, one pound of ground beef pairs perfectly with two large bell peppers — usually one red and one green for color and flavor contrast. Too much beef, and the dish can feel heavy. Too many peppers, and it might feel like a veggie stir-fry. Getting that balance right makes the dish satisfying without being overwhelming.

Don’t Be Afraid to Switch Things Up
This recipe is one of those “blank canvas” kinds of meals. If I want to go Tex-Mex, I’ll throw in some cumin, chili powder, and black beans. If I’m leaning toward Italian flavors, a sprinkle of oregano and a spoonful of marinara sauce can totally shift the vibe.
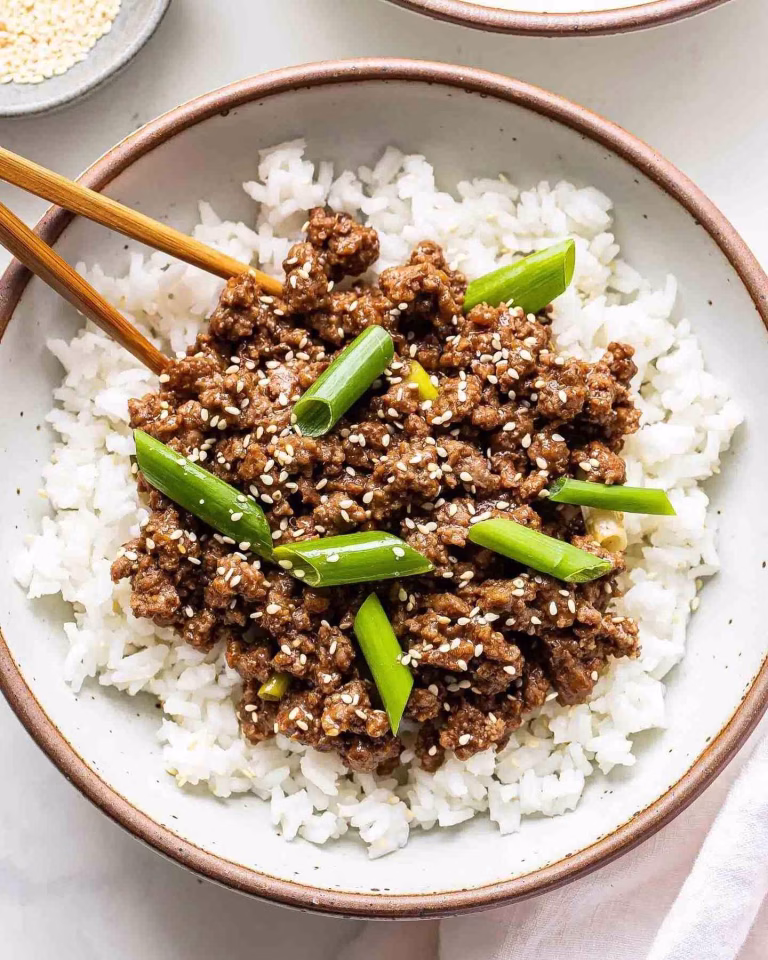
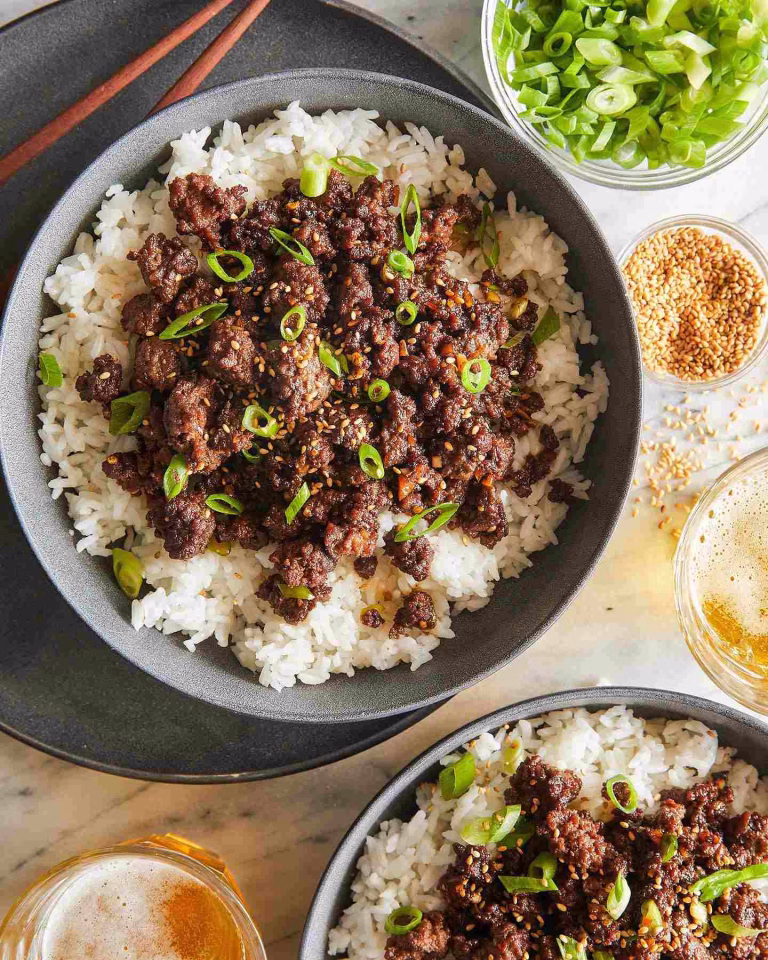
I’ve even added soy sauce, garlic, and a splash of rice vinegar for a quick Asian-style twist. Sometimes I even take inspiration from a mongolian ground beef recipe by adding hoisin sauce, green onions, and sesame seeds — it’s incredible with rice.
The beauty of ground beef and peppers is that it adapts to whatever you’re craving or whatever you have on hand. That flexibility is a big reason why I keep coming back to it week after week.
Rice, Pasta, or No Carbs at All?
Let’s talk about what to serve it with. I’ve poured this mixture over white rice more times than I can count, and it always hits the spot. But brown rice, quinoa, couscous, or even mashed potatoes work just as well.
When I’m watching my carbs, I’ll spoon it into a lettuce wrap or pile it onto cauliflower rice. You can also toss it with some cooked pasta and top it with a little cheese — trust me, it’s a comforting combo.
If you’re going low-effort, this beef and peppers mixture is delicious all on its own in a bowl. Maybe just top it with a fried egg or avocado slices for a bit of flair.
Make-Ahead and Storage Tips
One of my favorite things about this dish is how well it stores. If I’m meal prepping, I’ll make a big batch on Sunday and divide it into containers with some rice or grains. It holds up beautifully in the fridge for up to 4 days, and the flavors seem to meld even more over time.
I’ve also frozen it in portions and reheated it for quick lunches. Just let it cool completely before packing it into freezer-safe containers. It’s best to thaw it in the fridge overnight and reheat on the stove or microwave with a splash of water or broth to freshen it up.
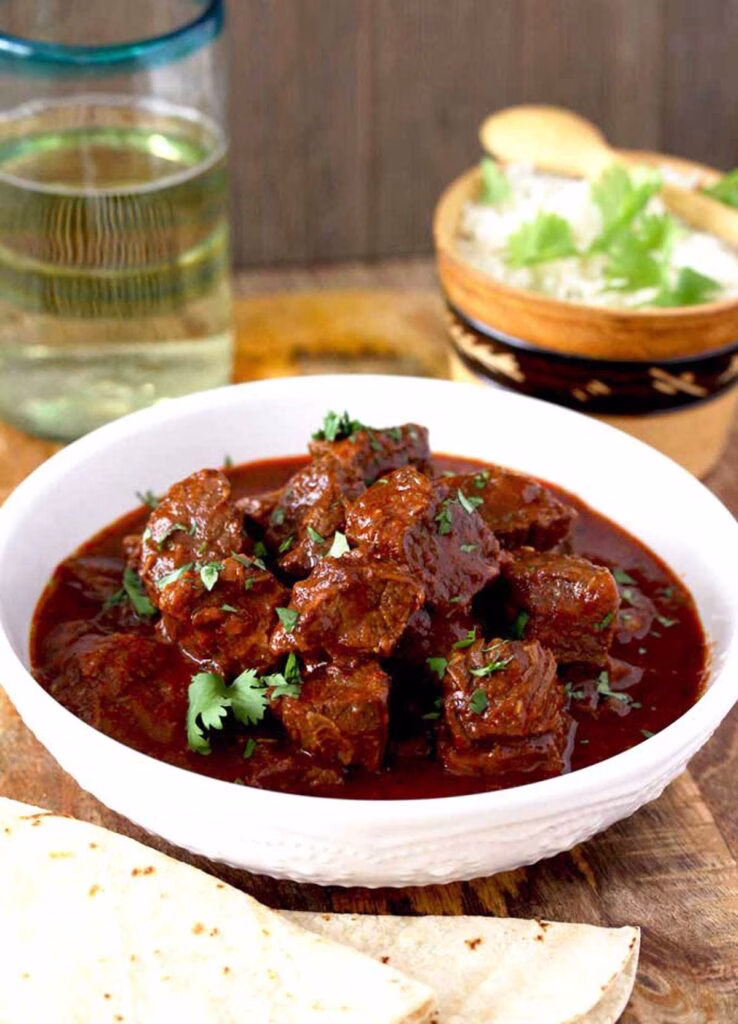
The method works really well with similar ground beef dishes like a spicy ground beef chili recipe — both freeze and reheat beautifully.
How to Avoid Greasy Ground Beef?
One issue I’ve run into is when the beef turns out too greasy. To avoid that, I try to use lean ground beef — usually 85/15 or 90/10. If I’m using fattier beef, I’ll brown it first, then drain the excess fat before adding the peppers and other ingredients. I’ve also used ground turkey or chicken when I’m in the mood for something lighter. They pair just as well with peppers and absorb seasonings beautifully.
Can You Add Other Veggies?
Absolutely. I often toss in onions with the peppers for extra depth. Mushrooms give it a meaty texture, and shredded carrots or zucchini add a little sweetness and moisture. Corn is a great addition too, especially in a southwestern-style version. The key is to not overload the pan — you still want to let the beef brown nicely without steaming everything.
Leftover Magic: What Else Can You Make?
This dish is the gift that keeps on giving. Leftovers can be turned into:
- Stuffed Peppers: Scoop the mixture into halved bell peppers, sprinkle cheese on top, and bake.
- Quesadillas or Tacos: Wrap it up in tortillas with a bit of cheese and salsa.
- Egg Scramble: Heat leftovers in a pan, crack in a couple of eggs, and stir until just cooked.
- Savory Hand Pies: If you’re feeling creative, wrap the beef mixture in pastry dough and bake until golden brown.
Ground Beef and Peppers Recipe
Ingredients
Method
- Start by chopping all your vegetables and opening your can of tomatoes. I find that having everything measured and ready makes the cooking process so much smoother, especially once the skillet heats up. This mise en place step ensures you’re not scrambling midway.
- Heat your skillet over medium-high; add the ground beef, onion, and chopped peppers. Let the meat fully brown while stirring occasionally so everything cooks evenly. Once done, drain any excess fat—this helps to keep the dish from being too greasy and maintains a good texture.
- Stir in the minced garlic, oregano, basil, salt, and pepper. Cook for about 30 seconds until the garlic becomes fragrant—it adds a lovely depth. Seasoning in layers like this really brings out all the flavors without overpowering any single element.
- Pour in the diced tomatoes along with their juices and your beef broth. Stir in the rice so it’s well coated. Bring everything to a gentle boil, then reduce heat and cover the skillet. Let it simmer for 20 minutes, until the rice is tender and has absorbed much of the liquid, creating a rich, cohesive filling.
- Once the rice is cooked, sprinkle the shredded cheddar evenly over the top. Cover the skillet again so the melted cheese becomes gooey and delicious. After about 2–3 minutes, remove the lid, stir gently, and scoop servings into bowls—or serve it straight from the skillet!