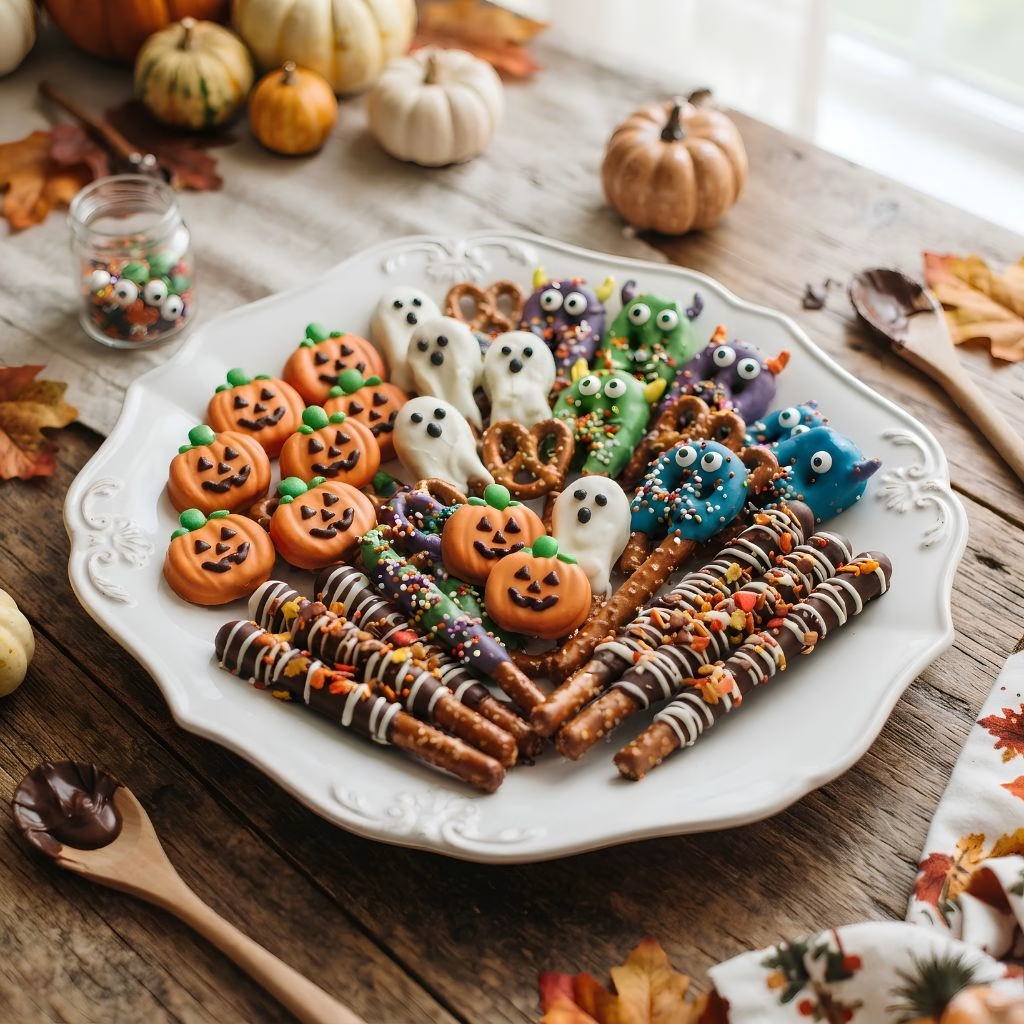
I made this Halloween Chocolate Covered Pretzel Recipe with my kids last October, and honestly, they disappeared faster than any candy bowl on my counter. I love this recipe because it’s ridiculously simple, yet it looks like I spent hours in the kitchen. Between the salty pretzel crunch and the sweet chocolate shell, I always end up eating more “test batches” than I planned.
If you’re looking for something festive that doesn’t require an oven or fancy baking skills, I promise this is the one. My kids look forward to decorating these little ghosts and monsters every single year.
Cooking Time
- Prep Time: 20 minutes
- Cooking Time: 10 minutes (melting chocolate)
- Total Time: 45 minutes (including chilling/setting time)
Ingredients
- pretzel rods or pretzel twists (about 20-24) – I like using pretzel rods for a cleaner, dip-and-decorate shape
- semi-sweet chocolate chips, 1 cup – melts smoothly and gives that classic chocolate-covered pretzel base
- white chocolate chips, 1 cup – perfect for mummies, ghosts, and tinting with food coloring
- orange candy melts, 1/2 cup – gives you that classic pumpkin look without extra mixing
- coconut oil or shortening, 1 tablespoon (divided) – thins the chocolate so it coats evenly and sets with a nice shine
- candy eyes, 1 package – the easiest way to turn any pretzel into a “creature” instantly
- rainbow or Halloween-themed sprinkles – add crunch and color, and they stick best while chocolate is still wet
- orange and green food coloring (gel, not liquid) – gel coloring won’t thin out your melted chocolate
- mini pretzel sticks or candy stems, a small handful – great for pumpkin “stems” if you want extra detail
Note: this recipe serves 8-10 people (makes about 20-24 pretzels).
Equipment You Need
- microwave-safe bowls – for melting chocolate in short bursts without scorching it
- parchment paper – keeps finished pretzels from sticking to the tray
- baking sheet – gives you a flat surface to lay pretzels out to set
- rubber spatula or spoon – helps stir chocolate smooth and scrape bowls clean
- fork or dipping tool – makes dipping pretzels neater and less messy on your hands
- toothpicks – handy for placing small details like candy eyes precisely
How to Make Halloween Chocolate Covered Pretzels Recipe?
I know this looks like a lot of steps, but honestly it’s just melt, dip, decorate, repeat. Once you get your rhythm going, you can knock out two dozen pretzels in under an hour. Here’s exactly how I do it at home.
Prep Your Station
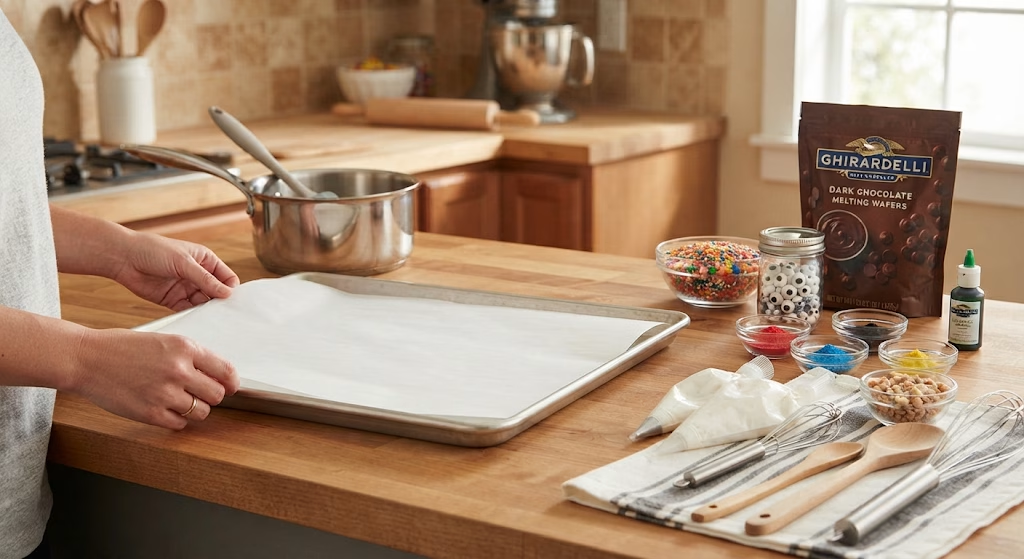
Before I even open the chocolate bag, I line my baking sheet with parchment paper so I’m not scrambling once the chocolate starts setting. I lay out all my sprinkles, candy eyes, and food coloring within reach.
Melt the Chocolate
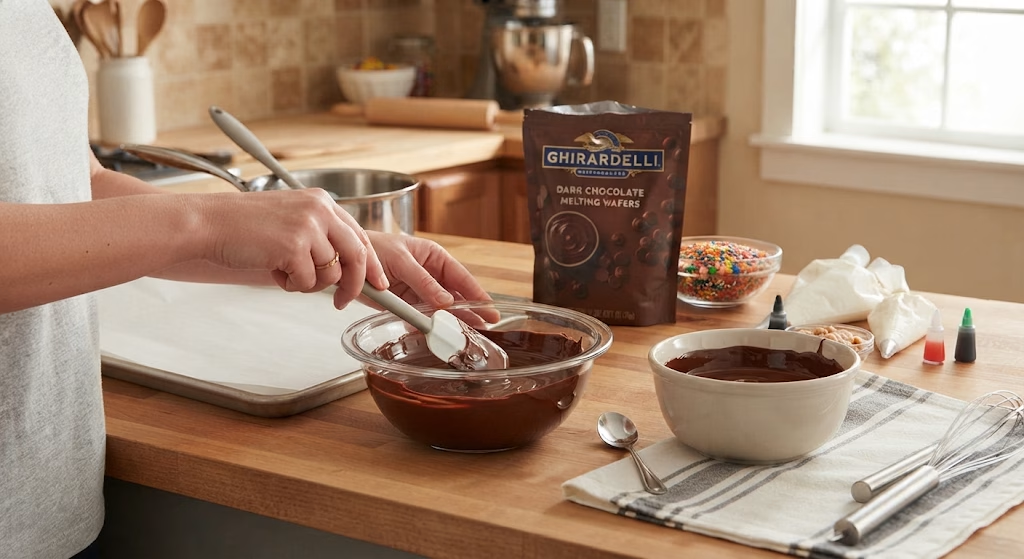
I melt each type of chocolate separately in microwave-safe bowls, in 20-30 second bursts, stirring between each one. Adding a teaspoon of coconut oil to each bowl keeps the chocolate glossy and easy to work with.
Tint If Needed
For pumpkins or monsters, I stir in a small drop of gel food coloring right after melting. I go slow here since a little color goes a long way in melted chocolate.
Dip the Pretzels
I hold each pretzel by one end and dip it into the melted chocolate, turning it to coat evenly. I let the excess drip off for a few seconds before laying it down.
Decorate Immediately
While the chocolate is still wet, I press on candy eyes, sprinkles, or a pretzel stem. If the chocolate sets before I decorate, nothing sticks, so I try to work fast in small batches.
Let Them Set
I place the tray in the fridge for about 15-20 minutes, or leave them at room temperature for closer to 30-40 minutes if my kitchen isn’t too warm.
Store or Serve
Once they’re fully set and no longer sticky to the touch, I stack them in an airtight container or arrange them straight onto a serving platter for the party.
Additional Tips for Making This Recipe Better
I’ve made this recipe more times than I can count, and here’s what actually helps:
- I always work in small batches of 4-5 pretzels at a time so the chocolate doesn’t harden before I finish decorating.
- I keep a bowl of warm water nearby to dip my hands in if things get sticky saves me from ruining a pretzel mid-dip.
- I never skip the coconut oil; it’s the difference between a dull, clumpy coating and a smooth, glossy shell.
- I use gel food coloring instead of liquid every single time, since liquid drops can seize the chocolate.
- I let my chocolate cool for a minute or two before dipping, otherwise it slides right off the pretzel.
Common Mistakes to Avoid
- I once microwaved my chocolate in one long burst instead of short intervals, and it burned and turned into grainy short bursts to save the batch every time.
- I tried dipping pretzels straight from the freezer once, and condensation made the chocolate seize up immediately.
- I’ve learned not to overcrowd my tray, or pretzels stick together while setting and I lose the decorations.
- I used to add sprinkles too late, after the chocolate had already started to firm up, and they just rolled right off.
- I skipped parchment paper one year and regretted that cleanup took forever, and a few pretzels tore apart trying to remove them.
How to Serve Halloween Chocolate Covered Pretzels?
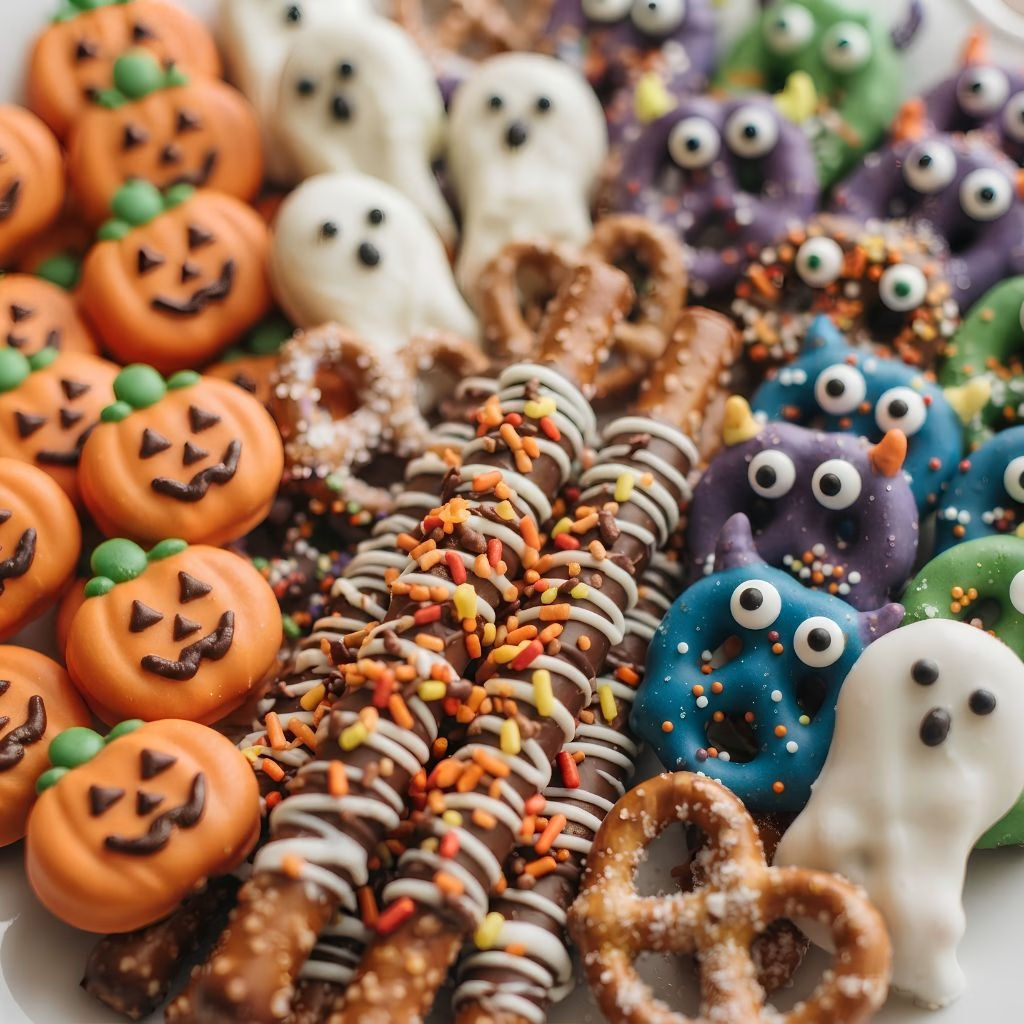
I love arranging these on a big wooden board or a round platter, mixing the different “characters” together so it looks like a mini Halloween pretzel board. Grouping the ghost, pumpkin, and monster pretzels in clusters instead of straight rows makes the display feel more festive.
A few extra candy eyes and sprinkles scattered around the platter tie the whole presentation together. I also like nesting a small bowl of extra sprinkles in the center so guests can add their own finishing touches.
Variations
- Swap regular pretzels for gluten-free pretzel twists if you need a gluten-free version.
- Use dairy-free chocolate chips and dairy-free white chocolate for a fully vegan batch.
- Try pretzel rods instead of twists for a fun “pretzel cigarettes” style presentation for grown-up Halloween parties.
- Add crushed Oreos or nuts on top of the wet chocolate for extra crunch and flavor.
- Use dark chocolate only if you prefer a less sweet, more bittersweet coating.
- Try a Utz-style Halloween pretzel mix as your base if you want a shortcut with pre-shaped or already-salted pretzels.
Nutritional Information
Here’s a rough estimate per serving (about 2-3 pretzels):
- Calories: 180-220 kcal
- Protein: 3g
- Carbohydrates: 24g
- Fat: 9g
Make Ahead and Storage
I usually make these 2-3 days ahead of my Halloween party since they hold up really well once fully set. I store mine in an airtight container at room temperature, and they stay fresh and crisp for up to a week.
If I want to freeze a batch, I layer them between sheets of parchment paper in a freezer-safe container, and they’ll keep well for up to a month. I just let them thaw at room temperature for about 15-20 minutes before serving so the chocolate isn’t too hard.
Why You’ll Love This Recipe?
This one’s become a Halloween tradition in my house for a few good reasons:
- It’s genuinely easy to make. Even my kids can help with dipping and decorating without any real supervision needed.
- It’s endlessly customizable. I can make mummies, pumpkins, ghosts, or monsters all from the same base recipe.
- It works for every diet. I can easily switch to gluten-free or dairy-free versions without changing the technique.
- It’s a great party activity, not just a recipe. I’ve hosted decorating stations where guests build their own pretzel creatures.
- It stores well, so I’m never scrambling at the last minute. I make a batch days in advance and it’s just as fresh on a party day.
FAQs
Can I use regular pretzels instead of gluten-free ones?
Yes, regular pretzel rods or twists work fine if you don’t need a gluten-free version the recipe technique stays exactly the same.
Why did my chocolate turn clumpy instead of smooth?
This usually happens if water gets into the bowl or the chocolate overheats and always melts in short bursts and keeps bowls completely dry.
Can I make these ahead of time for a party?
Absolutely, I make mine 2-3 days ahead since they store well at room temperature in an airtight container.
What’s the best chocolate to use for dipping?
I prefer chocolate chips with a bit of coconut oil mixed in, since it melts smoother than candy melts alone and gives a nice glossy finish.
Can kids help make this recipe?
Yes, this is one of the easiest recipes for kids to help with dipping and decorating are simple, mess-friendly tasks they’ll enjoy.

Halloween Chocolate Covered Pretzel Recipe
Ingredients
Method
- Before I even open the chocolate bag, I line my baking sheet with parchment paper so I’m not scrambling once the chocolate starts setting. I lay out all my sprinkles, candy eyes, and food coloring within reach.
- I melt each type of chocolate separately in microwave-safe bowls, in 20-30 second bursts, stirring between each one. Adding a teaspoon of coconut oil to each bowl keeps the chocolate glossy and easy to work with.
- For pumpkins or monsters, I stir in a small drop of gel food coloring right after melting. I go slow here since a little color goes a long way in melted chocolate.
- I hold each pretzel by one end and dip it into the melted chocolate, turning it to coat evenly. I let the excess drip off for a few seconds before laying it down.
- While the chocolate is still wet, I press on candy eyes, sprinkles, or a pretzel stem. If the chocolate sets before I decorate, nothing sticks, so I try to work fast in small batches.
- I place the tray in the fridge for about 15-20 minutes, or leave them at room temperature for closer to 30-40 minutes if my kitchen isn’t too warm.
- Once they’re fully set and no longer sticky to the touch, I stack them in an airtight container or arrange them straight onto a serving platter for the party.
Notes
- I always work in small batches of 4-5 pretzels at a time so the chocolate doesn’t harden before I finish decorating.
- I keep a bowl of warm water nearby to dip my hands in if things get sticky saves me from ruining a pretzel mid-dip.
- I never skip the coconut oil; it’s the difference between a dull, clumpy coating and a smooth, glossy shell.
- I use gel food coloring instead of liquid every single time, since liquid drops can seize the chocolate.
- I let my chocolate cool for a minute or two before dipping, otherwise it slides right off the pretzel.