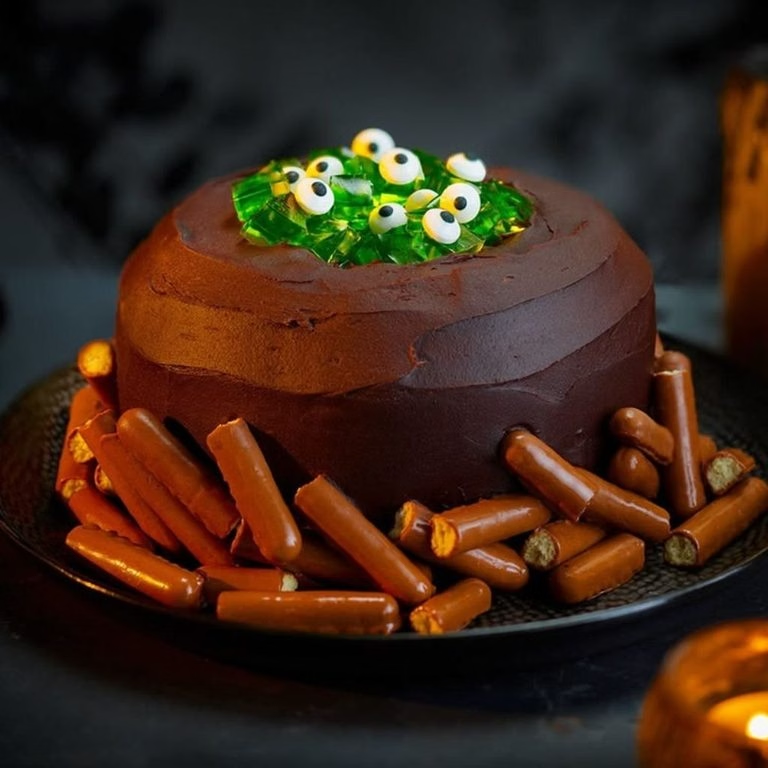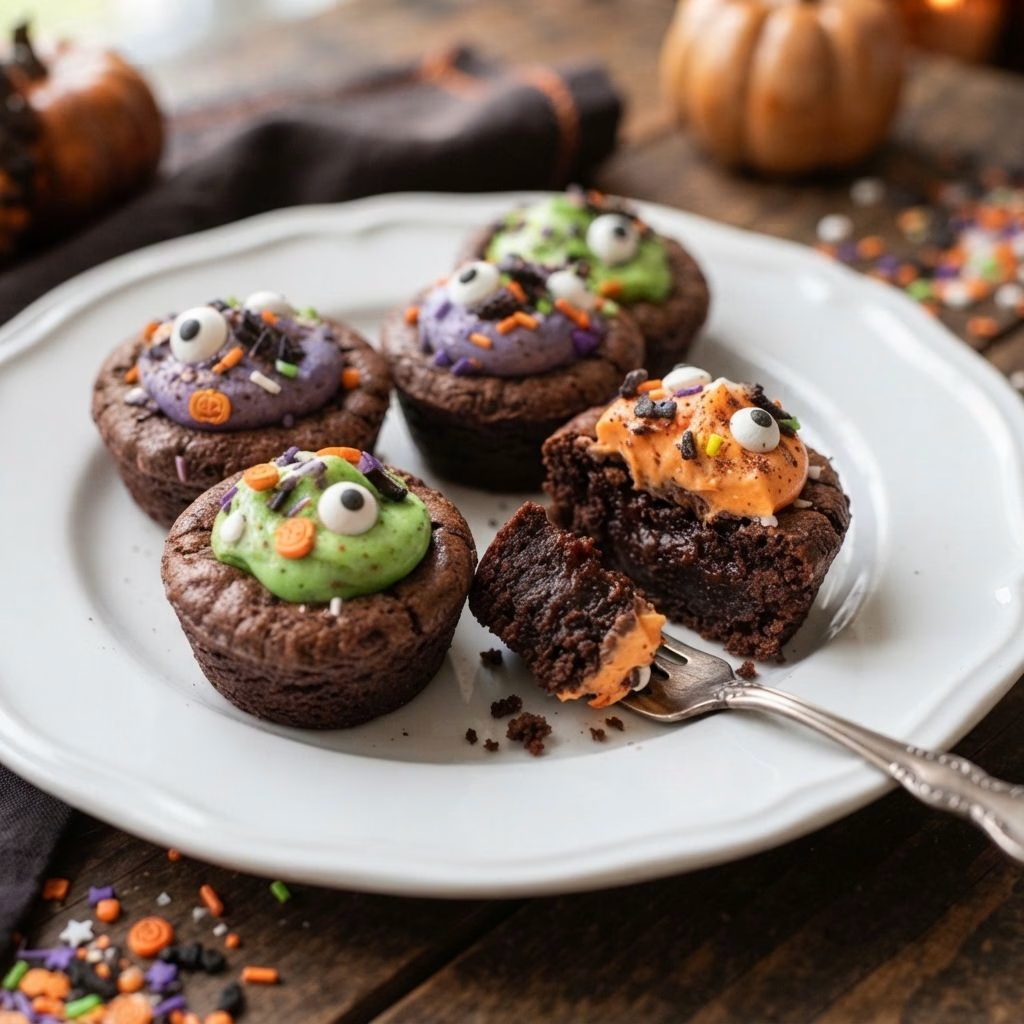
I’ve made this Witch Cauldron Brownies Recipe every October for the past few years, and they never fail to disappear off the dessert table first. I love how a plain little brownie bite turns into a tiny bubbling cauldron with just a swirl of frosting and a handful of sprinkles.
My kids beg to help decorate these every single time. If you’re looking for one of those halloween baking recipes that looks impressive but is honestly pretty forgiving to make, this is the one I keep coming back to.
Cooking Time
- Prep Time: 45 minutes
- Cooking Time: 18 minutes
- Total Time: 1 hour 3 minutes
Ingredients
- 12 tablespoons unsalted butter, cut into pieces — melts faster and blends smoother when it’s already portioned
- ½ cup semisweet chocolate chips — go for a good quality brand since this is your main chocolate flavor
- ½ cup natural cocoa powder — sift it first so you don’t end up with lumps in the batter
- ½ teaspoon instant coffee (optional) — doesn’t make it taste like coffee, just deepens the chocolate flavor
- 1 cup packed brown sugar — packing it tightly gives you an accurate, fudgier result
- ½ cup granulated sugar — balances the brown sugar and helps the tops crackle slightly
- 2 large eggs plus 1 egg yolk — the extra yolk is what makes these bites extra fudgy instead of cakey
- 1 teaspoon vanilla extract — always add this after the eggs so it doesn’t cook from residual heat
- 1 cup plus 2 tablespoons all-purpose flour — measure by spooning it into the cup, not scooping directly
- ½ teaspoon baking powder — gives just enough lift without turning these into muffins
- ½ teaspoon salt — don’t skip it, it keeps the whole thing from tasting flat
Frosting:
- ½ cup salted butter, softened — softened butter blends smoother and avoids lumpy frosting
- 8 ounces brick-style cream cheese, softened — skip the spreadable tub kind, it’s too thin for piping
- 1 teaspoon vanilla extract — rounds out the tang from the cream cheese
- 4 cups powdered sugar — sift it in gradually so your mixer doesn’t send a sugar cloud everywhere
- green and purple gel food coloring — gel colors are more concentrated, so a little goes a long way
Decorations:
- colored sprinkles and sugar pearls — for that classic bubbling potion look
- candy eyeballs — these are what really sell the spooky cauldron effect
Note: this recipe serves several, making about 24 mini brownie bites in total.
Equipment You Need
- 24-count mini muffin tin — bakes the brownies into perfectly portioned bite-sized cauldrons
- Baking spray with flour — keeps the brownies from sticking to the tin
- Microwave-safe bowl — for melting the butter and chocolate together
- Electric mixer — makes the cream cheese frosting smooth and lump-free
- Small cookie scoop — helps portion the batter evenly into each muffin cup
- Rounded teaspoon — used to press a well into each warm brownie right out of the oven
- Piping bag or spoon — for filling and swirling the frosting into each brownie
How to Make a Witch Cauldron Brownies Recipe?
These come together in two easy stages, a quick fudgy brownie base and a simple tinted frosting. Nothing here requires special baking skills, just a little patience while things cool. Here’s exactly how I put mine together each time.
Melt the Butter and Chocolate
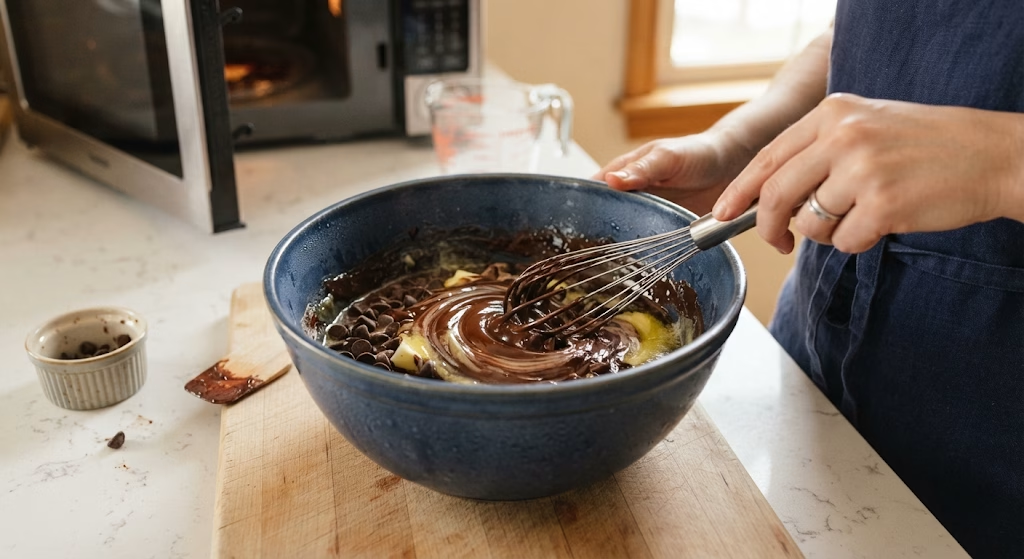
Start by combining your butter and chocolate chips in a large microwave-safe bowl. Microwave in short 15 to 30 second bursts, stirring well between each one, until the mixture is completely smooth and glossy.
Mix in the Cocoa and Sugars
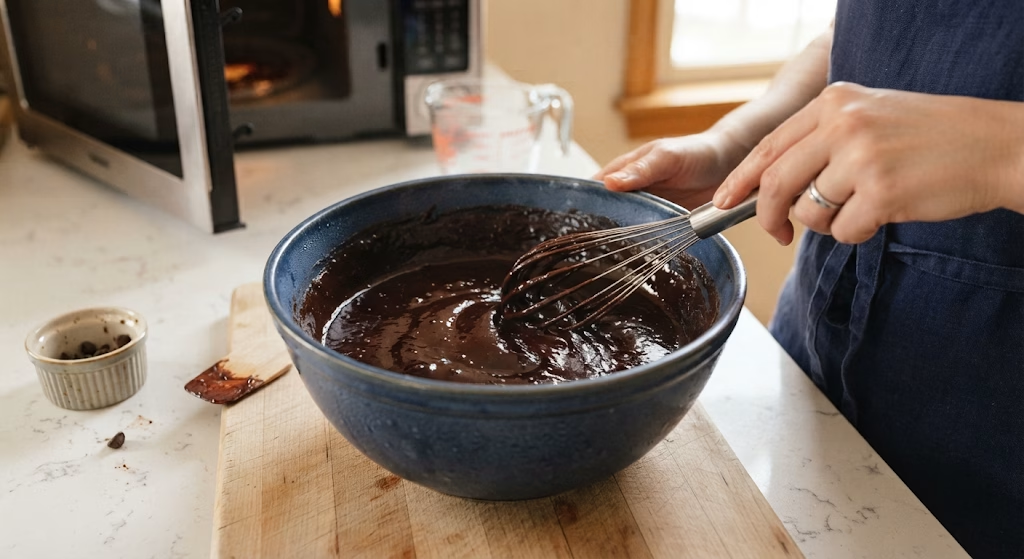
Stir the cocoa powder and instant coffee into your melted mixture until fully combined. Add both sugars next and stir again until the batter looks thick, shiny, and evenly blended.
Add the Eggs and Dry Ingredients
Beat in your eggs and egg yolk one at a time, then stir in the vanilla. In a separate bowl, whisk the flour, baking powder, and salt together before folding the dry mix into your wet batter until just combined.
Bake and Create the Wells
Scoop the batter into a greased mini muffin tin and bake at 350°F for about 18 minutes. As soon as they come out of the oven, press a rounded teaspoon into the center of each brownie to create a small well for the frosting.
Whip Up the Frosting
While the brownies cool completely, beat your softened butter and cream cheese together until smooth. Mix in the vanilla, then gradually add the powdered sugar until the frosting is thick and pipeable, splitting it into bowls to tint with your gel colors.
Fill and Decorate
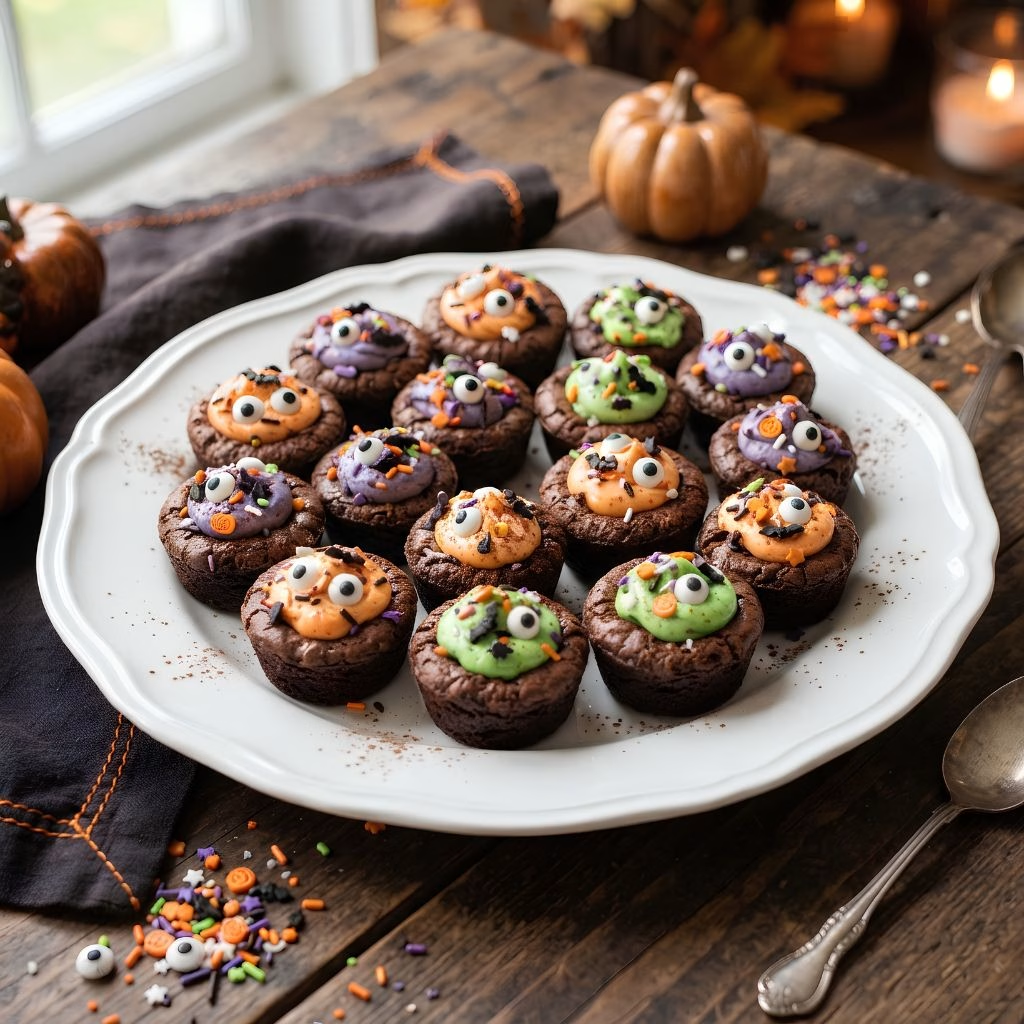
Once your brownie bites are fully cooled, spoon or pipe the tinted frosting into each well so it looks like it’s bubbling over the edge. Finish with sprinkles and a candy eyeball or two before serving.
Additional Tips for Making This Recipe Better
I’ve made batches of these more times than I can count, and here’s what I’ve learned along the way.
- I always use baking spray that specifically lists flour on the label, since regular cooking spray makes these stick every time.
- I let my brownies cool completely before frosting, otherwise the filling melts right off instead of holding its shape.
- I start with just a tiny dab of gel food coloring and build up slowly, since a little truly goes a long way.
- I like piping the frosting instead of spooning it, since it gives that dripping, bubbling cauldron look much more easily.
- I keep my cream cheese frosting chilled until right before I need it, which helps it hold its shape once piped.
Common Mistakes to Avoid
- I used regular cooking spray once instead of baking spray, and half my brownies tore apart trying to get them out of the tin.
- I tried frosting the brownies while they were still warm, and the frosting melted into a soupy mess instead of sitting neatly on top.
- I added too much food coloring in one go and ended up with a color way darker than I wanted, so now I always add it a drop at a time.
- I forgot to press the wells into the brownies right when they came out of the oven, and once they cooled they were too firm to indent properly.
- I overbaked mine once trying to get a totally clean toothpick, and they turned out dry instead of fudgy, so a few moist crumbs on the toothpick is exactly what you want.
How to Serve Witch Cauldron Brownies?
I love arranging these on a black or dark-colored platter so the green and purple frosting really pops against the background. Adding a few extra candy eyeballs scattered around the tray or a light dusting of edible glitter makes the whole display feel a bit more theatrical.
These are perfect for a Halloween party dessert table, a classroom treat, or tucked into a lunchbox alongside other halloween brownie bites for a spooky surprise. If you’re setting out a bigger dessert spread, they also look great next to something like a platter of warm apple pie poppers for a mix of textures and flavors.
Variations
- Swap the cream cheese frosting for a simple vanilla buttercream if you’re not a fan of the tangy flavor
- Turn these into witches brew brownies by adding a drop of black food coloring for a deeper, bubbling look
- Use dark chocolate chips instead of semisweet for a richer, more intense brownie base
- Make a dairy-free version with plant-based butter and dairy-free cream cheese alternative
- Add a sprinkle of orange and black sanding sugar for a more traditional Halloween color scheme
- Pipe the frosting into smaller dots and add a plastic spider ring for a fun twist inspired by spider cookies halloween recipe styling
Nutritional Information
Here’s a general breakdown per brownie bite, though the exact numbers will vary depending on your specific ingredients.
- Calories: 193 kcal
- Protein: 2 g
- Carbohydrates: 36 g
- Fat: 5 g
Make Ahead and Storage
You can bake the plain brownie bites up to two days ahead and store them covered at room temperature before frosting and decorating closer to serving time.
Once frosted, keep these in an airtight container in the refrigerator since the cream cheese frosting needs to stay chilled, and they’ll stay fresh for about 3 to 4 days.
To freeze, store the unfrosted brownie bites in a sealed freezer bag for up to two months, then thaw at room temperature before filling and decorating.
Why You’ll Love This Recipe?
This has become one of my go-to Halloween baking recipes, and here’s exactly why.
- It’s genuinely easy to make: Despite how impressive they look, the steps are simple enough for a weeknight baking session with kids.
- It’s endlessly customizable: From color choices to add-ins, you can make these cauldron brownies match any Halloween color scheme you like.
- It travels well for parties: These mini bites hold their shape nicely, making them easy to transport to school parties or potlucks.
- It’s a crowd favorite: Even people who claim they don’t like Halloween treats usually end up grabbing seconds of these.
FAQs
Can I make witch cauldron brownies ahead of time?
Yes, you can bake the plain brownies a day or two ahead and frost them closer to when you plan to serve them.
Do these need to be refrigerated?
Since the frosting is made with cream cheese, it’s best to keep the finished brownies chilled until you’re ready to serve.
Can I use a boxed brownie mix instead?
Yes, a boxed mix works fine if you’re short on time, just bake it according to the package directions using a mini muffin tin.
Why did my frosting turn out streaky instead of solid colored?
This usually happens when the gel coloring isn’t fully mixed in, so keep stirring until the color looks completely even before piping.
Can I skip the instant coffee in the brownie batter?
Absolutely, it’s completely optional and mainly there to deepen the chocolate flavor rather than add a coffee taste.
If you’re planning out a whole table of Halloween treats, these cauldron brownies also pair nicely with something like a rich chocolate chip cake for guests who want a bigger slice of dessert alongside the bite-sized options.

Witch Cauldron Brownies Recipe
Ingredients
Method
- Start by combining your butter and chocolate chips in a large microwave-safe bowl. Microwave in short 15 to 30 second bursts, stirring well between each one, until the mixture is completely smooth and glossy.
- Stir the cocoa powder and instant coffee into your melted mixture until fully combined. Add both sugars next and stir again until the batter looks thick, shiny, and evenly blended.
- Beat in your eggs and egg yolk one at a time, then stir in the vanilla. In a separate bowl, whisk the flour, baking powder, and salt together before folding the dry mix into your wet batter until just combined.
- Scoop the batter into a greased mini muffin tin and bake at 350°F for about 18 minutes. As soon as they come out of the oven, press a rounded teaspoon into the center of each brownie to create a small well for the frosting.
- While the brownies cool completely, beat your softened butter and cream cheese together until smooth. Mix in the vanilla, then gradually add the powdered sugar until the frosting is thick and pipeable, splitting it into bowls to tint with your gel colors.
- Once your brownie bites are fully cooled, spoon or pipe the tinted frosting into each well so it looks like it’s bubbling over the edge. Finish with sprinkles and a candy eyeball or two before serving.
Notes
- I always use baking spray that specifically lists flour on the label, since regular cooking spray makes these stick every time.
- I let my brownies cool completely before frosting, otherwise the filling melts right off instead of holding its shape.
- I start with just a tiny dab of gel food coloring and build up slowly, since a little truly goes a long way.
- I like piping the frosting instead of spooning it, since it gives that dripping, bubbling cauldron look much more easily.
- I keep my cream cheese frosting chilled until right before I need it, which helps it hold its shape once piped.