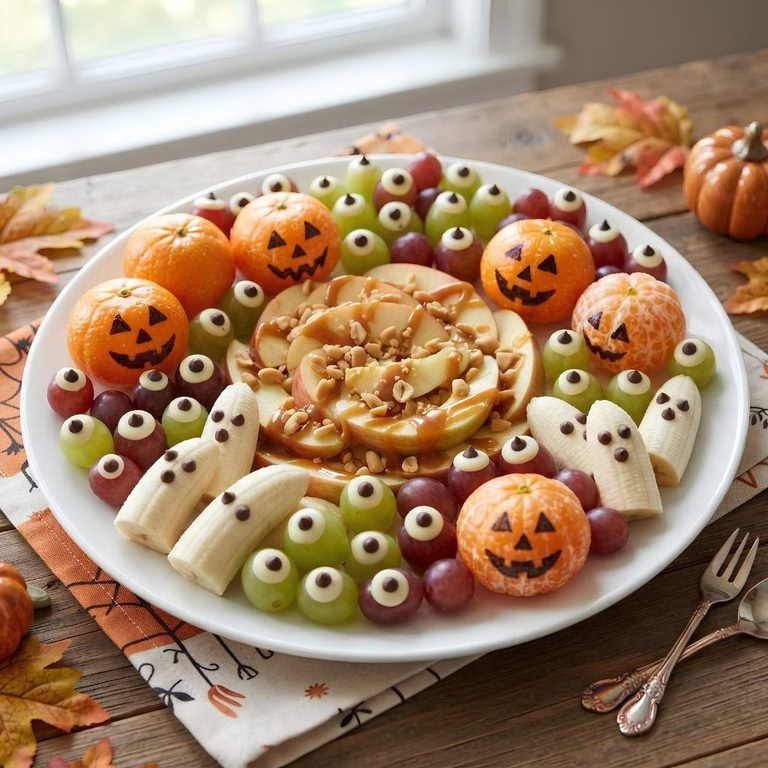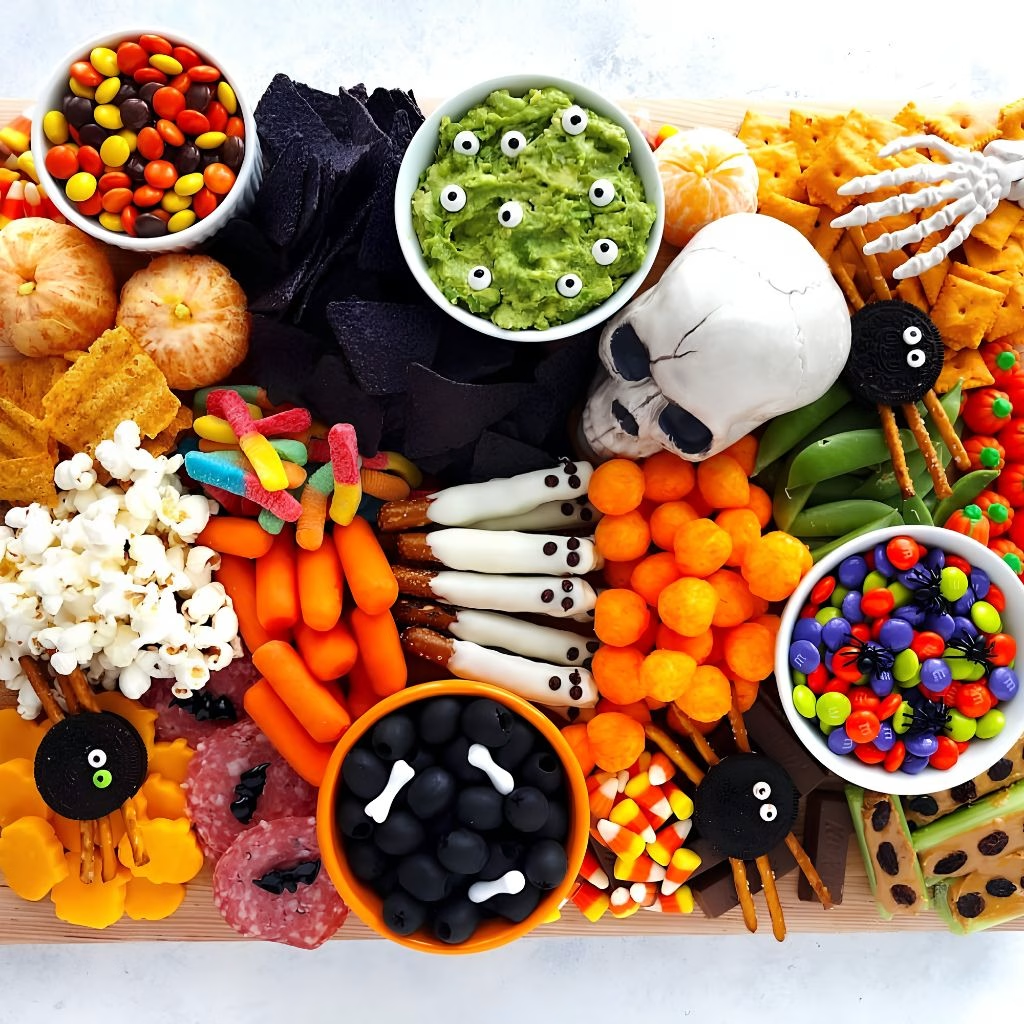
I put together my first Halloween Snack Board Recipe last year when a bunch of neighborhood kids and their parents showed up for a pre-trick-or-treat hangout, and honestly, I haven’t looked back since.
I love how a good snack board lets me mix a little bit of everything: some healthy bites, some salty crunch, and just enough candy to keep things festive without me being stuck in the kitchen all night. Once I laid out my ingredients and figured out my “flow,” the whole thing came together in under 30 minutes.
Every time I make this now, I tweak it slightly depending on who’s coming, and that’s honestly the best part. If you want a no-fuss, crowd-pleasing spread for your Halloween party, movie night, or a fun family evening in, this is the board for you.
Cooking Time
- Prep Time: 20 minutes
- Cooking Time: 5 minutes (optional, for warming dips)
- Total Time: 25 minutes
Ingredients
- 1 bag mini pretzels – salty crunch that balances out the sweeter items on the board
- 1 cup candy corn – classic Halloween color pop, use sparingly since it’s very sweet
- 2 string cheese sticks, unwrapped and fringed – I twist and pull them to look like little “brooms”
- 1 pint cherry tomatoes – bright red color that mimics “eyeballs” when paired with mozzarella
- 1 cup mini mozzarella balls – pair with tomatoes and a toothpick for quick eyeball skewers
- 2 cups green or red grapes – washed and dried well so they don’t make the board soggy
- 3 apples, sliced – toss in lemon water first so slices don’t brown before serving
- 1 cup peanut butter or caramel dip – I always make this the centerpiece since apples disappear fast
- 1 cup baby carrots – easy, healthy crunch that keeps kids reaching for veggies too
- 1 cup hummus – pick a plain or roasted red pepper flavor so it doesn’t overpower other snacks
- 1 cup candy eyeballs or chocolate-covered treats – scatter these around for a spooky finishing touch
- 1 cup cheese crackers or cheddar cubes – fresh-cut cheese melts less and holds its shape longer on the board
- 1 small bag pumpkin seeds or trail mix – adds texture and a nutty, savory bite between sweets
- 1 cup black olives – I slice these to look like little “spider” pieces on crackers
Note: This recipe serves 8–10 people as a shared party board.
Equipment You Need
- Large wooden board or platter – gives you the space to arrange everything in sections
- Small bowls or ramekins – keeps dips contained and prevents the board from getting messy
- Sharp knife – for slicing apples, tomatoes, and olives cleanly
- Cutting board – protects your countertop while prepping ingredients
- Toothpicks or small skewers – handy for eyeball skewers and easy, no-mess bites
- Paper towels – to pat washed fruit dry so the board stays fresh longer
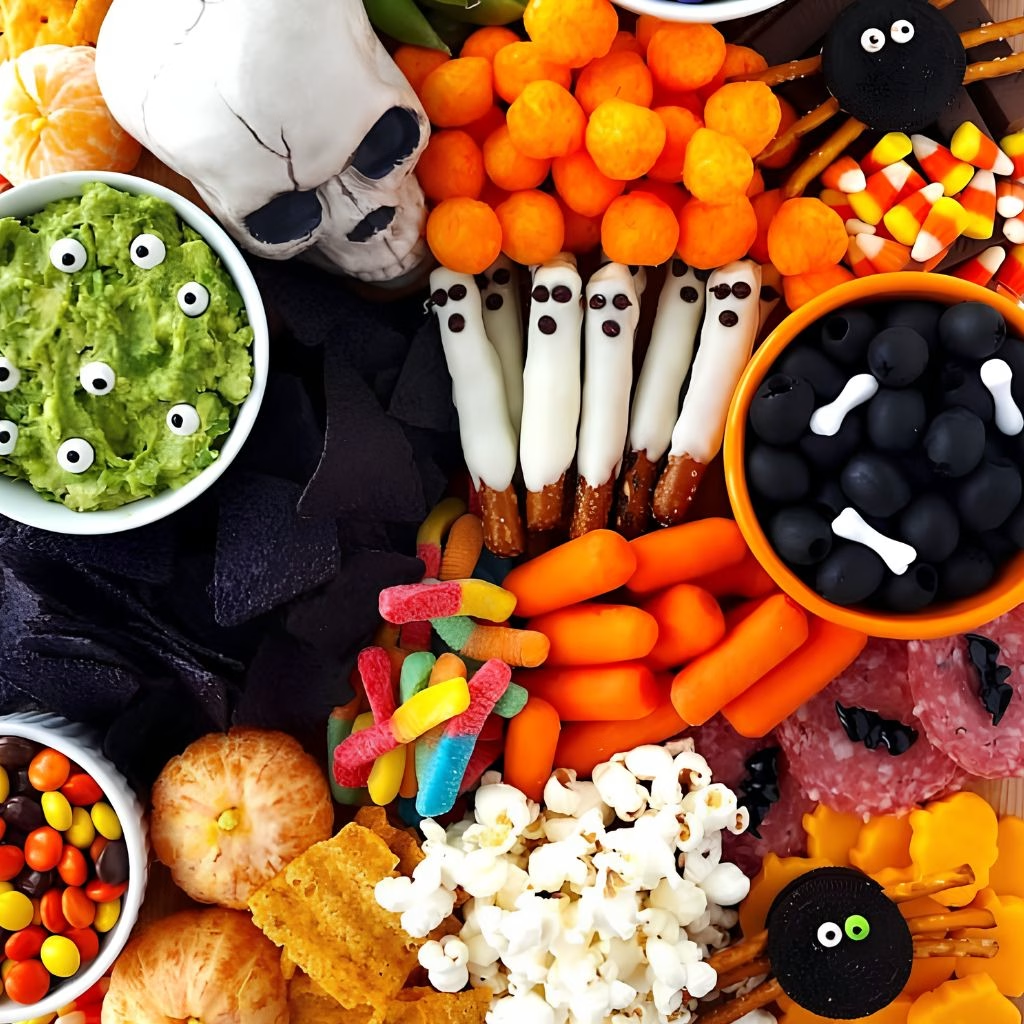
How to Make Halloween Snack Board Recipe?
Making this board really is more about assembly than actual cooking, which is exactly why I love it. I always start by prepping every ingredient first, then I build the board section by section. Once you get your rhythm down, it takes barely half an hour from start to finish.
Prep Your Ingredients First
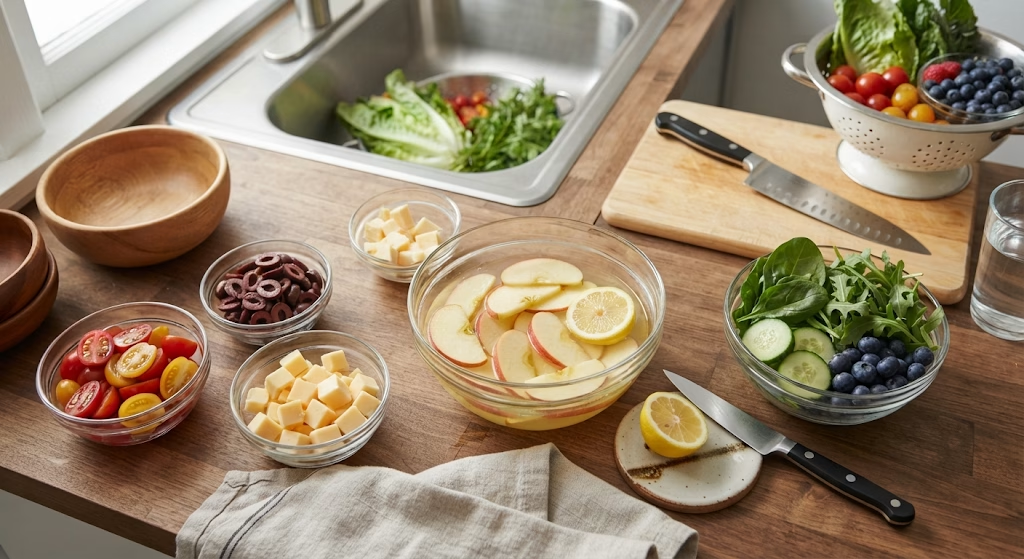
Before I touch the board, I wash and dry all my fruit and vegetables so nothing drips or wilts later. I slice my apples and toss them in lemon water immediately, then set them aside. I also cut my cheese, halve my tomatoes, and slice my olives at this stage so everything is ready to grab.
Set Out Your Bowls and Dips
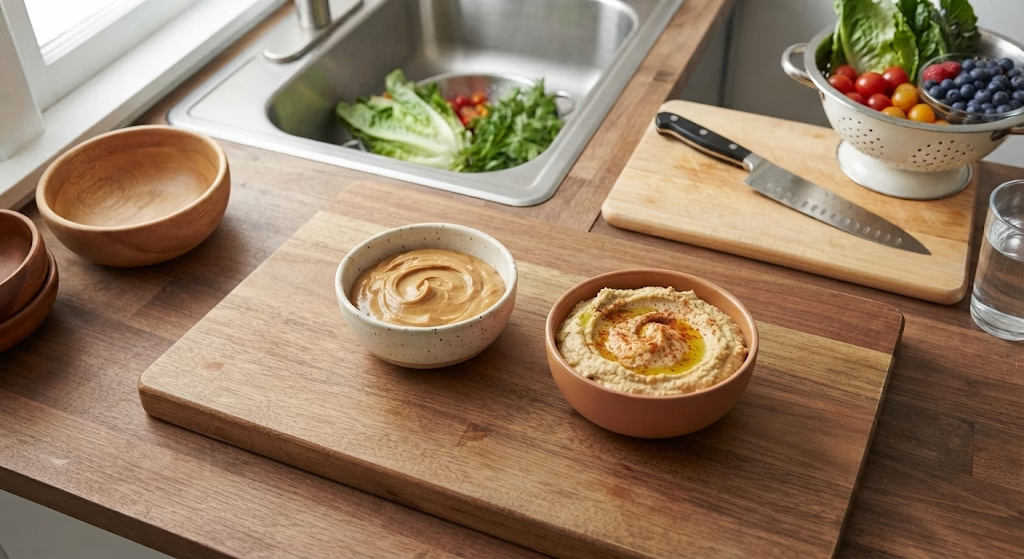
Next, I place my small bowls directly on the board first, before adding anything else. I fill one with peanut butter or caramel dip and another with hummus. Positioning the bowls first helps me plan the rest of the layout around them instead of squeezing them in later.
Build Your Base Layer
I start with the bigger items like grapes, apple slices, and crackers, spacing them out in small clusters around the board. This creates a natural structure that I fill in as I go. I like to keep colors separated so the board looks vibrant instead of muddled together.
Add the Spooky Details
This is where the fun really happens. I skewer mozzarella balls and cherry tomato halves together for quick “eyeballs,” fringe my string cheese into broom shapes, and scatter candy eyeballs wherever there’s a gap. I also lay a few olive slices on crackers to look like little spiders.
Fill In the Gaps
Once my main items are placed, I go back through with candy corn, pumpkin seeds, and trail mix to fill any empty spaces. I always keep a few handfuls in reserve so I can top off the board as guests snack throughout the night.
Chill and Serve
If I’ve made this board ahead of time, I cover it loosely with plastic wrap and refrigerate it until guests arrive, then I pull it out about 10 minutes before serving so the cheese and dips aren’t ice cold. I add my dips last if I’ve had the board chilling, just to keep them fresh.
Additional Tips for Making This Recipe Better
I’ve made this board more times than I can count now, and here are a few things I’ve picked up along the way:
- I always cut my fruit last so it doesn’t brown or dry out while I’m prepping everything else.
- I like to use a big board with a lip or edge so smaller items like candy corn don’t roll off.
- I try to balance textures crunchy, creamy, chewy so every bite feels a little different.
- I keep extra snacks in the kitchen so I can restock the board halfway through the party.
- I always taste my dip before serving since store-bought versions can vary in sweetness.
Common Mistakes to Avoid
I’ve made a few missteps myself, so here’s what I watch out for now:
- I used to slice my apples too early, and they turned brown before anyone even grabbed one.
- I once packed the board too tightly, and it looked cluttered instead of inviting me to give things room now.
- I forgot to pat my grapes dry once, and they left water spots all over the board.
- I’ve overloaded on candy before, which made the board feel more like a dessert table than a snack spread.
- I didn’t refrigerate my cheese-based items early on, and they sat out too long before the party even started.
How to Serve Halloween Snack Board Recipe?
I like to set my board right in the center of the table so it becomes the natural gathering point for the night. Garnishing with a few plastic spiders, small pumpkins, or black and orange napkins tucked around the edges instantly makes it feel festive without extra effort.
I also keep small plates nearby so guests can build their own mini portions instead of hovering over the board the whole time. If I’m hosting a bigger crowd, I’ll even set out two smaller boards on opposite ends of the table so there’s no bottleneck.
Variations
- Swap the peanut butter dip for a sunflower seed butter to make this board nut-free
- Use dairy-free cheese and yogurt-based dip for a dairy-free version
- Skip the candy corn and add extra dark chocolate pieces for a less sugary option
- Add pretzel sticks dipped in melted white chocolate for a “witch’s broom” treat
- Swap grapes for pomegranate arils for a jewel-toned, autumn-inspired twist
If you’re looking for more inspiration, I’ve also put together a caramel dip that pairs beautifully with the apple slices on this board. You can find it at caramel apple dip.
Nutritional Information
Here’s a rough estimate per serving, based on a board that serves 8–10 people:
- Calories: 210 kcal
- Protein: 6 g
- Carbohydrates: 28 g
- Fat: 9 g
Make Ahead and Storage
I usually prep all my components the day before and store them separately in the fridge, covered tightly, so nothing dries out overnight. This way, assembly on party day only takes about 15 minutes.
Once the board is fully assembled, it’s best enjoyed within 2–3 hours at room temperature, especially with the fresh fruit and dairy items. Leftovers can be covered and refrigerated for up to 2 days, though I’d recommend removing any cut apples since they don’t hold up well once they’ve browned.
This board isn’t really freezer-friendly since most of the components are fresh, but individual elements like trail mix or pretzels can be stored separately in an airtight container for weeks.
Why You’ll Love This Recipe
I keep coming back to this board every October, and here’s why:
- It’s endlessly customizable. I can swap in whatever snacks my family already loves or whatever’s in season, and it always works.
- It’s genuinely easy to prep. There’s no cooking involved beyond warming a dip, so I’m never stuck in the kitchen during the party.
- It fits every dietary need. I can easily make sections nut-free, dairy-free, or lower in sugar depending on who’s coming.
- It’s a total conversation starter. Guests love picking out all the little spooky details, which makes for a fun, interactive spread.
- It works for any size gathering. I’ve made a tiny version for my own family and a huge one for a full house of trick-or-treaters, and both feel special.
For another crowd-friendly appetizer that works well alongside this board, I often set out this cheesy dip too, which you can check out at spinach artichoke dip.
FAQs
Can I make this Halloween snack board ahead of time?
Yes, I prep almost everything the day before and store items separately, then assemble the board about 30 minutes before guests arrive.
What can I substitute if someone in my group has a nut allergy?
I swap peanut butter dip for a sunflower seed butter or simply skip nut-based items and add extra fruit or pretzels instead.
How long can this board sit out at a party?
I try to keep it out for no more than 2–3 hours, especially since dairy and cut fruit are involved.
Is this recipe kid-friendly?
Absolutely — I actually build this board with kids in mind, keeping a good mix of healthy snacks alongside a few Halloween treats.
Can I turn this into a savory-only board?
Yes, I’ve done savory versions using cheese, crackers, olives, hummus, and veggies while skipping the candy altogether.

Halloween Snack Board Recipe
Ingredients
Method
- Before I touch the board, I wash and dry all my fruit and vegetables so nothing drips or wilts later. I slice my apples and toss them in lemon water immediately, then set them aside. I also cut my cheese, halve my tomatoes, and slice my olives at this stage so everything is ready to grab.
- Next, I place my small bowls directly on the board first, before adding anything else. I fill one with peanut butter or caramel dip and another with hummus. Positioning the bowls first helps me plan the rest of the layout around them instead of squeezing them in later.
- I start with the bigger items like grapes, apple slices, and crackers, spacing them out in small clusters around the board. This creates a natural structure that I fill in as I go. I like to keep colors separated so the board looks vibrant instead of muddled together.
- This is where the fun really happens. I skewer mozzarella balls and cherry tomato halves together for quick “eyeballs,” fringe my string cheese into broom shapes, and scatter candy eyeballs wherever there’s a gap. I also lay a few olive slices on crackers to look like little spiders.
- Once my main items are placed, I go back through with candy corn, pumpkin seeds, and trail mix to fill any empty spaces. I always keep a few handfuls in reserve so I can top off the board as guests snack throughout the night.
- If I’ve made this board ahead of time, I cover it loosely with plastic wrap and refrigerate it until guests arrive, then I pull it out about 10 minutes before serving so the cheese and dips aren’t ice cold. I add my dips last if I’ve had the board chilling, just to keep them fresh
Notes
- I always cut my fruit last so it doesn’t brown or dry out while I’m prepping everything else.
- I like to use a big board with a lip or edge so smaller items like candy corn don’t roll off.
- I try to balance textures crunchy, creamy, chewy so every bite feels a little different.
- I keep extra snacks in the kitchen so I can restock the board halfway through the party.
- I always taste my dip before serving since store-bought versions can vary in sweetness.