I still remember the first time I made Pumpkin Pie Recipe completely from scratch, and honestly, I was a nervous wreck about the crust cracking or the filling turning out watery. But then I stumbled onto this easy pumpkin pie recipe with canned pumpkin, and it changed everything for me.
I only needed a handful of pantry staples and about ten minutes of prep before it went into the oven. Now it’s the pie I make every single Thanksgiving, and no one ever guesses how little effort actually went into it. If you want a stress-free dessert that still tastes like it took hours, this one’s for you.

Cooking Time
- Prep Time: 10 minutes
- Cooking Time: 45-50 minutes
- Total Time: 1 hour (plus 3 hours to chill)
Equipment You Need
- 9-inch pie dish – holds the crust and filling and helps it bake evenly
- Mixing bowl – for whisking the pumpkin filling together
- Whisk – blends the eggs, pumpkin, and milk into a smooth custard
- Measuring cups and spoons – keeps your spices and liquids accurate
- Aluminum foil – protects the crust edges from over-browning
- Cooling rack – lets the pie cool evenly before it goes into the fridge
Ingredients
- 1 (15 oz) can pumpkin puree – make sure it’s plain pumpkin, not pumpkin pie filling, which already has added sugar and spices
- 1 (14 oz) can sweetened condensed milk – this is the shortcut ingredient that replaces evaporated milk and sugar in one step
- 2 large eggs – these bind the filling and give the pie its classic custard texture
- 1 (9-inch) refrigerated pie crust – store-bought saves time, but a homemade or graham cracker crust works too
- 2 1/2 tsp pumpkin pie spice – this is what gives the pie its warm, cozy fall flavor
- 1/4 tsp salt – balances the sweetness and rounds out the spices
Note: This recipe serves 8.
How to Make Easy Pumpkin Pie Recipe?
This part is really where the magic happens, and it’s much simpler than most people expect. You basically whisk everything in one bowl, pour it into the crust, and let the oven do the rest. Here’s exactly how I do it every time.
Preheat the Oven and Prep the Crust
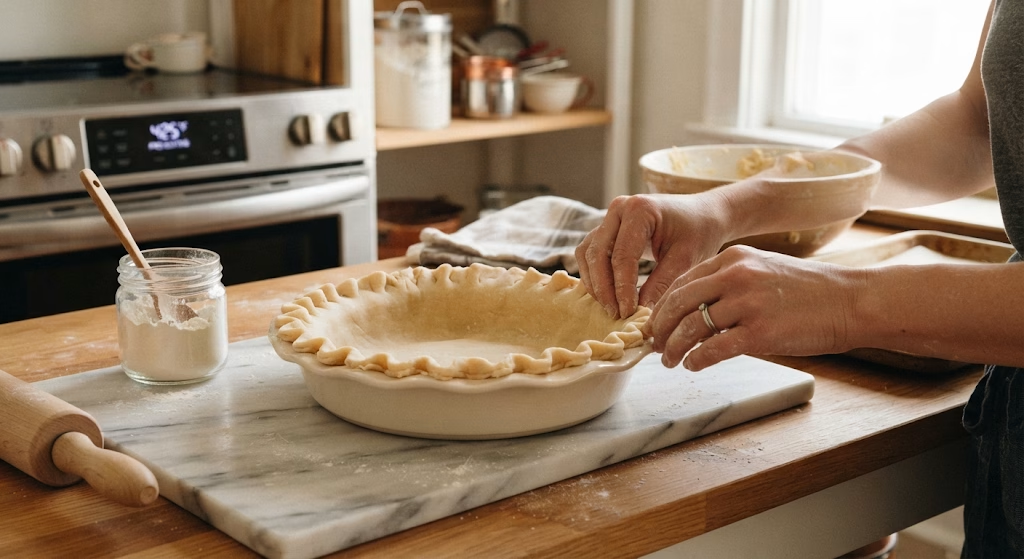
I always start by preheating my oven to 425°F so it’s fully ready when the pie goes in. While it heats, I fit my refrigerated pie crust into a 9-inch pie dish, crimping the edges with my fingers for that classic ruffled look. If the dough feels too cold and cracks, I let it sit out for a few minutes to soften slightly.
Whisk the Pumpkin Filling
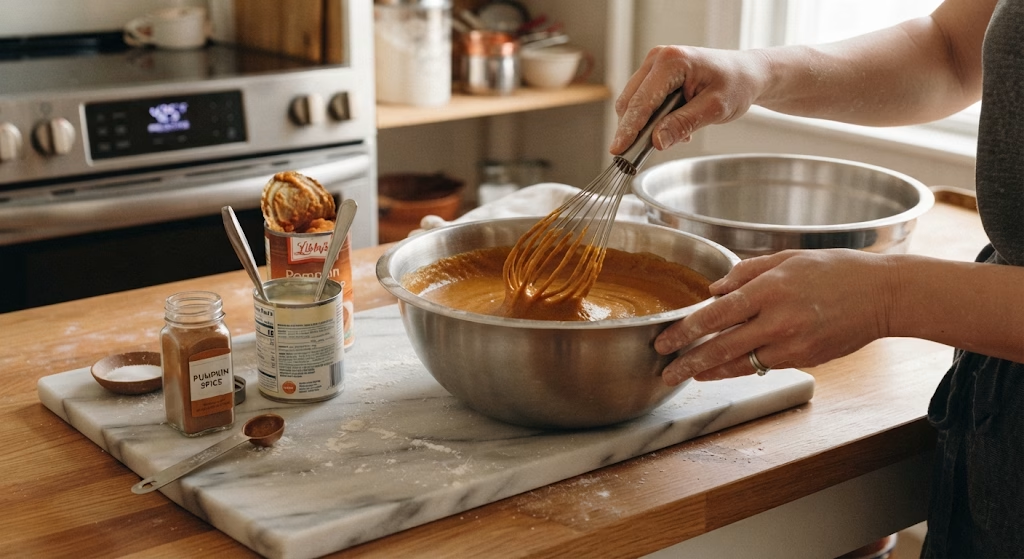
In a large mixing bowl, I whisk together the canned pumpkin, sweetened condensed milk, and eggs until the mixture is completely smooth. Then I add the pumpkin pie spice and salt, whisking again until everything is fully combined. I like to tap the bowl on the counter a few times to release any trapped air bubbles.
Pour the Filling Into the Crust
Once the filling is silky and lump-free, I pour it straight into the prepared pie crust. I use a spatula to smooth the top so it bakes evenly. At this point, I also loosely tent the crust edges with foil so they don’t burn before the center sets.
Bake at Two Temperatures
I bake the pie at 425°F for the first 15 minutes, which helps set the crust. Then I lower the oven to 350°F and continue baking for another 30 to 35 minutes. I know it’s done when the edges look set but the very center still has a slight jiggle.
Cool and Chill Before Serving
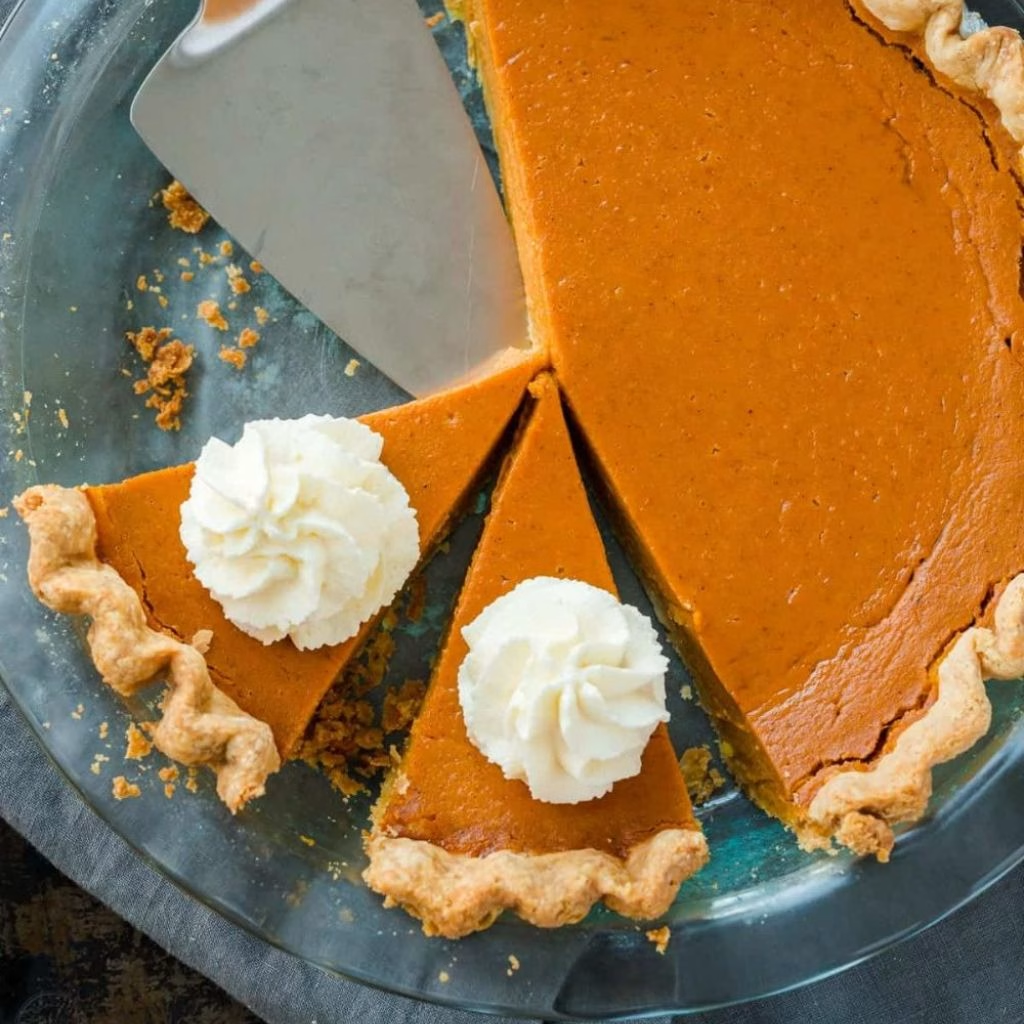
After baking, I let the pie cool on a wire rack at room temperature for about an hour. Then I transfer it to the fridge for at least 2 hours, though I usually let mine chill longer. This resting time is what gives the filling that clean, sliceable texture.
Additional Tips for Making This Recipe Better
I’ve made this pie more times than I can count, and these small tweaks have made a real difference for me over the years.
- I always use room-temperature eggs so they blend into the filling more smoothly.
- I check my pie a few minutes early since ovens can run hot, and I’d rather pull it before the edges overcook.
- I place my pie dish on a baking sheet so I don’t have to worry about drips in my oven.
- I let the pie cool gradually instead of rushing it into the fridge, which helps prevent cracks on top.
- I make my own pumpkin pie spice blend with cinnamon, ginger, nutmeg, and cloves when I’m out of the store-bought version.
Common Mistakes to Avoid
I’ve made a few of these mistakes myself, so I like to call them out for anyone trying this recipe for the first time.
- I once grabbed pumpkin pie filling instead of plain pumpkin puree, and the pie turned out way too sweet, so I always double-check the can label now.
- I’ve skipped the foil around the crust before, and the edges burned before the center even finished baking.
- I used to slice the pie too soon after baking, and it fell apart because it hadn’t set properly yet.
- I’ve overbaked it a couple of times chasing a fully firm center, but a slight jiggle in the middle is exactly what I want when I pull it out.
- I forgot to whisk the filling long enough once, and I ended up with a slightly grainy texture instead of that smooth custard finish.
How to Serve Easy Pumpkin Pie?
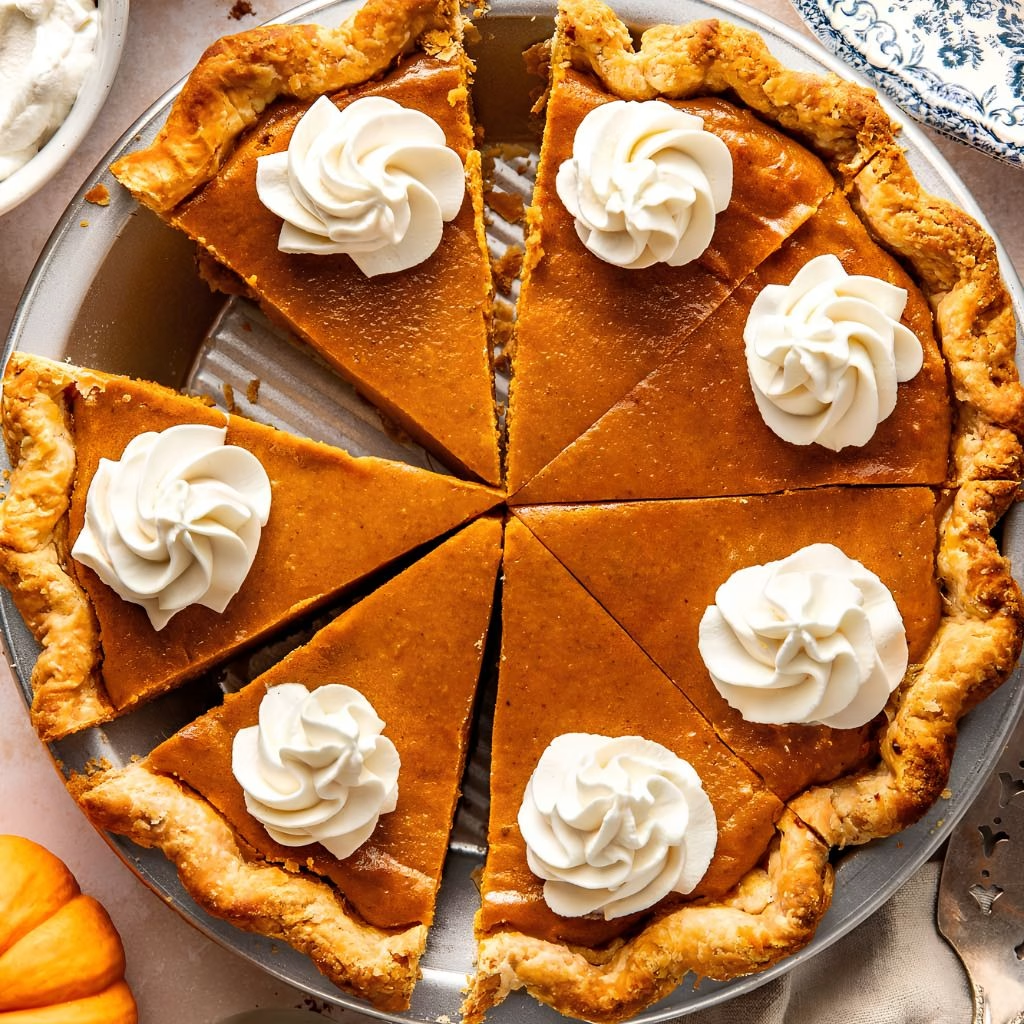
I always serve this pie chilled or at room temperature with a generous swirl of freshly whipped cream on top, plus a light dusting of cinnamon for color. A drizzle of caramel sauce or a few toasted pecans also dresses it up nicely for a holiday table.
If I’m hosting, I like pairing a slice alongside something spiced like a pumpkin spice cake for a full fall dessert spread that keeps guests coming back for seconds.
Variations
- Dairy-free version: swap the sweetened condensed milk for a canned coconut condensed milk alternative.
- Sugar-free version: use a sugar-free condensed milk substitute and check spice blends for hidden sugars.
- Graham cracker crust version: press a graham cracker crust into the dish instead of pastry for a slightly sweeter, crunchier base.
- Fresh pumpkin version: use homemade pumpkin puree from roasted sugar pumpkins instead of canned for a deeper flavor.
- Spiced add-in version: stir in a pinch of extra ginger or a splash of vanilla extract for a bolder flavor profile.
- No condensed milk version: use evaporated milk with extra sugar if you prefer the traditional route.
Nutritional Information
Here’s a general breakdown per slice, based on 8 servings:
- Calories: about 300 kcal
- Protein: around 7g
- Carbohydrates: roughly 44g
- Fat: about 12g
Make Ahead and Storage
This pie is actually a great make-ahead dessert since it needs time to chill anyway. You can prepare it a full day in advance and keep it covered in the refrigerator until you’re ready to serve.
Because it’s an egg-based custard pie, it should always be stored in the fridge, where it stays fresh for about 3 days. Just keep it loosely covered with plastic wrap or foil so it doesn’t dry out.
For longer storage, this pie freezes well for up to 3 months. Wrap it tightly in foil or place slices in an airtight container, then thaw overnight in the fridge before serving.
Why You’ll Love This Recipe?
This pie has earned its permanent spot in my holiday rotation, and here’s why I think you’ll feel the same way.
- It’s incredibly beginner-friendly: with only six ingredients and one bowl, there’s very little room for error, even if it’s your first time baking a pie.
- It’s fast to put together: the prep takes about 10 minutes, which frees up your kitchen for other holiday dishes.
- It’s easy to customize: from crust swaps to dairy-free tweaks, you can adjust it to fit different diets without much extra work.
- It tastes just as good as the long way: the shortcut with condensed milk doesn’t sacrifice that classic spiced, creamy flavor everyone expects.
- It travels well: since it needs to chill anyway, it’s an easy dessert to make ahead and bring to a potluck or family gathering.
FAQs
Can I use fresh pumpkin instead of canned?
Yes, you can substitute homemade pumpkin puree from roasted pumpkins, just make sure it’s well-drained so the filling doesn’t turn watery.
Can I make this without condensed milk?
Yes, you can use evaporated milk plus about 3/4 cup of sugar as a traditional substitute for the condensed milk.
Why did my pumpkin pie crack on top?
Cracking usually happens from overbaking or cooling too quickly, so pull the pie while the center still jiggles slightly and let it cool gradually.
How do I know when the pie is fully done?
The edges should look set while the center still has a slight wobble, since it will continue to firm up as it cools.
Can I freeze pumpkin pie?
Yes, this pie freezes well for up to 3 months if wrapped tightly in foil or stored in an airtight container, then thawed in the fridge before serving.
If you’re building out a full dessert table, this pie pairs beautifully with another cozy classic like sweet potato pie for guests who love comparing the two side by side. Either way, this easy pumpkin pie recipe is proof that a holiday-worthy dessert doesn’t have to come with a complicated ingredient list or hours of effort.

Pumpkin Pie Recipe
Ingredients
Method
- I always start by preheating my oven to 425°F so it’s fully ready when the pie goes in. While it heats, I fit my refrigerated pie crust into a 9-inch pie dish, crimping the edges with my fingers for that classic ruffled look. If the dough feels too cold and cracks, I let it sit out for a few minutes to soften slightly.
- In a large mixing bowl, I whisk together the canned pumpkin, sweetened condensed milk, and eggs until the mixture is completely smooth. Then I add the pumpkin pie spice and salt, whisking again until everything is fully combined. I like to tap the bowl on the counter a few times to release any trapped air bubbles.
- Once the filling is silky and lump-free, I pour it straight into the prepared pie crust. I use a spatula to smooth the top so it bakes evenly. At this point, I also loosely tent the crust edges with foil so they don’t burn before the center sets.
- I bake the pie at 425°F for the first 15 minutes, which helps set the crust. Then I lower the oven to 350°F and continue baking for another 30 to 35 minutes. I know it’s done when the edges look set but the very center still has a slight jiggle.
- After baking, I let the pie cool on a wire rack at room temperature for about an hour. Then I transfer it to the fridge for at least 2 hours, though I usually let mine chill longer. This resting time is what gives the filling that clean, sliceable texture.
Notes
- I always use room-temperature eggs so they blend into the filling more smoothly.
- I check my pie a few minutes early since ovens can run hot, and I’d rather pull it before the edges overcook.
- I place my pie dish on a baking sheet so I don’t have to worry about drips in my oven.
- I let the pie cool gradually instead of rushing it into the fridge, which helps prevent cracks on top.
- I make my own pumpkin pie spice blend with cinnamon, ginger, nutmeg, and cloves when I’m out of the store-bought version.