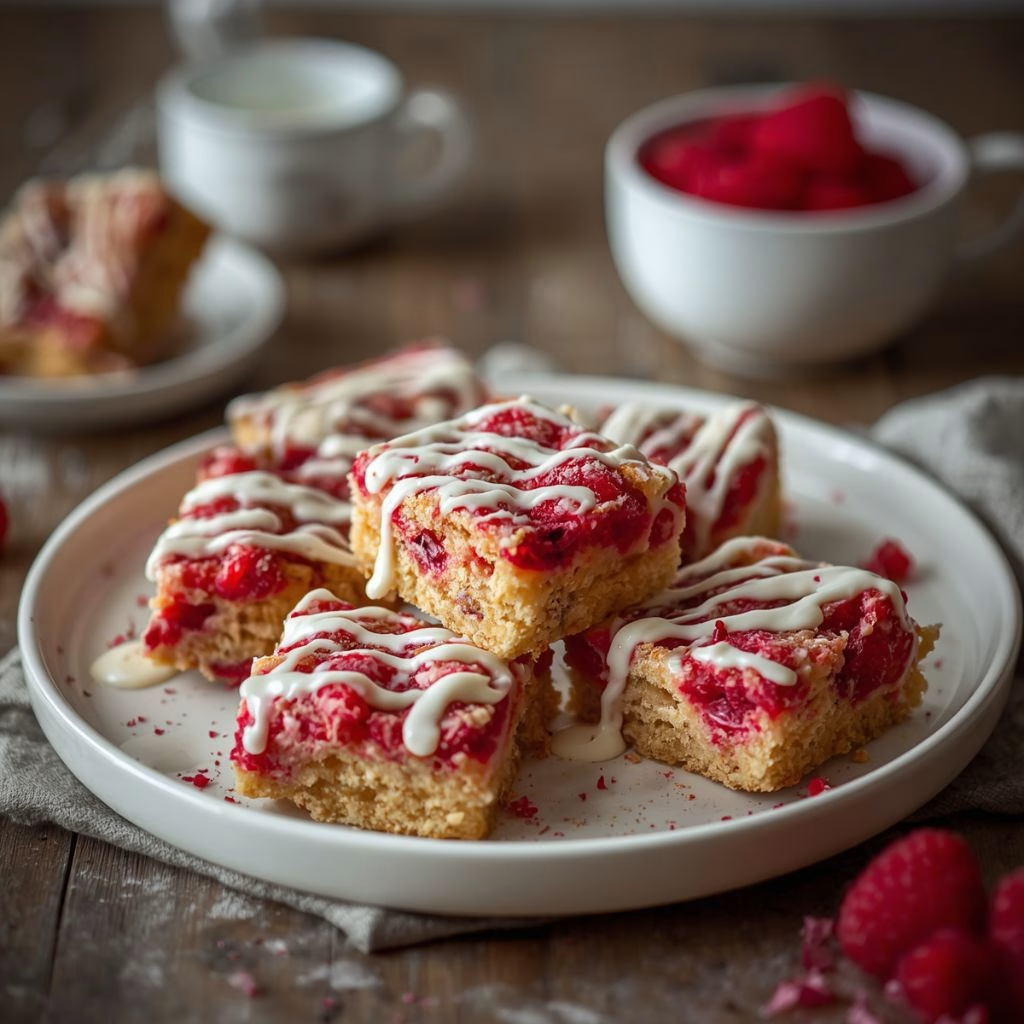
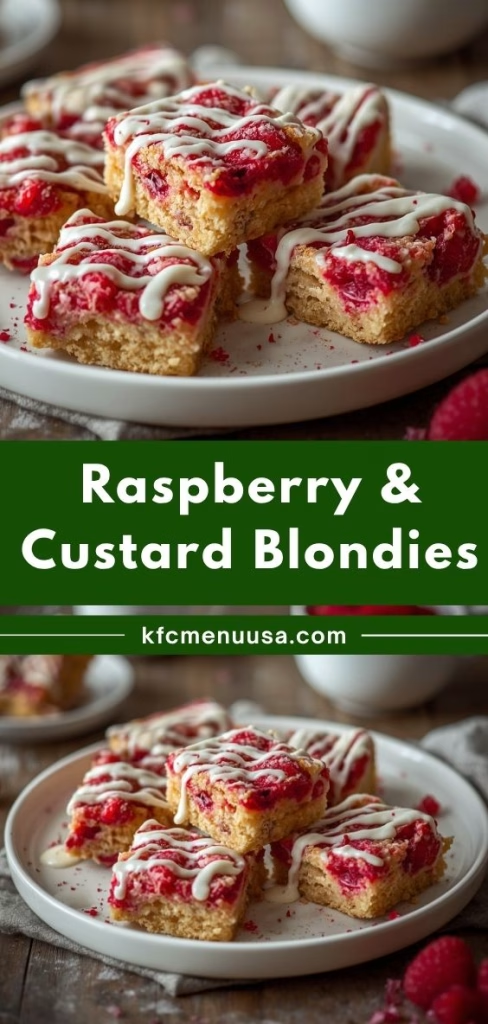
I stumbled onto this Raspberry & Custard Blondies Recipe on a lazy weekend when I had a handful of raspberries going soft in the fridge and a craving for something gooey. I whisked up a simple brown sugar batter, swirled in a quick homemade custard, and scattered raspberries across the top before baking.
The second I pulled the tray out of the oven, the smell of nutty butter and warm berries filled my whole kitchen. Honestly, these blondies turned out so much better than I expected fudgy, tangy, and just the right amount of sweet. I’m sharing exactly how I make them so you can enjoy the same happy accident I did.
Cooking Time
- Prep Time: 20 minutes
- Cooking Time: 30 minutes
- Total Time: 50 minutes (plus cooling time)
Ingredients
- 200 ml whole milk – forms the base of your custard layer, so use full-fat for the richest texture
- 3 tablespoons instant custard powder – gives that nostalgic, thick custard without any fuss
- 115 g unsalted butter – melt it until nutty and golden for deeper flavor in the batter
- 220 g light brown sugar – keeps the blondies fudgy and adds a caramel-like sweetness
- 1 large egg – binds everything together and helps create that classic chewy blondie texture
- Zest of 1 lemon – brightens the whole bake and balances the sweetness beautifully
- 125 g plain flour – the backbone of the batter, spoon and level it so you don’t overpack the cup
- ¼ teaspoon fine salt – rounds out the flavors so nothing tastes flat
- 150 g fresh raspberries – go for fresh, not frozen, so they don’t turn the batter watery
Note: this recipe makes about 16 squares, so it’s great for sharing with family or friends.
Equipment You Need
- 9-inch square baking tin – gives the blondies their classic thick, square shape
- Baking paper or parchment – makes lifting and slicing the blondies so much easier
- Medium saucepan – used for cooking both the custard and the melted butter
- Whisk – essential for a lump-free custard and a smooth batter
- Mixing bowl – for combining the sugar, egg, and butter mixture
- Spatula – helps you spread the batter evenly and fold in the raspberries gently
- Cooling rack – lets air circulate underneath so the base doesn’t turn soggy
How to Make Raspberry & Custard Blondies Recipe?
This recipe comes together in three easy stages: whip up a quick custard, mix a simple one-bowl batter, then layer and bake. None of the steps are complicated, and most of the work happens on your stovetop before anything even goes in the oven.
Step 1: Prepare Your Tin and Oven
Preheat your oven to 180°C (350°F) and line your square baking tin with baking paper, letting a little hang over the edges. This makes it so much easier to lift the finished blondies out later. Set the tin aside while you get started on the custard and batter.
Step 2: Make the Custard
In a saucepan, whisk together the milk and custard powder over medium-low heat. Keep whisking constantly so no lumps form as it thickens. Once it’s thick enough to coat the back of a spoon, pour it into a bowl and let it cool while you work on the batter.

Step 3: Brown the Butter
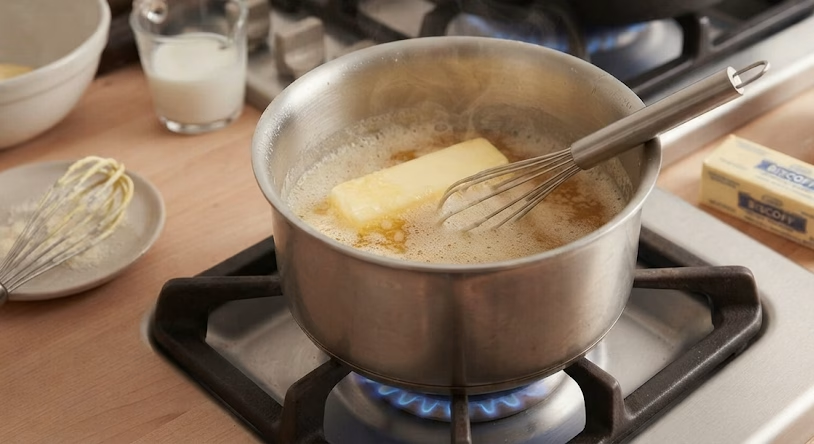
Using the same saucepan, melt the butter over low heat until it foams and turns a light golden color with a nutty aroma. This step adds serious depth of flavor to the final blondies. Once it stops foaming, take it off the heat and let it cool slightly.
Step 4: Mix the Batter Base
In a mixing bowl, whisk the brown sugar, egg, and lemon zest together until the mixture turns pale and slightly fluffy. Pour in the cooled melted butter and stir until fully combined. This forms the sweet, buttery foundation of your blondie.
Step 5: Add the Dry Ingredients
Sprinkle in the flour and salt, then stir just until you no longer see streaks of flour. Overmixing at this stage can make the blondies tough, so stop as soon as it looks combined. The batter should be thick and slightly sticky.
Step 6: Layer Everything in the Tin
Spread most of the batter into your prepared tin, saving a few spoonfuls for the top. Pour the cooled custard evenly over the batter, then scatter the raspberries across the surface. Dot the reserved batter randomly over the top so some custard peeks through.
Step 7: Bake to Golden Perfection
Bake for 25 to 30 minutes, until the top turns golden but the center still looks slightly soft. Because of the custard layer, a skewer won’t come out clean, so trust the color and gentle wobble instead. Let the tray cool completely before slicing.
Additional Tips for Making This Recipe Better
I’ve made this a handful of times now, and these little tweaks have genuinely improved the results for me.
- I always let my butter cool for a few minutes before adding it to the sugar mixture, or the egg starts to cook and turns rubbery.
- I use room-temperature eggs since they blend into the batter far more smoothly than cold ones.
- I pat my raspberries dry with a paper towel before adding them, which keeps the batter from turning soggy.
- I chill the blondies fully before slicing, since warm custard makes for a messy cut.
- I line my tin with paper on all sides, not just the bottom, because it makes lifting the whole slab out so much simpler.
Common Mistakes to Avoid
- I once used frozen raspberries straight from the freezer, and they released too much liquid, leaving the batter underbaked in spots.
- I’ve overmixed the flour into the batter before, which made the blondies dense instead of fudgy.
- I skipped cooling the custard once, and it melted straight into the batter instead of staying as a distinct layer.
- I tried slicing them too soon after baking, and the custard layer just oozed everywhere.
- I underbaked mine one time because I expected a clean skewer test, but this recipe needs a slight wobble, not a dry skewer.
How to Serve Raspberry & Custard Blondies?
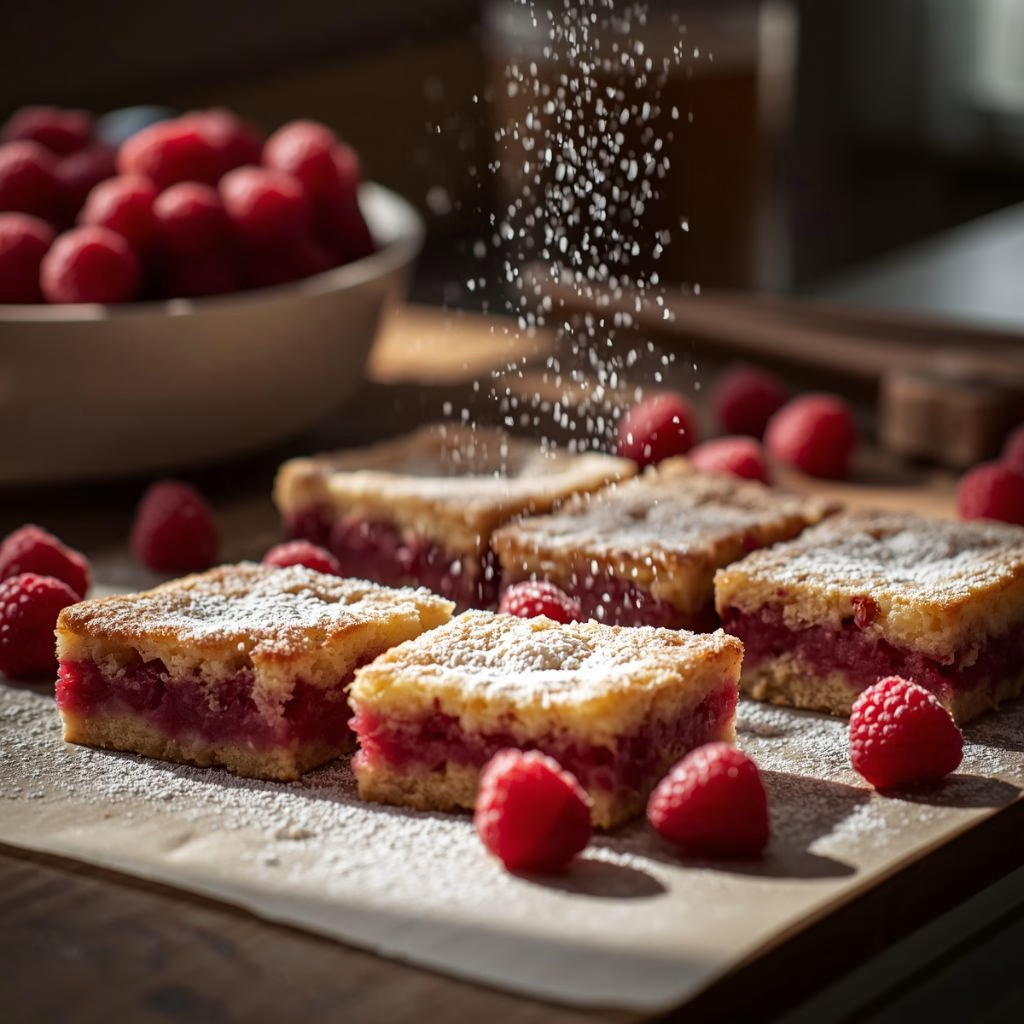
I like cutting these into neat squares and dusting the tops lightly with powdered sugar right before serving. A few extra fresh raspberries scattered on the plate make the presentation feel a little more special.
These blondies taste wonderful slightly chilled with a cup of tea or coffee, but they’re just as good served a touch warm with a small scoop of vanilla ice cream melting over the top.
For gatherings, I arrange them on a wooden board with mint leaves tucked between the squares for a simple, pretty display. If you enjoy creative comfort food with a similar homemade feel, Samosadilla Recipe is another delicious favorite to try.
Variations
- Swap the whole milk for a plant-based milk and use a dairy-free butter alternative for a fully dairy-free version. The same approach works wonderfully in Vegan Matar Paneer With Tofu Recipe, making it a great option for plant-based meals.
- Replace the sugar with a sugar substitute if you’re watching your sugar intake, though the texture will turn out slightly less fudgy.
- Stir white chocolate chips into the batter for a sweeter, richer bite alongside the raspberries.
- Try blackberries or chopped strawberries in place of raspberries for a different fruity twist.
- Add a pinch of cinnamon or cardamom to the batter for a warmer, spiced flavor note.
Nutritional Information
Here’s a rough idea of what one square of these blondies offers, though exact values depend on your specific ingredients.
- Calories: around 180 per square
- Protein: around 3 g per square
- Carbohydrates: around 24 g per square
- Fat: around 8 g per square
Make Ahead and Storage
These blondies are wonderful for making ahead since the flavors deepen slightly after resting for a day in the fridge. Store the sliced squares in an airtight container in the refrigerator, where they’ll stay fresh for up to five days.
If you’d like to freeze them, wrap individual squares tightly in plastic wrap and place them in a freezer-safe bag for up to two months. Thaw them in the fridge overnight before enjoying, since the custard layer needs gentle, slow defrosting to keep its texture.
Why You’ll Love This Recipe?
There’s a lot to love about this simple bake, and here’s why it’s become a regular in my kitchen.
- It’s incredibly easy to make: everything comes together with just a saucepan, a bowl, and a whisk, so there’s barely any cleanup afterward.
- It’s a fun twist on classic blondies: the custard layer adds a soft, creamy surprise that regular blondies just don’t have.
- It’s easy to customize: you can swap the fruit, add chocolate, or adjust the sweetness without ruining the recipe.
- It travels and stores well: these squares hold up beautifully in the fridge, making them perfect for lunchboxes or make-ahead desserts.
- It balances sweet and tart perfectly: the tangy raspberries cut through the rich, buttery batter so it never feels too heavy.
FAQs
Can I use frozen raspberries instead of fresh?
I wouldn’t recommend it, since frozen raspberries release extra moisture as they bake and can leave your batter underbaked. If that’s all you have, thaw and pat them very dry first.
What can I use instead of custard powder?
You can make a quick custard from scratch using egg yolks, milk, sugar, and cornstarch, or use store-bought ready-made custard instead. Just make sure it’s thick enough to hold its shape once baked.
Can I turn this into raspberry chocolate chip blondies?
Yes, simply stir a handful of chocolate chips into the batter before layering in the custard and raspberries. It adds extra richness alongside the fruity, custardy middle.
How do rhubarb custard blondies compare to this recipe?
Rhubarb custard blondies use chopped rhubarb instead of raspberries, giving a similar tart contrast but with a slightly firmer bite. The custard and batter method stays basically the same.
Can I make raspberry cheesecake blondies with this base?
You can swap the custard layer for a sweetened cream cheese mixture to get a cheesecake-style version instead. It bakes similarly and still pairs beautifully with the raspberries on top.
Is this the same as raspberry custard bars?
They’re very close cousins, since both feature a custard layer baked between a sweet base and fruit. The main difference is that blondies usually have a thicker, chewier batter than a bar recipe.
Can I use white chocolate for a raspberry and white chocolate version?
Absolutely, just fold in chopped white chocolate along with the raspberries for a sweeter, creamier variation. It pairs particularly well with the tang of the fruit.

Raspberry & Custard Blondies Recipe
Ingredients
Method
- Preheat your oven to 180°C (350°F) and line your square baking tin with baking paper, letting a little hang over the edges. This makes it so much easier to lift the finished blondies out later. Set the tin aside while you get started on the custard and batter.
- In a saucepan, whisk together the milk and custard powder over medium-low heat. Keep whisking constantly so no lumps form as it thickens. Once it’s thick enough to coat the back of a spoon, pour it into a bowl and let it cool while you work on the batter.
- Using the same saucepan, melt the butter over low heat until it foams and turns a light golden color with a nutty aroma. This step adds serious depth of flavor to the final blondies. Once it stops foaming, take it off the heat and let it cool slightly.
- In a mixing bowl, whisk the brown sugar, egg, and lemon zest together until the mixture turns pale and slightly fluffy. Pour in the cooled melted butter and stir until fully combined. This forms the sweet, buttery foundation of your blondie.
- Sprinkle in the flour and salt, then stir just until you no longer see streaks of flour. Overmixing at this stage can make the blondies tough, so stop as soon as it looks combined. The batter should be thick and slightly sticky.
- Spread most of the batter into your prepared tin, saving a few spoonfuls for the top. Pour the cooled custard evenly over the batter, then scatter the raspberries across the surface. Dot the reserved batter randomly over the top so some custard peeks through.
- Bake for 25 to 30 minutes, until the top turns golden but the center still looks slightly soft. Because of the custard layer, a skewer won’t come out clean, so trust the color and gentle wobble instead. Let the tray cool completely before slicing.
Notes
- I always let my butter cool for a few minutes before adding it to the sugar mixture, or the egg starts to cook and turns rubbery.
- I use room-temperature eggs since they blend into the batter far more smoothly than cold ones.
- I pat my raspberries dry with a paper towel before adding them, which keeps the batter from turning soggy.
- I chill the blondies fully before slicing, since warm custard makes for a messy cut.
- I line my tin with paper on all sides, not just the bottom, because it makes lifting the whole slab out so much simpler.