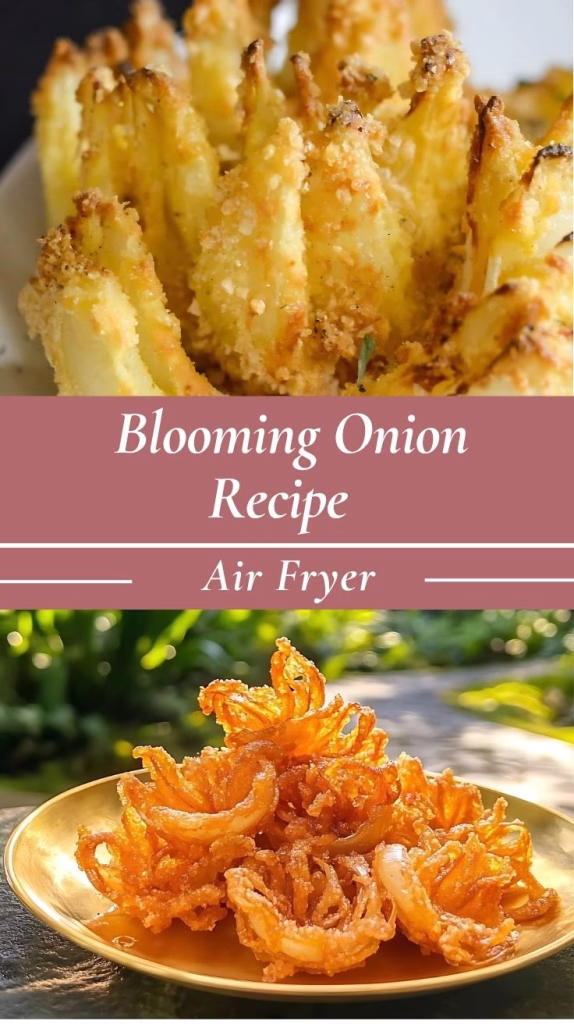
Making a blooming onion recipe in the air fryer is one of those cooking adventures that never gets old. It’s crispy, flavorful, and way less greasy than the deep-fried version you’d get at a restaurant. I remember the first time I tried making one — I was worried it wouldn’t turn out crispy, but the air fryer proved me wrong.
If you’re like me and you enjoy recreating restaurant favorites at home with a healthier twist, this dish is a total winner.
Getting That Perfect Bloom
Let’s be honest — the most exciting part of a blooming onion is pulling apart those crispy “petals.” The key to that perfect bloom lies in how you cut the onion. Don’t rush this part. Use a sharp knife, and make sure not to cut all the way through the root.
That root holds everything together. Once it’s sliced and soaked in cold water for about 30 minutes, you’ll see it naturally start to spread out like a flower. I usually do this step first and prep everything else while the onion is soaking.
Another small tip: make sure your onion is large and fresh. I’ve found that sweet onions like Vidalia or Walla Walla work best because they’re milder and sweeter once cooked. They also crisp up beautifully in the air fryer. They also crisp up beautifully in the air fryer — just like when you’re making an air fryer wings recipe for game day.
The Breading Game
Getting the breading to stick can be a bit tricky, but it’s not hard once you know what works. I always go with a flour-egg-flour method. First, coat the onion in seasoned flour, then dip it into a well-beaten egg mixture, and finish with another coat of flour or breadcrumb mix. If you’re using panko or crushed cornflakes for extra crunch, even better. Just make sure every crevice gets coated. I sometimes use a spoon to help press the breading into all the nooks.
One mistake I made early on was not pressing the coating in enough. If you just lightly toss it, it’ll fall right off in the air fryer. Take a few extra minutes to really work the coating in — it makes a huge difference.

Don’t Skip the Oil Spray
Even though you’re using an air fryer, don’t skip the oil spray. It’s essential for getting that golden color and crunchy texture. I use a light spray of avocado or olive oil. Avoid aerosol sprays that can damage the air fryer basket — I use a refillable mister instead. Spray generously over the entire onion before cooking.
How Long Do You Air Fry It?
It really depends on the size of your onion and your air fryer model. But generally, 350°F (175°C) for about 20–25 minutes works great for me. I usually check around the 15-minute mark and give it another quick spray if any spots look too dry. If your air fryer cooks unevenly, rotating the onion halfway through helps a lot.
One thing I learned the hard way — don’t overcrowd the basket. The blooming onion needs space for the air to circulate, or it’ll end up soggy. If you have a smaller air fryer, it’s worth trimming the onion a bit or just going with a medium size instead of large.
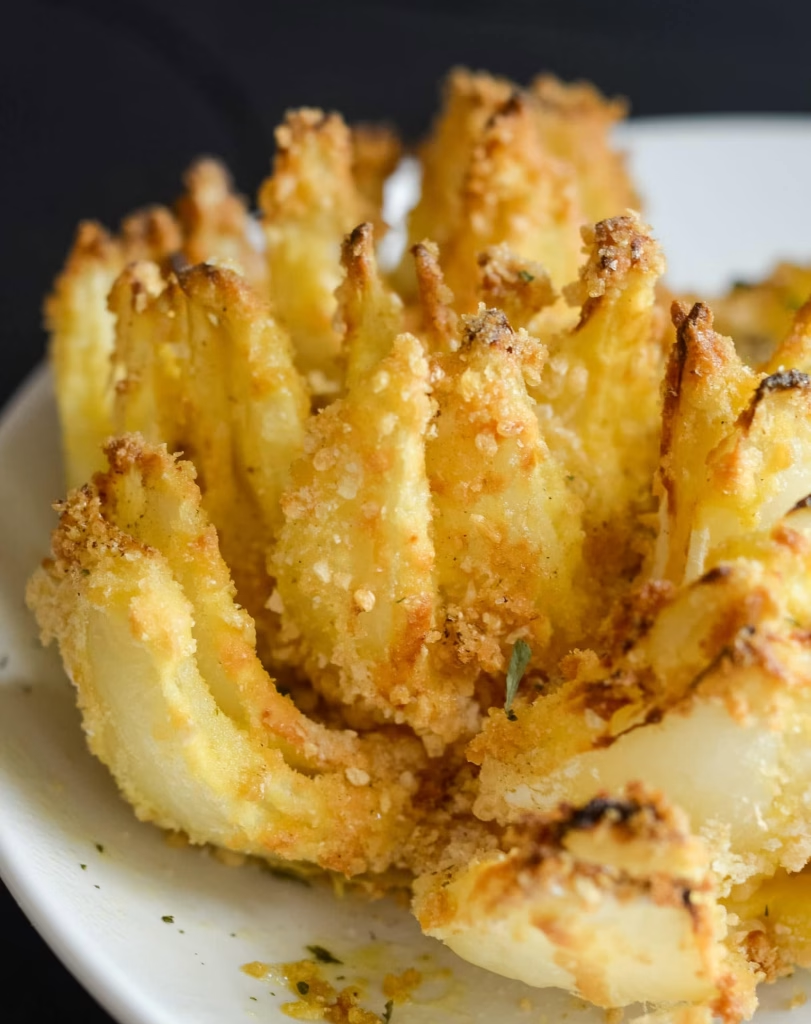
Serving It Up
I love serving this straight from the air fryer. That’s when the onion is at its crispiest and tastiest. Pair it with a dipping sauce — something creamy with a little kick, like a spicy ranch or a sriracha-mayo blend. I’ve even served it as a fun appetizer at family dinners, and it’s always the first thing to disappear.
If you’re making it for guests, prep everything ahead of time — slice, coat, and store it in the fridge. Then just pop it into the air fryer when you’re ready. It’s a game-changer when you want to be hands-off while entertaining. I often serve it alongside other crowd-pleasers like the pork belly air fryer recipe for variety.
Storage and Reheating Tips
Got leftovers? Don’t worry — a blooming onion actually holds up better than you’d expect. Store any leftovers in an airtight container in the fridge. I usually wrap mine in parchment paper first to absorb any moisture and keep the coating from getting too soggy.
When it comes to reheating, skip the microwave. Trust me on this one — it’ll turn into a sad, limp mess. Instead, reheat it in the air fryer at 350°F for 5–8 minutes. It’ll crisp right back up and taste nearly as good as when it was fresh.
Can You Make It Ahead?
Yes, and I often do. You can prep the onion — slicing, coating, and refrigerating — up to a day ahead. Just make sure it’s tightly wrapped or stored in a covered container so the breading doesn’t get soft. When you’re ready to cook, take it out, spray with oil, and go straight into the air fryer.
This works well if you’re making a big meal and want to get a head start. And if you’re hosting game night or a casual party, having a blooming onion ready to go in the air fryer makes you look like a total pro — especially when it’s part of a full spread that includes favorites like the Air Fryer Whole Chicken Recipe.
Gluten-Free or Vegan Versions?
Absolutely! For a gluten-free version, use almond flour or a gluten-free breadcrumb blend. I’ve also used crushed rice crackers once in a pinch — it turned out great. For a vegan blooming onion, just swap the egg wash with a mix of almond milk and a tablespoon of cornstarch. It’s surprisingly effective and helps the coating stick really well.
Common Mistakes to Avoid
If you’re trying this for the first time, here are a few things I wish someone had told me sooner:
- Don’t use too small an onion. It won’t hold the “bloom” as well.
- Avoid slicing too deep into the root — once that falls apart, the whole onion collapses.
- Make sure your batter isn’t too wet or too dry. I like to let the egg mixture drip off a little before the second flour coat.
- Give the air fryer a few minutes to preheat. Starting cold can lead to uneven cooking.
Is It Healthier Than the Deep-Fried Version?
I’m not a nutritionist, but from a practical point of view, yes. Air frying cuts out most of the oil, and you don’t get the greasy aftermath. That means fewer calories and way less cleanup. And honestly, I don’t miss the deep-fried version anymore. The air fryer gives you the crunch without the guilt, and it’s just as satisfying.
Blooming Onion Recipe Air Fryer
Ingredients
Method
- First, slice off about ½ inch from the top to give it a flat base and peel off the outer skin. Place the onion cut-side down with the root facing up. Make four vertical cuts, evenly spaced, starting about ½ inch from the root so you leave it intact—that root is what keeps it together. Then, slice twice more in each of the four sections so you wind up with 16 petals. Flip it over and let it sit five minutes to let the petals open naturally—you’ll be amazed at how it transforms into a flower.
- In one bowl, whisk together flour, paprika, cayenne, cumin, thyme, oregano, salt, and pepper. With cut-side up in a clean bowl, coat the onion thoroughly with this seasoned flour, working it into each petal—this step is crucial for even flavor. Tap off the excess flour, then dip the onion into your egg-milk-water mixture, letting any extra drip back. Transfer it back to the flour and coat again, gently tapping off any surplus so you’ve got a thin, even layer that won’t weigh it down.
- After coating, pop the onion into the fridge while you preheat the air fryer to 350°F for about 10 minutes. This chill firm ups the coating, helps it set, and ensures even cooking once air frying begins—definitely don’t skip it.
- Take the onion out of the fridge, spritz it with oil until the petals glisten, and place it in the air fryer basket using an aluminum foil sling. Cook for 20 minutes, then pause to spray again—especially on any pale or floury spots—and cook another 5 minutes. The result? A gorgeous, golden‑brown bloom with crispy edges and a tender interior, just like a restaurant appetizer.
- Gently lift the blooming onion out with the foil sling, season it with a little extra salt and pepper, and serve right away with your favorite dipping sauce—think spicy ranch, cheese dip, or the classic blooming onion sauce.