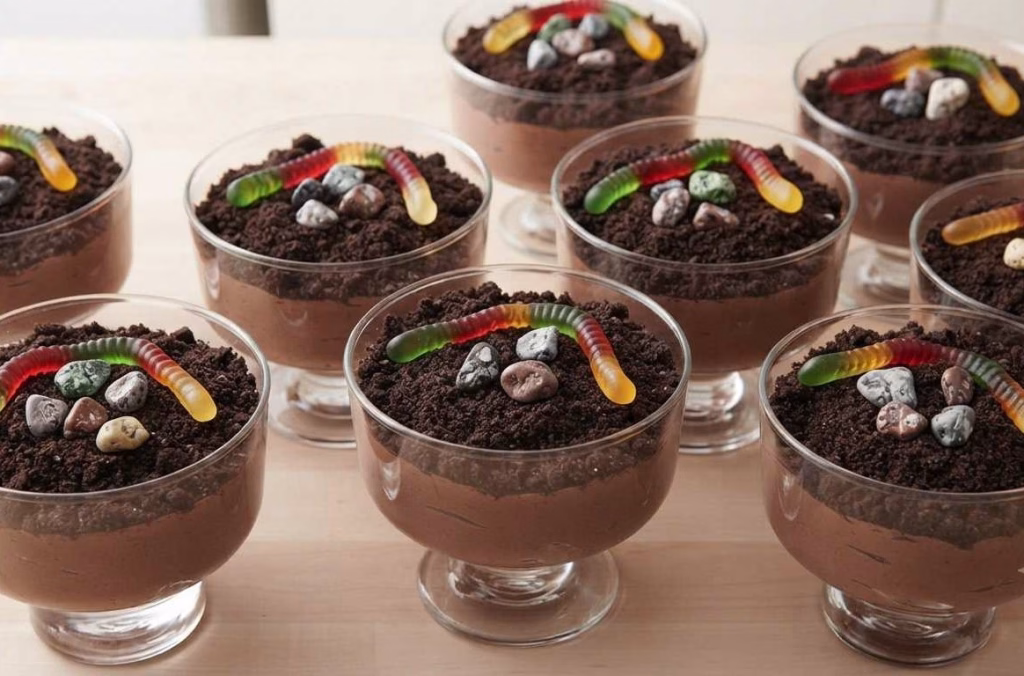
The first time I made this Dirt Pudding Cup Recipe, I couldn’t believe how quickly they came together. I wanted a fun dessert that looked adorable without spending hours in the kitchen. After one bite, I knew this recipe would become a family favorite because it is creamy, chocolaty, and packed with crunchy cookie crumbs.
I especially love making these for birthdays, summer gatherings, and kids’ parties because everyone smiles when they see the gummy worms on top. If you’re looking for a simple no-bake dessert that’s both nostalgic and delicious, this recipe is definitely worth trying.

Ingredients
You’ll only need a handful of simple ingredients to create these fun dessert cups.
- 1 package (15 ounces) chocolate sandwich cookies (about 30 cookies) – Crush them into fine crumbs for the perfect “dirt” texture. Keeping the cream filling adds extra sweetness and helps the crumbs stick together.
- 1 package (3.9 ounces) instant chocolate pudding mix – Be sure to use instant pudding instead of cook-and-serve for the right consistency.
- 2 cups cold milk – Cold milk helps the pudding thicken quickly and creates a smooth filling.
- 1½ cups heavy whipping cream – Freshly whipped cream makes the pudding light, fluffy, and rich.
- 24 gummy worms – These create the classic dirt dessert look and make the cups fun for kids and adults alike.
- Chocolate candy rocks (optional) – Add them for an extra realistic garden or dirt effect.
Note: The ingredients above make approximately 8 individual Dirt Pudding Cups, depending on the size of your serving cups.
Variations
There are many ways to customize these Dirt Pudding Cups.
- Use vanilla, French vanilla, or banana instant pudding for a different flavor.
- Replace homemade whipped cream with one 8-ounce container of whipped topping for convenience.
- Try flavored chocolate sandwich cookies like red velvet or mint for a unique twist.
- Use sour gummy worms for a tangy surprise.
- Add chocolate chips or mini marshmallows for extra texture.
- Choose dairy-free milk and dairy-free whipped topping for a dairy-free version.
- Use sugar-free instant pudding and sugar-free cookies if you’re reducing sugar intake.
Cooking Time
This is a quick no-bake dessert that’s perfect when you’re short on time.
- Prep Time: 10 minutes
- Cooking Time: 0 minutes
- Total Time: About 20 minutes (including chilling and pudding setting time)
Equipment You Need
- Food Processor – Quickly crushes cookies into fine crumbs.
- Rolling Pin – Alternative for crushing cookies inside a zip-top bag.
- Large Mixing Bowl – Used for mixing the pudding.
- Hand Mixer or Stand Mixer – Whips the cream until fluffy.
- Whisk – Blends pudding smoothly without lumps.
- Rubber Spatula – Gently folds whipped cream into the pudding.
- Serving Cups or Jars – Perfect for individual dessert servings.
- Measuring Cups – Ensures accurate ingredient portions.
How to Make a Dirt Pudding Cup Recipe?
Making these Dirt Pudding Cups is incredibly simple and enjoyable. The recipe comes together in three easy stages: preparing the cookie crumbs, making the creamy chocolate filling, and assembling the dessert cups. Even beginners can make this recipe successfully.
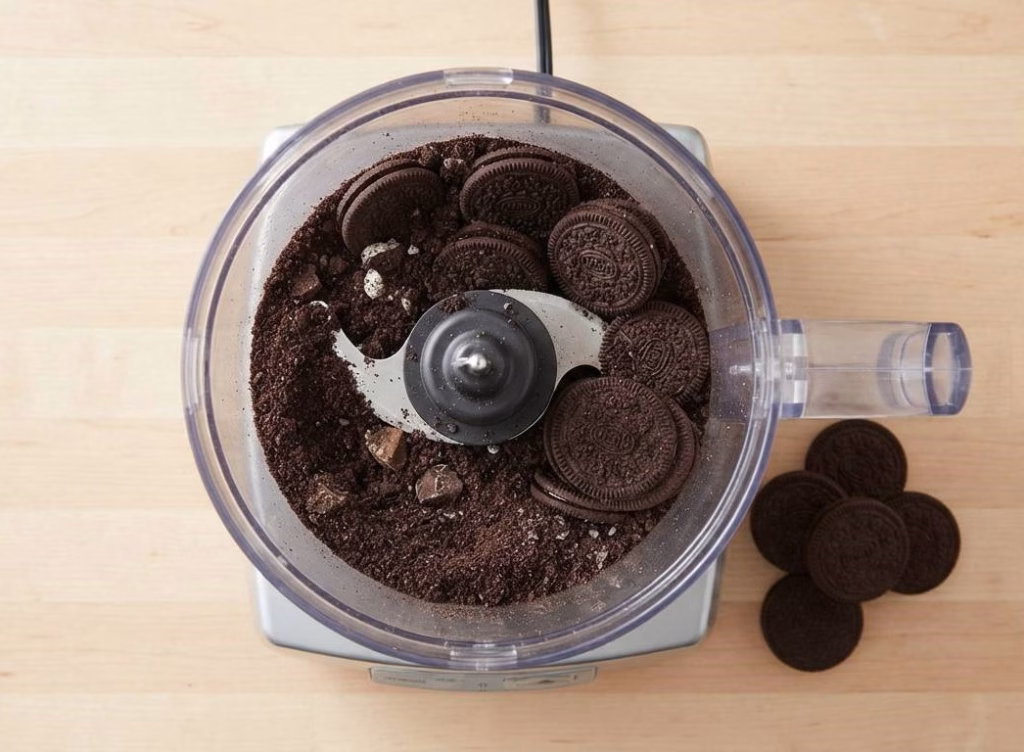
Prepare the Cookie Crumbs
Place the chocolate sandwich cookies into a food processor and pulse until they become fine crumbs. If you don’t have a processor, place them in a sturdy zip-top bag and crush them with a rolling pin. Leave a few slightly larger crumbs for extra crunch.
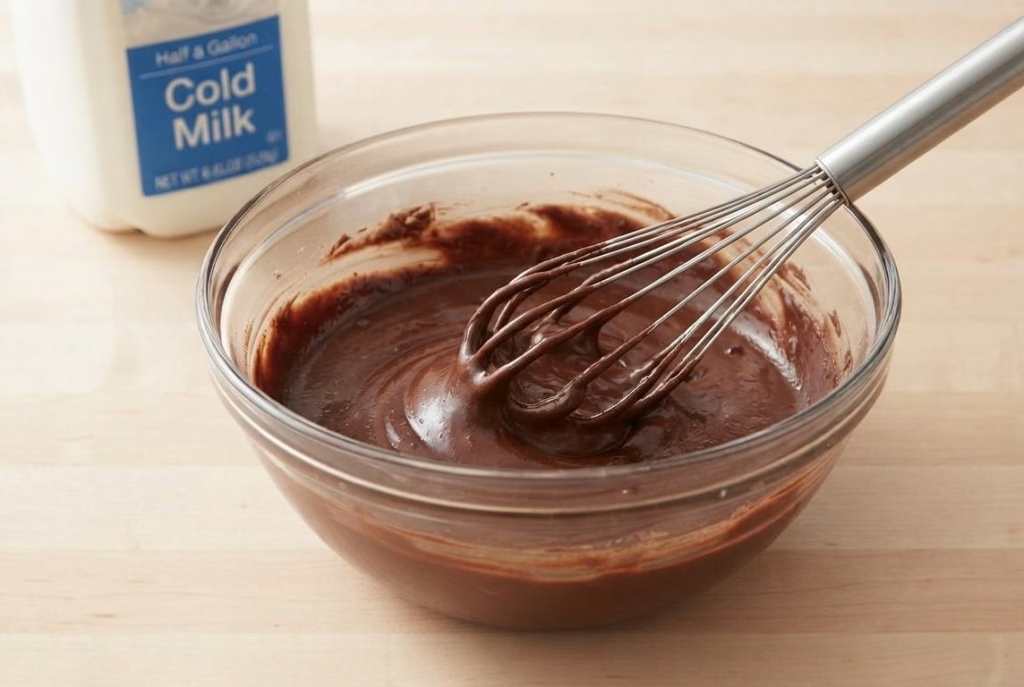
Make the Chocolate Pudding
Whisk together the instant chocolate pudding mix and cold milk until completely smooth. Let the mixture sit for about 5 to 7 minutes so it thickens into a creamy pudding consistency.
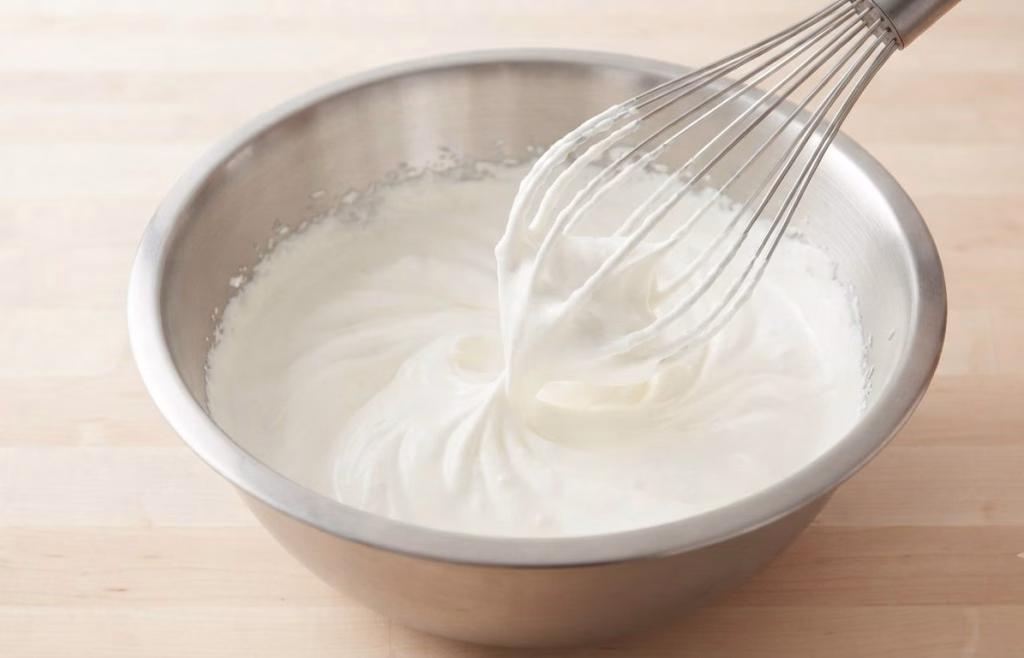
Whip the Cream
In another bowl, whip the heavy cream until medium peaks form. This creates a light and airy texture that makes the dessert extra creamy.
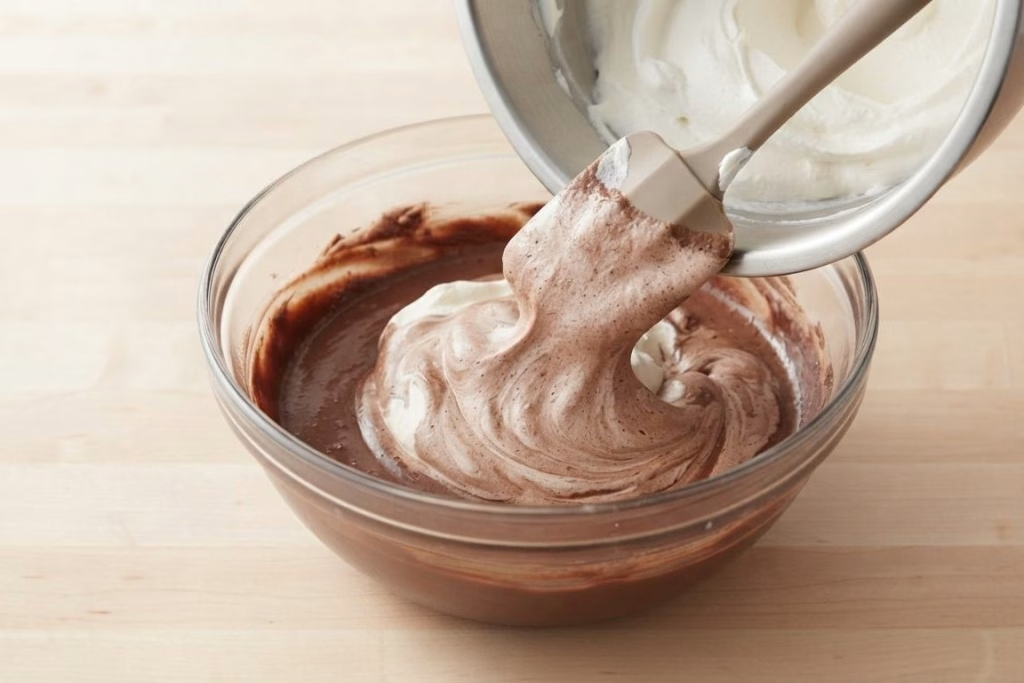
Fold Everything Together
Gently fold the whipped cream into the thickened pudding using a spatula. Mix carefully so the filling stays fluffy and smooth without losing volume.
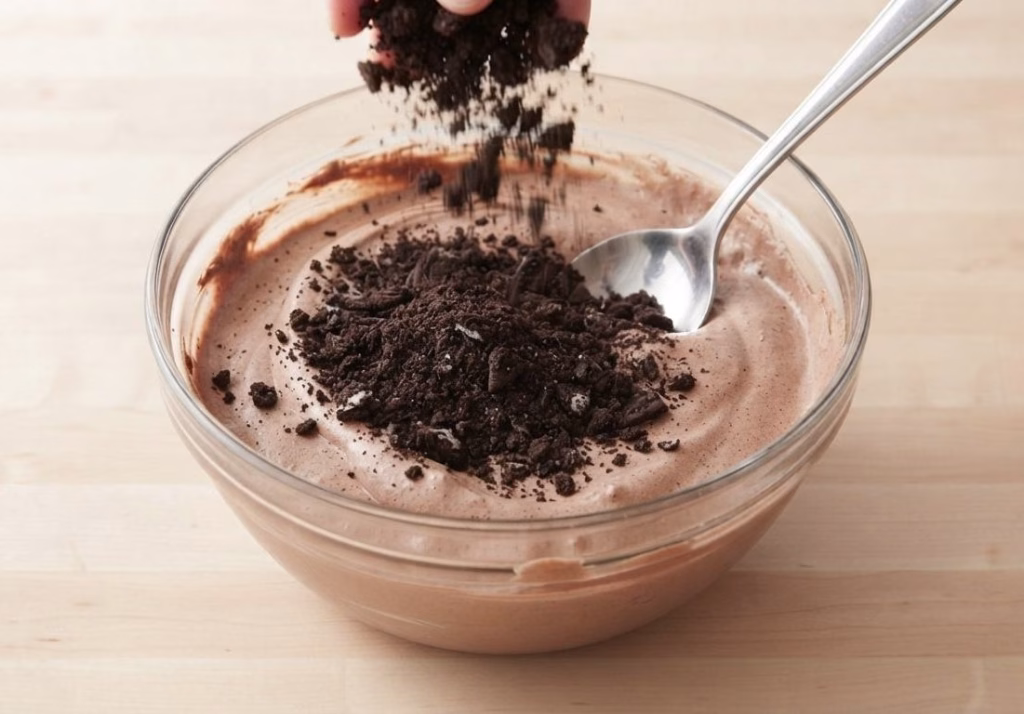
Add the Cookie Crumbs
Stir about three-quarters of the crushed cookie crumbs into the pudding mixture. This creates the signature dirt appearance while adding a delicious chocolate cookie crunch.
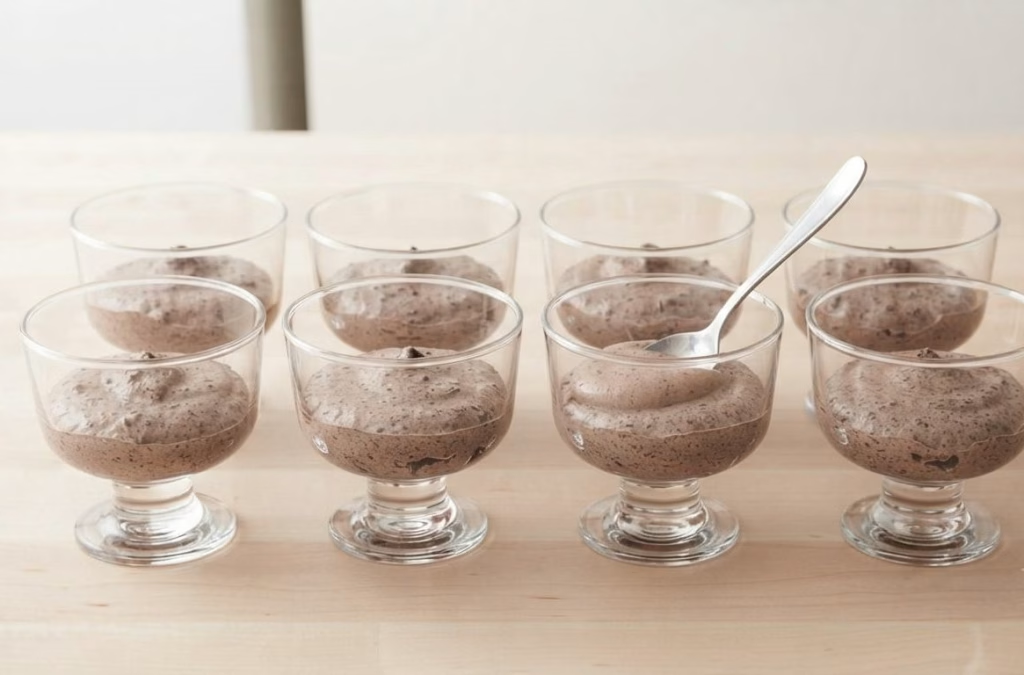
Fill the Cups
Divide the pudding mixture evenly among eight serving cups or small jars. Smooth the tops with the back of a spoon for an even finish.
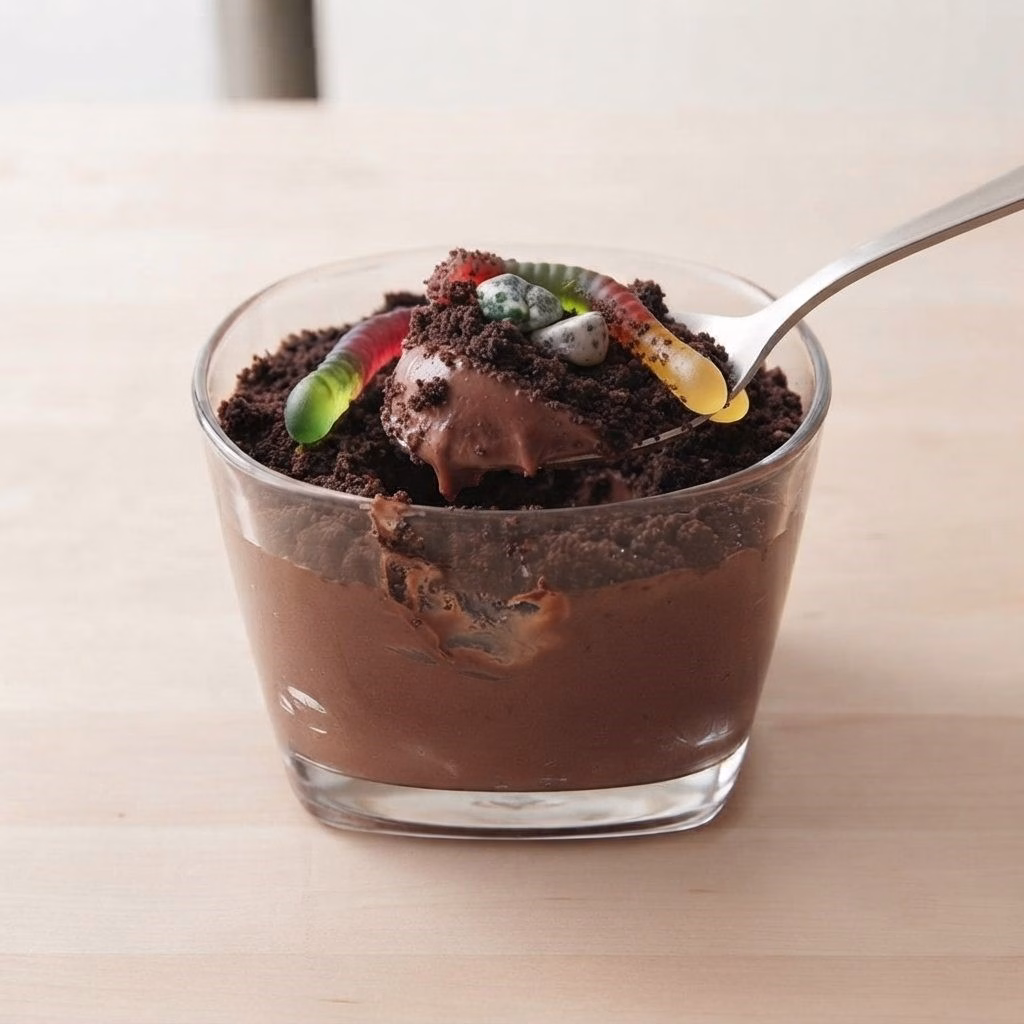
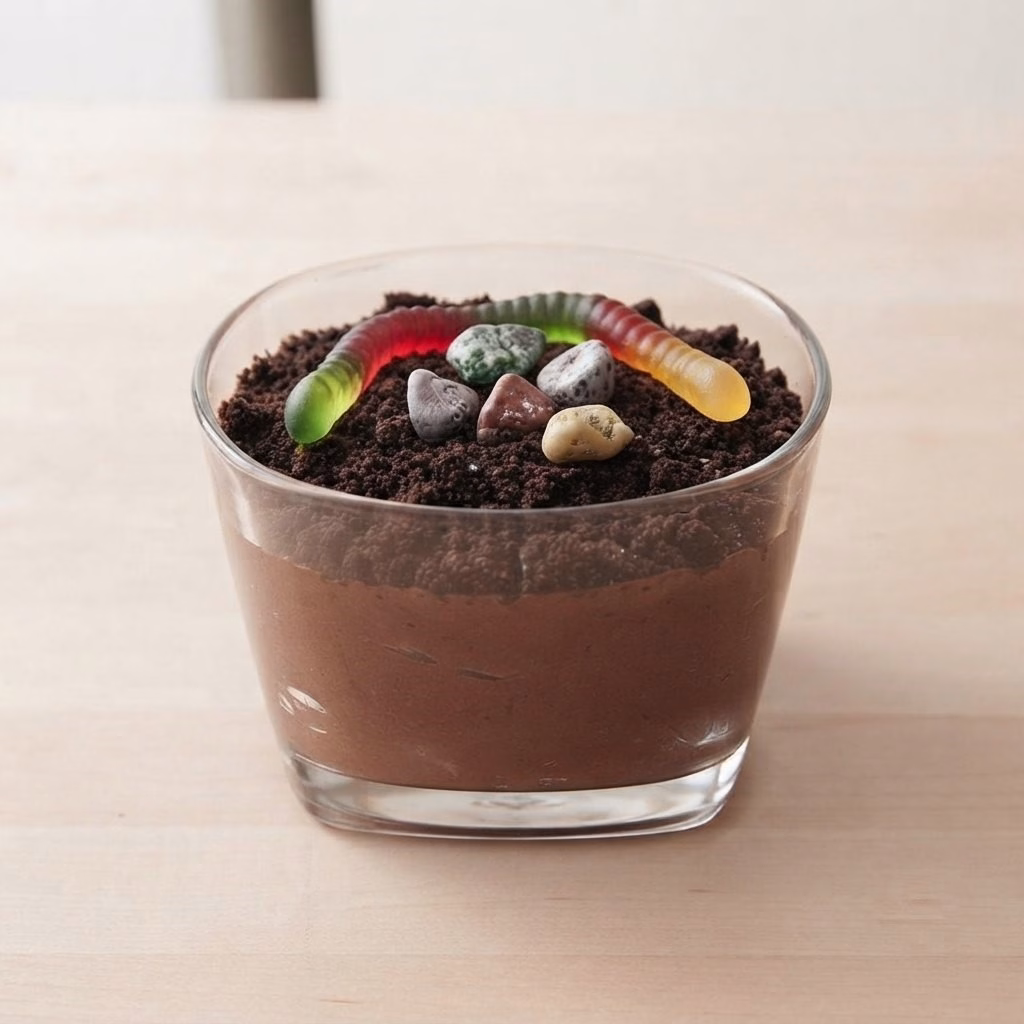
Decorate Like Dirt
Sprinkle the remaining cookie crumbs over each cup to resemble fresh soil. Add three gummy worms to each serving and decorate with chocolate rocks if desired.
Chill and Serve
Refrigerate the cups until you’re ready to serve. They taste wonderful chilled, and the flavors blend together beautifully after resting for a little while.
Additional Tips for Making this Recipe Better
After making these Dirt Pudding Cups several times, I discovered a few tricks that make them even better.
- I always use cold milk because the pudding thickens much faster and becomes smoother.
- I prefer whipping fresh heavy cream instead of using whipped topping because it gives the dessert a richer flavor.
- I leave a few larger cookie pieces in the crumbs since they add a nice crunchy texture.
- I usually add the gummy worms right before serving so they stay soft and colorful.
- I like chilling the dessert for at least 30 minutes because the flavors become even more delicious. It also pairs nicely with the Mediterranean Lentil Salad Recipe when you’re planning a complete lunch or picnic menu.
- I sometimes decorate with chocolate rocks or candy flowers for themed parties.
How to Serve Dirt Pudding Cup Recipe?
These adorable dessert cups are easy to dress up for any occasion.
Serve them in clear plastic cups, mason jars, or dessert glasses so the beautiful chocolate layers are visible. Top each cup with gummy worms, chocolate rocks, crushed cookies, or edible flowers for a playful presentation.
They make wonderful desserts for birthday parties, Halloween celebrations, BBQs, camping trips, school events, and family gatherings. For a balanced spread, you can also serve the Chickpea Avocado Feta Salad Recipe alongside other fresh dishes before dessert. You can even add mini spoons tied with colorful ribbon for an extra-special touch.
Nutritional Information
Each serving provides an indulgent balance of creamy chocolate and cookies.
- Calories: Approximately 296 kcal
- Protein: 5 g
- Carbohydrates: 28 g
- Fat: 19 g
Make Ahead and Storage
These Dirt Pudding Cups are an excellent make-ahead dessert because they stay delicious for several days.
Make Ahead
Prepare the pudding cups one day before your event and refrigerate them. For the freshest presentation, wait until just before serving to add the gummy worms and final cookie crumb topping.
Storage
Cover each dessert cup tightly with plastic wrap or an airtight lid and refrigerate. They stay fresh for about 5 days, although the cookie crumbs gradually soften over time.
Freezing
Freezing is not recommended because the pudding and whipped cream can separate after thawing. The texture becomes grainy instead of smooth.
Restoring Before Serving
If the cookie topping becomes soft during storage, sprinkle fresh crushed cookies over the top before serving. Replace gummy worms with fresh ones if needed for the best appearance.
Why You’ll Love This Recipe?
This dessert is a guaranteed crowd-pleaser for both kids and adults. Here are a few reasons why it deserves a spot in your recipe collection.
- Quick and Easy: It takes only about 20 minutes from start to finish, making it ideal for busy days.
- No Baking Required: There’s no need to turn on the oven, making it perfect for warm weather.
- Kid-Friendly: Children love helping crush cookies, decorate with gummy worms, and assemble the cups.
- Easy to Customize: You can switch pudding flavors, cookies, candies, and toppings to create endless variations.
- Perfect for Parties: Individual servings are convenient, portable, and always a hit at birthdays, picnics, BBQs, and holiday celebrations.
Dirt Pudding Cup Recipe
Ingredients
Method
- Place the chocolate sandwich cookies into a food processor and pulse until they become fine crumbs. If you don’t have a processor, place them in a sturdy zip-top bag and crush them with a rolling pin. Leave a few slightly larger crumbs for extra crunch.
- Whisk together the instant chocolate pudding mix and cold milk until completely smooth. Let the mixture sit for about 5 to 7 minutes so it thickens into a creamy pudding consistency.
- In another bowl, whip the heavy cream until medium peaks form. This creates a light and airy texture that makes the dessert extra creamy.
- Gently fold the whipped cream into the thickened pudding using a spatula. Mix carefully so the filling stays fluffy and smooth without losing volume.
- Stir about three-quarters of the crushed cookie crumbs into the pudding mixture. This creates the signature dirt appearance while adding a delicious chocolate cookie crunch.
- Divide the pudding mixture evenly among eight serving cups or small jars. Smooth the tops with the back of a spoon for an even finish.
- Sprinkle the remaining cookie crumbs over each cup to resemble fresh soil. Add three gummy worms to each serving and decorate with chocolate rocks if desired.
- Refrigerate the cups until you’re ready to serve. They taste wonderful chilled, and the flavors blend together beautifully after resting for a little while.
Notes
- I always use cold milk because the pudding thickens much faster and becomes smoother.
- I prefer whipping fresh heavy cream instead of using whipped topping because it gives the dessert a richer flavor.
- I leave a few larger cookie pieces in the crumbs since they add a nice crunchy texture.
- I usually add the gummy worms right before serving so they stay soft and colorful.
- I like chilling the dessert for at least 30 minutes because the flavors become even more delicious.
- I sometimes decorate with chocolate rocks or candy flowers for themed parties.