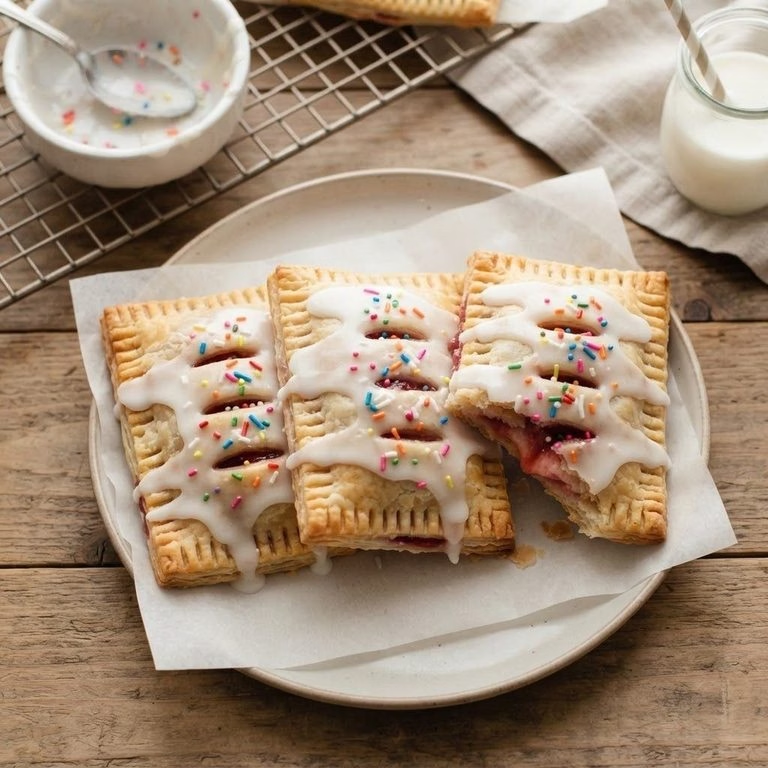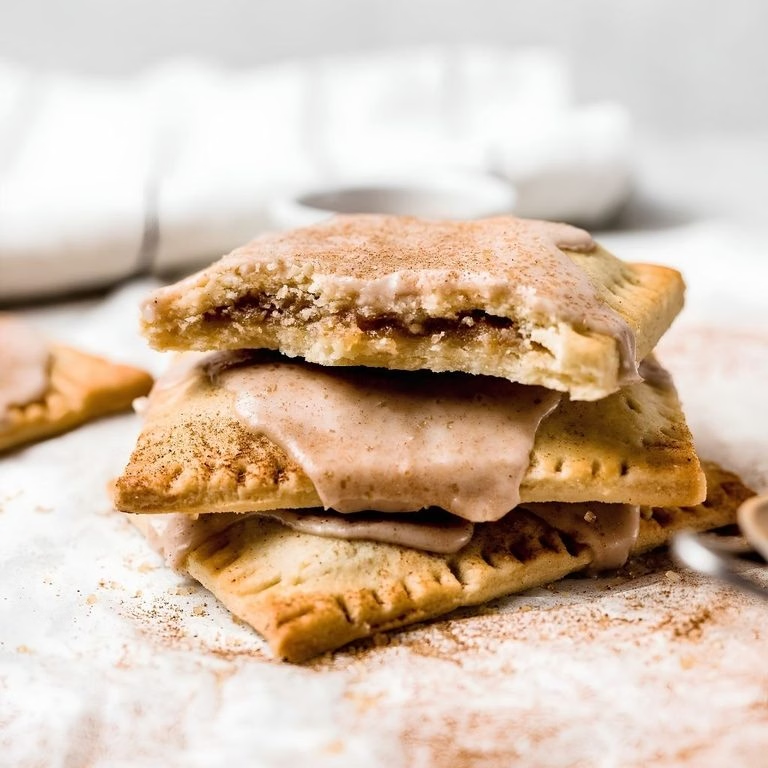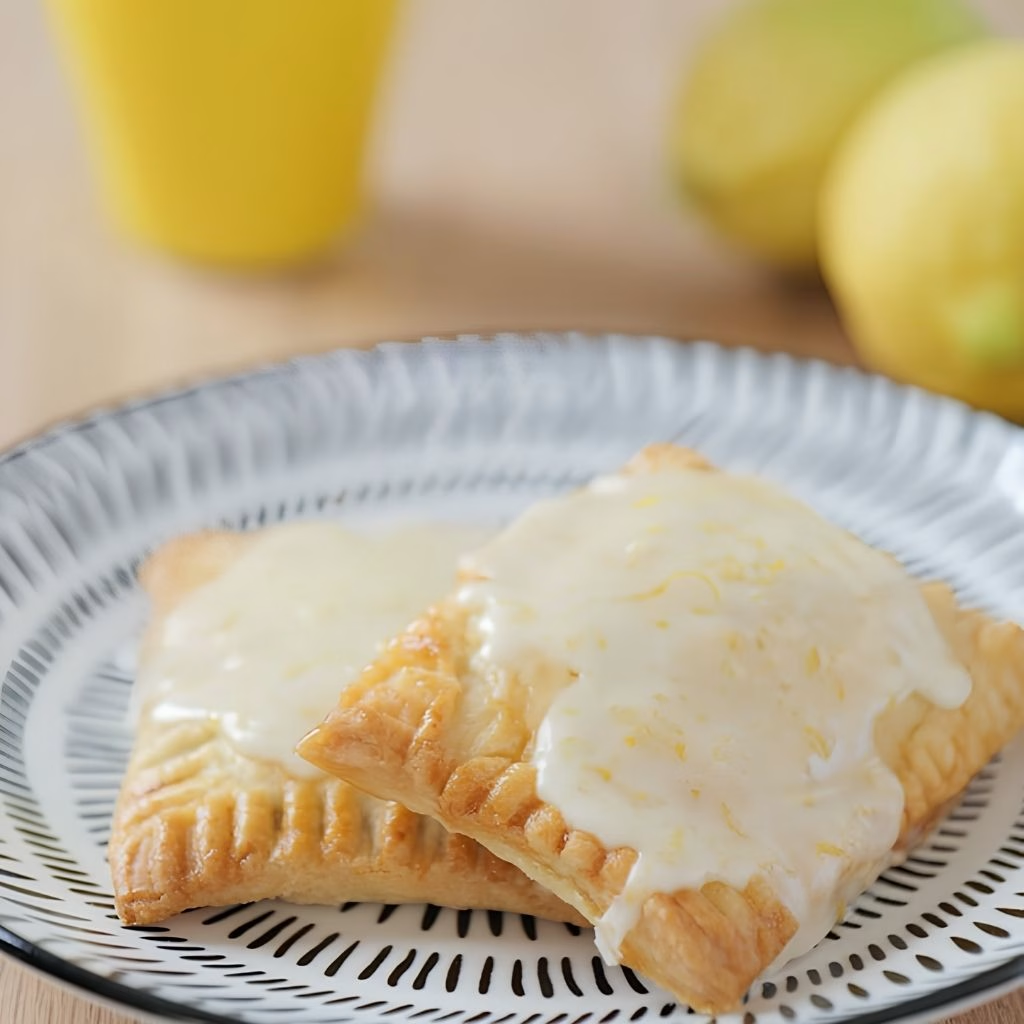
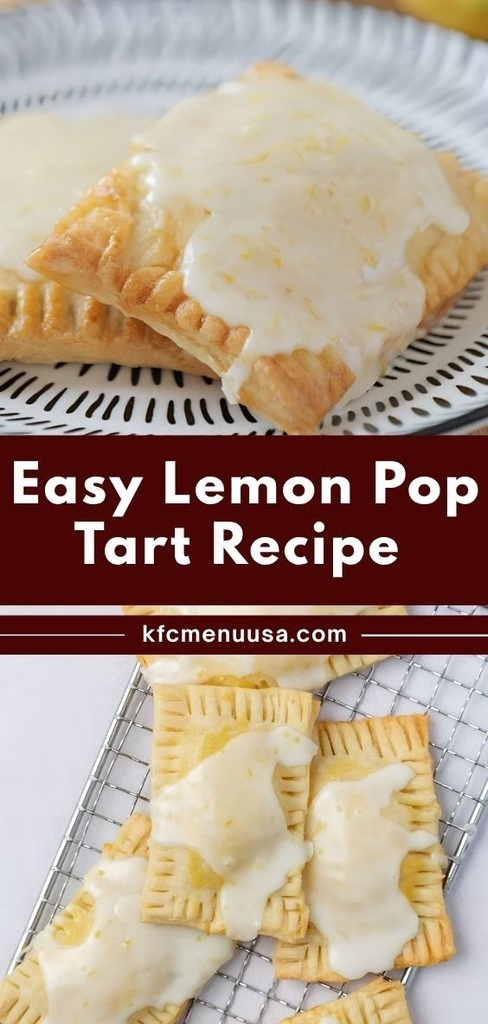
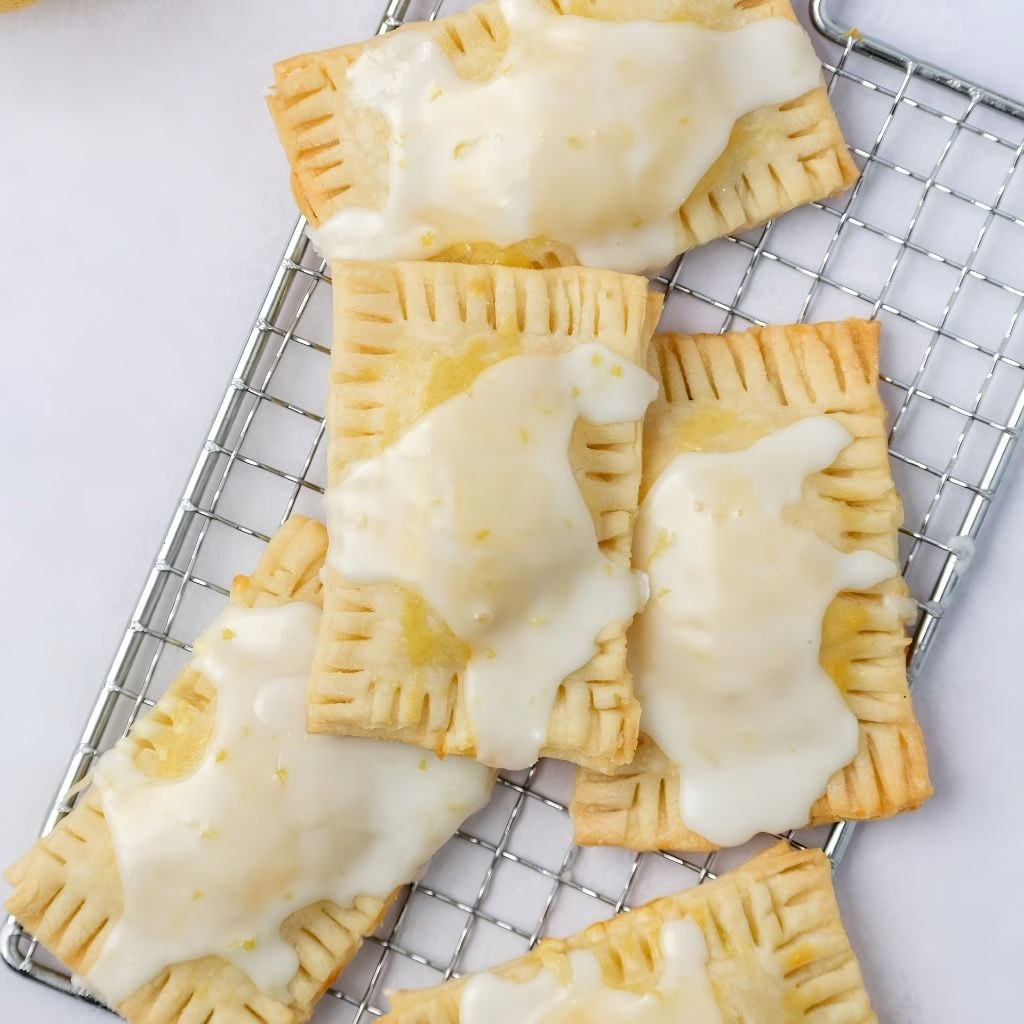
I still remember the first time I pulled a batch of Easy Lemon Pop Tart Recipe out of my oven, and I honestly couldn’t believe how much better they smelled than anything from a foil pouch. I make my own flaky pastry, tuck in a generous spoonful of bright, tangy lemon curd, and finish everything off with a sweet lemon glaze that sets into a delicate, crackly shell.
Once I figured out the little tricks that keep the dough cold and the filling from leaking, this became one of my go-to weekend baking projects. It’s the kind of recipe that makes my kitchen smell like a bakery, and it never lasts long once my family spots it cooling on the counter. If you’ve ever wondered how to recreate that nostalgic toaster pastry feeling but with real, fresh ingredients, this is the recipe I keep coming back to.
Cooking Time
- Prep Time: 40 minutes (plus 1 hour chilling)
- Cooking Time: 22–25 minutes
- Total Time: About 2 hours
Ingredients
- 2 1/2 cups all-purpose flour – the base of your flaky, sturdy pastry shell
- 1 tablespoon granulated sugar – adds a touch of sweetness to the crust itself
- 1 teaspoon salt – balances the sweetness and sharpens the lemon flavor
- 1 cup cold unsalted butter, cubed – the colder it stays, the flakier your crust turns out
- 2 tablespoons vodka – keeps the dough tender since alcohol doesn’t develop gluten like water does
- 4–6 tablespoons ice water – added a little at a time until the dough just comes together
- 1 cup lemon curd (homemade or store-bought) – the tangy, silky heart of every pop tart
- 2 large egg yolks, beaten – brushed on the edges to seal and on top for a golden shine
- 1 1/2 cups powdered sugar – whisked into a smooth, sweet glaze
- 1 1/4 tablespoons lemon zest – boosts the citrus punch in the glaze
- 1/4 cup fresh lemon juice – adds tang and thins the glaze to the right consistency
Note: This recipe makes about 8 pop tarts and serves 8.
Equipment You Need
- Food processor – quickly cuts cold butter into the flour without overworking the dough
- Rolling pin – rolls the chilled dough into an even, thin sheet
- Pizza cutter or sharp knife – makes clean, straight-edged rectangles for the pop tarts
- Baking sheet – holds the pop tarts while they bake to golden perfection
- Parchment paper – keeps the pastry from sticking and makes cleanup easy
- Pastry brush – spreads the egg wash evenly along the edges so they seal shut
- Fork – crimps the edges and vents the tops so steam can escape
- Wire cooling rack – lets air circulate so the bottoms don’t turn soggy
How to Make Easy Lemon Pop Tart Recipe?
Making these lemon pop tarts is really just a matter of building good pastry, filling it generously, and letting the oven do the rest. I break the process down into small steps so nothing feels rushed or overwhelming. Once you’ve made the dough once, the rest comes together quickly.
Make the Pastry Dough
Add the flour, sugar, and salt to a food processor and pulse a few times to combine. Scatter in the cold, cubed butter and pulse in short bursts until the mixture looks like coarse crumbs. Keeping the butter cold here is the secret to a flaky, layered crust.
Bring the Dough Together
Drizzle in the vodka and pulse two or three times, then add the ice water a tablespoon at a time until the dough just clumps together when pressed. Don’t overwork it, or the crust will turn tough instead of tender and flaky.
Chill the Dough
Divide the dough into two discs, wrap them in plastic, and refrigerate for at least an hour. This resting time relaxes the gluten and firms up the butter, which is what gives you those beautiful, flaky layers once baked.
Roll and Cut the Rectangles
On a lightly floured surface, roll each disc out to about 1/8-inch thickness. Use a pizza cutter to slice even 3×4-inch rectangles, aiming for an even number so every bottom piece has a matching top.
Fill the Pop Tarts
Lay half the rectangles on your parchment-lined baking sheet and brush the edges with beaten egg yolk. Spoon about 2 tablespoons of lemon curd into the center of each, leaving a clean half-inch border all around so nothing leaks out.
Seal and Vent
Top each filled rectangle with a second piece of dough and press the edges firmly, then crimp with a fork to lock in the filling. Poke a few small vent holes on top so steam can escape without cracking the crust open.
Bake to Golden Perfection
Brush the tops with the remaining egg wash and bake at 375°F for 22 to 25 minutes, until the pastry is deeply golden and the edges are crisp. Let the pop tarts cool completely on a wire rack before glazing.
Make and Add the Lemon Glaze
Whisk together the powdered sugar and lemon zest, then add the lemon juice a little at a time until you get a thick but pourable glaze. Drizzle it generously over the cooled pop tarts and let it set for about 15 minutes before serving.
Additional Tips for Making This Recipe Better
I’ve made this recipe enough times to pick up a few tricks that really make a difference.
- I always keep my butter in the freezer for 10 minutes before I start, since colder butter gives me flakier layers every time.
- I like chilling the filled, unbaked pop tarts on the sheet for 15 minutes before baking, because it helps them hold their shape in the oven.
- I never skip the vent holes, since I once forgot and ended up with a curd volcano in my oven.
- I use a small offset spatula to spread my glaze evenly instead of just pouring it, which gives a much neater finish.
- I keep a bit of extra flour nearby for rerolling scraps, since I always end up with a few uneven edges the first time around.
Common Mistakes to Avoid
- I once let my butter get too warm, and the crust baked up dense instead of flaky, so now I always work fast and keep everything chilled.
- I’ve overfilled a few pop tarts in my early attempts, and the curd bubbled out and burned onto the pan, so I stick to about 2 tablespoons per tart now.
- I used to skip chilling the dough to save time, but the pastry shrank and turned tough, so that step is non-negotiable for me now.
- I forgot to crimp the edges firmly once, and the filling leaked out completely, so I always double-check the seal with a fork before baking.
- I glazed my pop tarts while they were still warm the first time, and the glaze just melted right off, so I wait until they’re fully cool now.
How to Serve Easy Lemon Pop Tart Recipe?
I love setting these out on a simple white platter with a light dusting of extra lemon zest on top for color and aroma. They’re wonderful with a cup of coffee or tea for breakfast, but they also make a lovely afternoon treat alongside fresh berries.
For gatherings, I sometimes drizzle a little extra glaze in a zigzag pattern right before serving so they look bakery-fresh. If you’re building out a bigger spread of homemade treats, my chocolate chip cake recipe at chocolate chip cake pairs nicely on the same dessert table for anyone craving something a little more chocolatey.
Variations
- Swap the lemon curd for raspberry or blueberry jam if you want a fruitier, less tart filling.
- Use a cream cheese and lemon zest filling instead of curd for a richer, tangier bite.
- Make a dairy-free version by using a plant-based butter substitute in the crust.
- Add poppy seeds to the dough or glaze for a subtle crunch and classic lemon-poppy seed flavor.
- Skip the glaze and dust with plain powdered sugar for a lighter, less sweet finish.
- Try a hand pie style filling swap using the same technique as my apple pie poppers recipe if you want a warm, spiced fruit version instead of citrus.
Nutritional Information
Here’s a general breakdown per pop tart, based on this recipe making 8 servings.
- Calories: About 478 kcal
- Protein: About 5 grams
- Carbohydrates: About 60 grams
- Fat: About 23 grams
Make Ahead and Storage
You can prepare the pastry dough up to two days ahead and keep it wrapped tightly in the refrigerator until you’re ready to roll and fill it. Baked, unglazed pop tarts also freeze well if you want to prep a batch in advance for busy mornings.
Store any leftover glazed pop tarts in an airtight container at room temperature for up to two days, or in the refrigerator for up to five days. Keep them in a single layer, or separate layers with parchment paper so the glaze doesn’t stick.
To reheat, pop them in a toaster oven or regular oven at 300°F for about 5 minutes until warmed through and slightly crisp again. Avoid the microwave, since it tends to make the crust soft instead of flaky.
For longer storage, freeze the unglazed baked pop tarts in a freezer bag for up to two months. Reheat them straight from frozen in the oven, then glaze once they’ve cooled slightly.
Why You’ll Love This Recipe
This lemon pop tart recipe has earned a permanent spot in my baking rotation, and here’s why I think you’ll feel the same way.
- Easy to prepare: The dough comes together quickly in a food processor, so there’s no complicated technique standing between you and a flaky crust.
- Better than store-bought: Real lemon curd and fresh zest give these a bright, homemade flavor that boxed pop tarts simply can’t match.
- Freezer-friendly: You can make a big batch and freeze extras, so a fresh-tasting breakfast is always just a quick reheat away.
- Easy to customize: The base recipe works beautifully with other fillings, so you can switch things up depending on what you’re craving.
- Fun to make with kids: Cutting rectangles and crimping edges is a simple, hands-on task that’s great for involving little ones in the kitchen.
FAQs
Can I use store-bought pie crust for this recipe?
Yes, store-bought pie crust works well if you’re short on time, though the texture will be slightly less flaky than homemade dough.
Why did my lemon pop tarts leak filling while baking?
This usually happens when the edges aren’t sealed tightly enough or there’s too much filling, so use about 2 tablespoons per tart and crimp firmly with a fork.
Can I make these lemon pop tarts ahead of time?
Absolutely, you can bake them a day ahead and store them unglazed, then add the glaze right before serving for the freshest look and taste.
What’s the difference between lemon curd and lemon cream pie filling?
Lemon curd is thicker, tangier, and egg-based, while lemon cream pie filling is usually softer and milder, so either works but curd gives a bolder citrus flavor.
Can I freeze these pop tarts after baking?
Yes, freeze the baked, unglazed pop tarts in a sealed bag for up to two months, then reheat in the oven and glaze once they’ve cooled slightly.

Easy Lemon Pop Tart Recipe
Ingredients
Method
- Add the flour, sugar, and salt to a food processor and pulse a few times to combine. Scatter in the cold, cubed butter and pulse in short bursts until the mixture looks like coarse crumbs. Keeping the butter cold here is the secret to a flaky, layered crust.
- Drizzle in the vodka and pulse two or three times, then add the ice water a tablespoon at a time until the dough just clumps together when pressed. Don’t overwork it, or the crust will turn tough instead of tender and flaky.
- Divide the dough into two discs, wrap them in plastic, and refrigerate for at least an hour.
- On a lightly floured surface, roll each disc out to about 1/8-inch thickness. Use a pizza cutter to slice even 3×4-inch rectangles, aiming for an even number so every bottom piece has a matching top.
- Lay half the rectangles on your parchment-lined baking sheet and brush the edges with beaten egg yolk. Spoon about 2 tablespoons of lemon curd into the center of each, leaving a clean half-inch border all around so nothing leaks out.
- Top each filled rectangle with a second piece of dough and press the edges firmly, then crimp with a fork to lock in the filling. Poke a few small vent holes on top so steam can escape without cracking the crust open.
- Brush the tops with the remaining egg wash and bake at 375°F for 22 to 25 minutes, until the pastry is deeply golden and the edges are crisp. Let the pop tarts cool completely on a wire rack before glazing.
- Whisk together the powdered sugar and lemon zest, then add the lemon juice a little at a time until you get a thick but pourable glaze. Drizzle it generously over the cooled pop tarts and let it set for about 15 minutes before serving.
Notes
- I always keep my butter in the freezer for 10 minutes before I start, since colder butter gives me flakier layers every time.
- I like chilling the filled, unbaked pop tarts on the sheet for 15 minutes before baking, because it helps them hold their shape in the oven.
- I never skip the vent holes, since I once forgot and ended up with a curd volcano in my oven.
- I use a small offset spatula to spread my glaze evenly instead of just pouring it, which gives a much neater finish.
- I keep a bit of extra flour nearby for rerolling scraps, since I always end up with a few uneven edges the first time around.