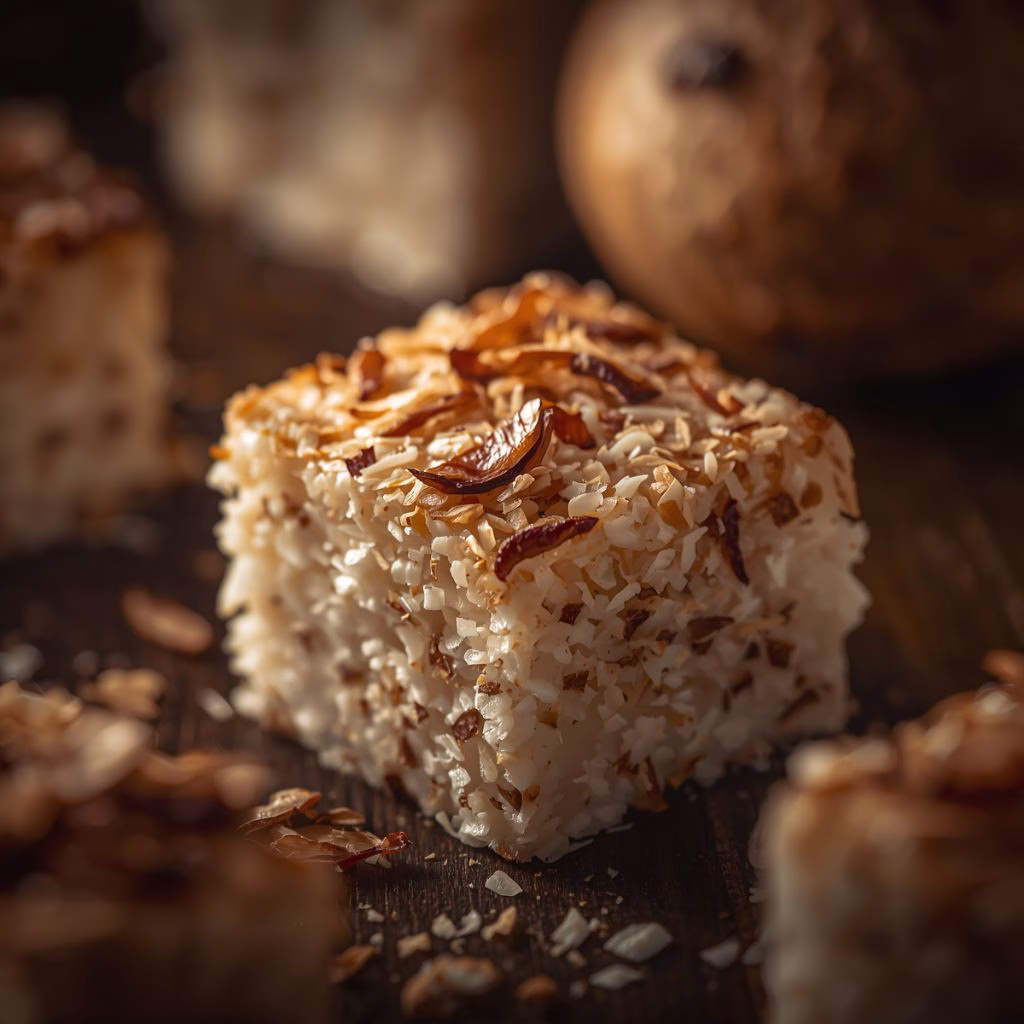
I recently made this Haupia Coconut Squares with Toasted Coconut Recipe, and I honestly couldn’t stop sneaking bites straight from the fridge. The texture turned out perfectly smooth, creamy, and lightly firm with a rich coconut flavor in every bite. I love how this Hawaiian-inspired dessert uses only a few simple ingredients yet tastes incredibly special.
The toasted coconut coating adds the perfect crunch and nutty aroma that makes the squares even more irresistible. If you enjoy easy tropical desserts like Grilled Lime Salmon with Avocado Mango Salsa and Coconut Rice, this recipe is definitely worth trying.

Ingredients
These simple pantry ingredients come together to create a rich and silky coconut dessert.
- 1 can (14 oz) full-fat canned coconut milk – Use canned coconut milk instead of refrigerated coconut beverages because it creates a creamier and richer texture.
- ½ cup cornstarch – This helps the haupia set properly and gives it the traditional soft yet sliceable texture.
- ½ cup water – Used to dissolve the cornstarch smoothly so no lumps form during cooking.
- ¼ cup granulated sugar – Adds light sweetness without overpowering the coconut flavor.
- ½ cup toasted shredded coconut – Optional, but highly recommended for extra crunch and deep roasted coconut flavor.
- Small pinch of salt – Enhances the sweetness and balances the creamy coconut taste.
Note: This recipe makes around 12 small haupia coconut squares, perfect for sharing at parties or family gatherings.
Variations
You can easily customize these coconut squares based on your preferences.
- Use monk fruit sweetener or stevia for a lower-sugar version.
- Add a splash of vanilla extract for a softer dessert flavor.
- Mix in finely chopped toasted almonds for extra crunch.
- Replace toasted coconut with crushed macadamia nuts for a Hawaiian-inspired twist.
- Add a thin layer of melted dark chocolate on top for a chocolate coconut dessert.
- Stir in pandan extract for a beautiful green color and floral flavor.
- Use coconut cream instead of coconut milk if you prefer an even richer texture.
Cooking Time
This dessert is simple to prepare and mostly requires chilling time.
- Prep Time: 10 minutes
- Cooking Time: 15 minutes
- Chilling Time: 4–5 hours
- Total Time: About 5 hours 25 minutes
Equipment You Need
These kitchen tools help make the recipe smooth and easy.
- Medium saucepan – Used for heating and thickening the coconut mixture evenly.
- Whisk – Helps combine the cornstarch slurry without lumps.
- Rubber spatula or wooden spoon – Useful for stirring the pudding continuously.
- Measuring cups – Ensures accurate ingredient measurements.
- Square baking dish or container – Helps shape the haupia into neat squares.
- Knife – Used for slicing the chilled pudding cleanly.
- Small skillet – Perfect for toasting shredded coconut until golden brown.
How to Make Haupia Coconut Squares with Toasted Coconut?
Making these coconut squares is easier than it looks. The process is straightforward, and the results are creamy, refreshing, and beautifully sliceable. Follow these simple steps carefully for the best texture and flavor.
Prepare the Coconut Base
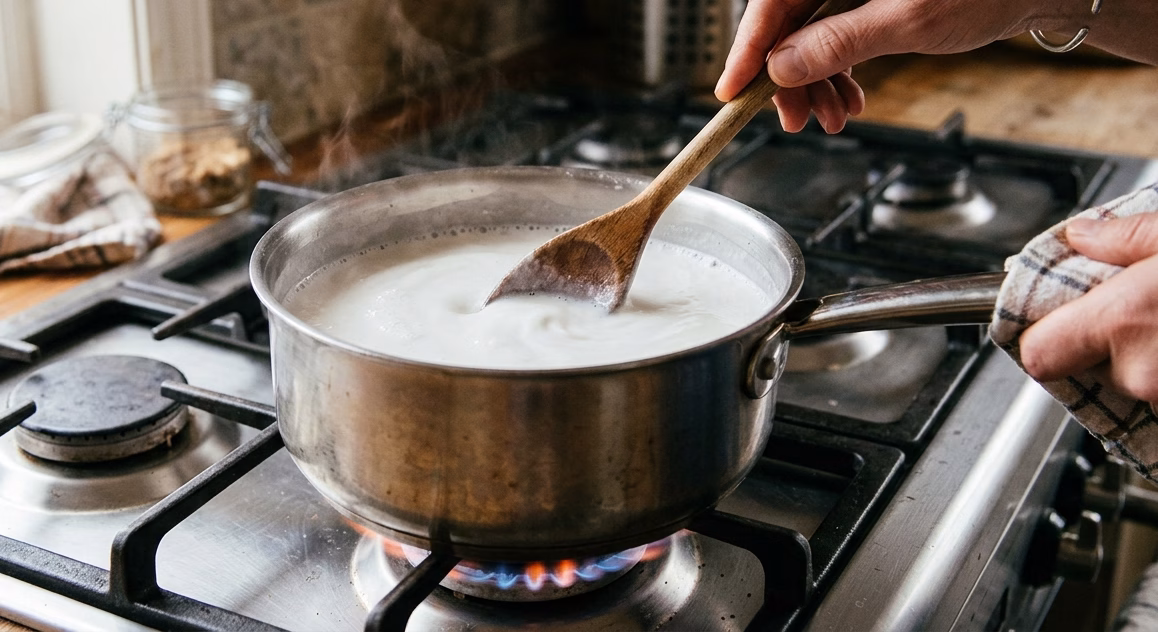
Pour the coconut milk into a medium saucepan and place it over medium heat. Stir it frequently so the coconut milk heats evenly and does not scorch at the bottom. Allow it to reach a gentle simmer but avoid boiling it aggressively.
Mix the Cornstarch Slurry
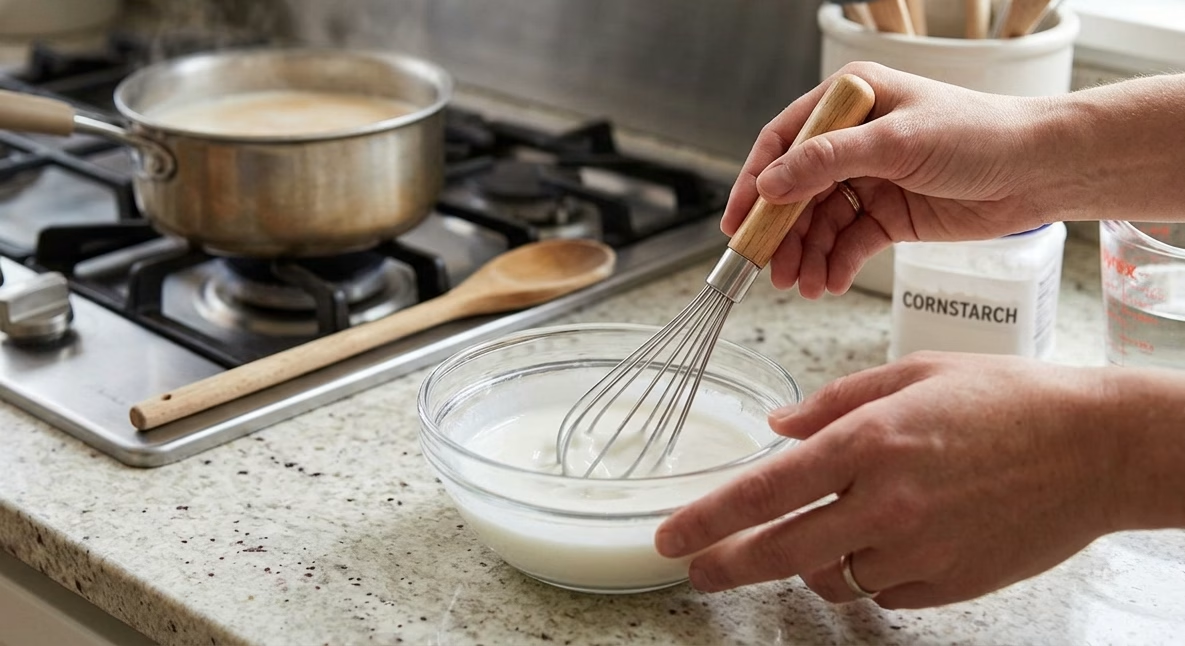
In a separate bowl, whisk together the cornstarch and water until completely smooth. This step is important because dry cornstarch added directly into hot liquid can form lumps. A smooth slurry guarantees a silky pudding texture.
Sweeten the Mixture
Add the sugar and pinch of salt to the warm coconut milk. Stir continuously while slowly pouring in the cornstarch slurry. Keep whisking so the ingredients blend evenly and begin thickening properly.
Cook Until Thickened
Continue stirring over medium heat as the mixture thickens quickly. After several minutes, it will become glossy and thick like soft pudding. Once it reaches a glue-like consistency, remove it from the heat immediately.
Cool the Mixture Slightly
Let the thickened coconut mixture cool for about 5 minutes while stirring occasionally. This prevents a skin from forming on the top and helps create a smoother final texture. The mixture should still remain pourable.
Transfer to the Pan
Pour the haupia mixture into a lightly greased square dish or container. Use a spatula to smooth the top evenly so the finished squares look neat and professional. Tap the container gently on the counter to remove air bubbles.
Chill Until Firm
Allow the dish to cool at room temperature for about one hour before covering it. Transfer it to the refrigerator and chill for at least four hours. The pudding will firm up enough to slice into clean squares.
Toast the Coconut
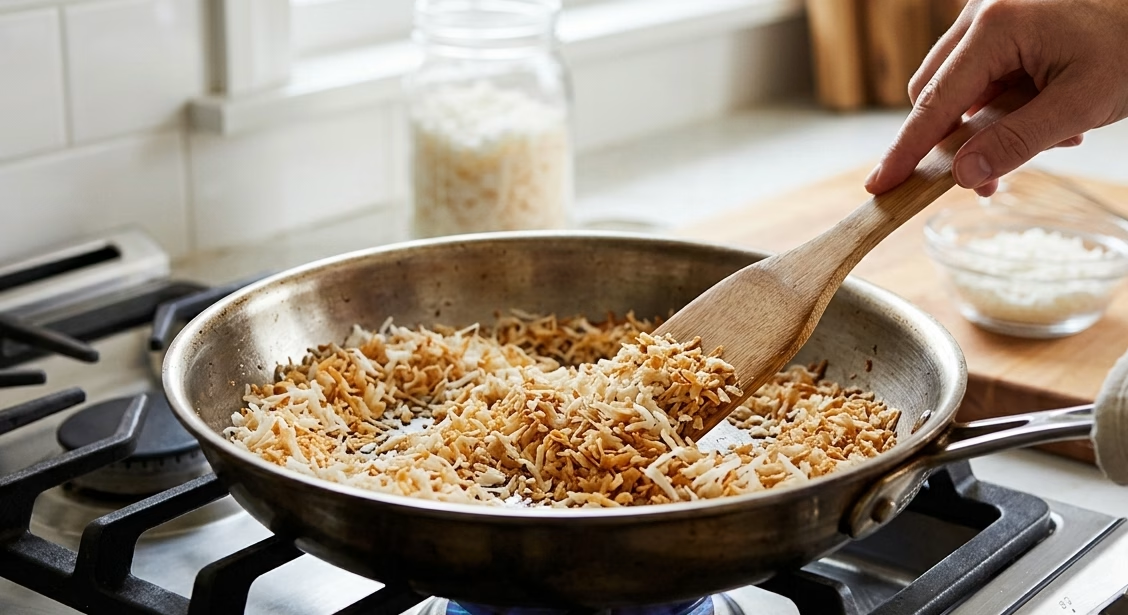
While the haupia chills, place shredded coconut in a dry skillet over medium-low heat. Stir frequently until the coconut becomes golden brown and fragrant. Let it cool completely before using.
Slice and Coat
Once chilled, cut the haupia into even squares using a sharp knife. Roll or sprinkle the toasted coconut over each piece for added flavor and texture. Serve cold for the most refreshing experience alongside tropical-inspired meals like Gourmet Salmon Dinner Plate with Roasted Potatoes Asparagus Recipe.
Additional Tips for Making this Recipe Better
These little tricks helped me get the perfect creamy texture every time.
- I always use full-fat canned coconut milk because it creates a much richer and silkier pudding.
- I learned that constant stirring prevents the mixture from turning lumpy or sticking to the pan.
- I like chilling the haupia overnight because the texture becomes firmer and easier to slice neatly.
- I personally toast extra coconut because the crunchy topping disappears very quickly.
- I found that lightly greasing the pan makes removing the squares much easier.
- I use a sharp knife dipped in warm water for cleaner cuts.
How to Serve Haupia Coconut Squares with Toasted Coconut?
These chilled coconut squares look beautiful with simple garnishes and tropical presentation ideas.
Serve the squares cold on a chilled dessert plate with extra toasted coconut sprinkled around the edges. Fresh pineapple slices, mango cubes, or berries pair wonderfully with the creamy coconut flavor. For parties, I like arranging them on banana leaves for a tropical Hawaiian-inspired display. You can also drizzle a little chocolate sauce or caramel on top for a more indulgent dessert presentation.

Nutritional Information
These values are approximate for one serving.
- Calories: About 99 kcal
- Protein: 1 g
- Carbohydrates: 9 g
- Fat: 7 g
Make Ahead and Storage
Storing in the Refrigerator
Store the haupia squares in an airtight container in the refrigerator for up to 2 days. Keep them chilled because coconut milk desserts soften quickly at room temperature. The flavor actually becomes even better after a few hours of chilling.
Freezing Instructions
Freezing is not recommended for this dessert because the texture changes after thawing. The pudding may become watery or grainy once defrosted. Freshly chilled haupia always tastes the best.
Reheating Information
This dessert is traditionally served cold, so reheating is unnecessary. If the squares become too firm in the refrigerator, simply let them sit at room temperature for a few minutes before serving.
Why You’ll Love This Recipe?
This tropical dessert is simple, refreshing, and surprisingly satisfying.
- Easy to Make
I love that this recipe uses only a few ingredients and simple cooking steps. Even beginners can make it successfully without special baking skills. - Naturally Dairy-Free and Gluten-Free
These coconut squares are naturally free from dairy and gluten, making them a great dessert option for different dietary needs. - Rich Coconut Flavor
The coconut flavor shines beautifully in every bite because the recipe relies on full-fat coconut milk instead of heavy cream or dairy. - Perfect Make-Ahead Dessert
I enjoy making this dessert ahead of time because it chills beautifully in the fridge and is ready whenever guests arrive. - Light Yet Satisfying
The texture feels creamy and indulgent without being too heavy. It’s refreshing, cool, and perfect for warm weather desserts.
Haupia Coconut Squares with Toasted Coconut Recipe
Ingredients
Method
- Pour the coconut milk into a medium saucepan and place it over medium heat. Stir it frequently so the coconut milk heats evenly and does not scorch at the bottom. Allow it to reach a gentle simmer but avoid boiling it aggressively.
- In a separate bowl, whisk together the cornstarch and water until completely smooth. This step is important because dry cornstarch added directly into hot liquid can form lumps. A smooth slurry guarantees a silky pudding texture.
- Add the sugar and pinch of salt to the warm coconut milk. Stir continuously while slowly pouring in the cornstarch slurry. Keep whisking so the ingredients blend evenly and begin thickening properly.
- Continue stirring over medium heat as the mixture thickens quickly. After several minutes, it will become glossy and thick like soft pudding. Once it reaches a glue-like consistency, remove it from the heat immediately.
- Let the thickened coconut mixture cool for about 5 minutes while stirring occasionally. This prevents a skin from forming on the top and helps create a smoother final texture. The mixture should still remain pourable.
- Pour the haupia mixture into a lightly greased square dish or container. Use a spatula to smooth the top evenly so the finished squares look neat and professional. Tap the container gently on the counter to remove air bubbles.
- Allow the dish to cool at room temperature for about one hour before covering it. Transfer it to the refrigerator and chill for at least four hours. The pudding will firm up enough to slice into clean squares.
- While the haupia chills, place shredded coconut in a dry skillet over medium-low heat. Stir frequently until the coconut becomes golden brown and fragrant. Let it cool completely before using.
- Once chilled, cut the haupia into even squares using a sharp knife. Roll or sprinkle the toasted coconut over each piece for added flavor and texture. Serve cold for the most refreshing experience.
Notes
- I always use full-fat canned coconut milk because it creates a much richer and silkier pudding.
- I learned that constant stirring prevents the mixture from turning lumpy or sticking to the pan.
- I like chilling the haupia overnight because the texture becomes firmer and easier to slice neatly.
- I personally toast extra coconut because the crunchy topping disappears very quickly.
- I found that lightly greasing the pan makes removing the squares much easier.
- I use a sharp knife dipped in warm water for cleaner cuts.