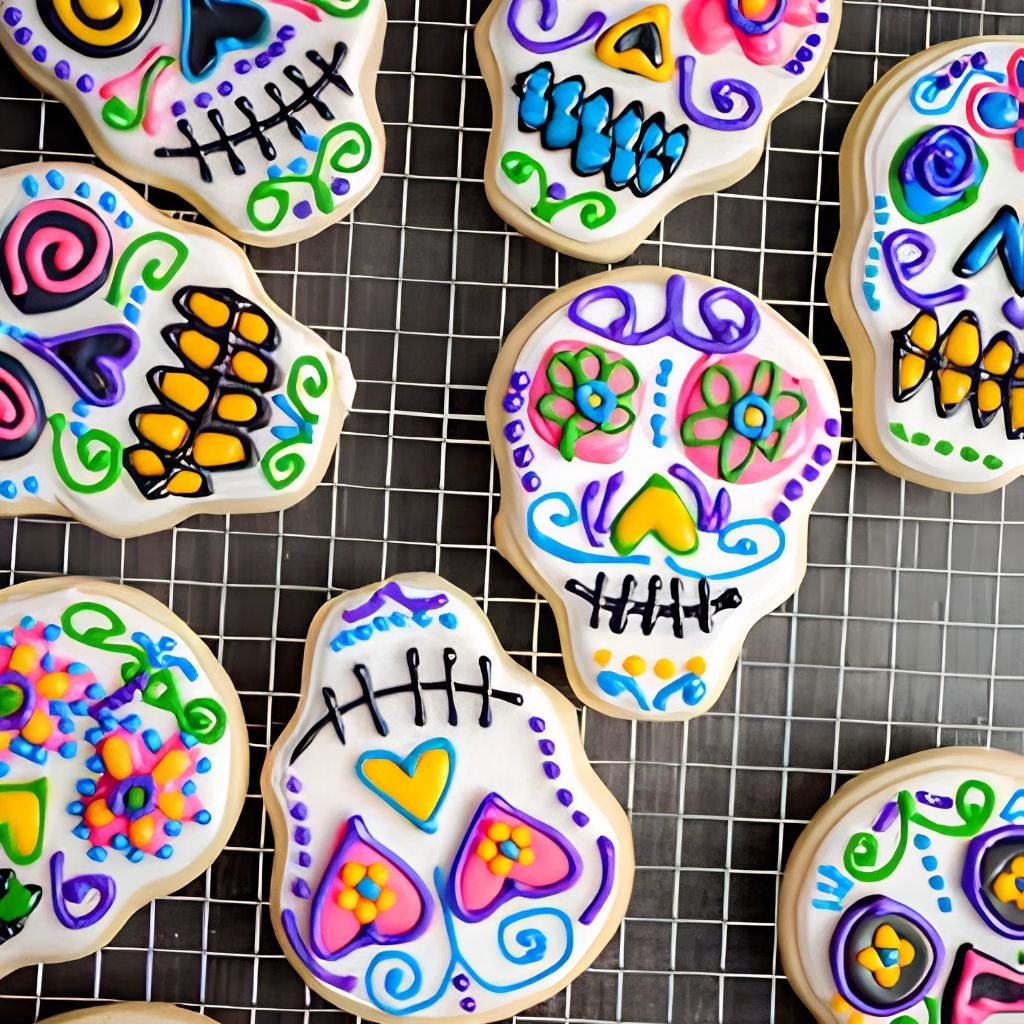
I started making Sugar Skull Cookies Recipe a few years ago when I wanted a Day of the Dead treat that felt personal instead of store-bought. I remember being intimidated the first time, thinking I’d need fancy piping skills to pull it off, but I quickly realized that isn’t true at all.
Once I got my basic sugar cookie dough down and figured out a simple way to decorate, these became one of my favorite fall bakes. I love that my kids can help with the decorating part too, since it turns into a fun little art project in the kitchen. If you’ve been eyeing a skull cookie cutter and wondering where to start, this is exactly the recipe I wish I’d had on day one.

Cooking Time
- Prep Time: 10 minutes
- Cooking Time: 10 minutes
- Total Time: 40 minutes (includes chilling and cooling)
Ingredients
- 2 ½ cups all-purpose flour — the base of your dough, spoon it into your measuring cup instead of scooping to avoid packing it too tight
- 1 teaspoon baking soda — helps the cookies hold a slight lift without puffing up and losing their shape
- 1 teaspoon cream of tartar — gives the dough that classic tender, slightly chewy sugar cookie texture
- 1 cup unsalted butter, softened — creaming it properly is what makes the dough light instead of dense
- 1 cup granulated sugar — sweetens the dough and helps create that soft, golden edge once baked
- 1 large egg, room temperature — binds everything together and keeps the dough from crumbling apart
- 1 teaspoon vanilla extract — a simple flavor boost that rounds out the sweetness
- 1 teaspoon almond extract — this is the ingredient that really makes these taste like something special
- 4 egg whites (for the icing) — whipped up, these form the base of a smooth, pipeable royal icing
- 2 cups powdered sugar (for the icing) — thickens the icing and gives it that glossy, hardened finish once dry
- ½ teaspoon cream of tartar (for the icing) — stabilizes the egg whites so your icing holds stiff peaks
- Food coloring in black, red, pink, yellow, blue, green, and orange — used to paint the traditional sugar skull design
Note: this recipe serves several, making around 24 to 30 medium skull cookies depending on your cutter size.
Equipment You Need
- Skull cookie cutter — shapes your dough into the classic sugar skull silhouette
- Rolling pin — flattens the dough to an even thickness before cutting
- Stand mixer or hand mixer — creams the butter and sugar, then whips the icing to stiff peaks
- Mixing bowls — one for the dough and several small ones for dividing the colored icing
- Piping bags with small round tips — lets you outline and detail each cookie cleanly
- Baking sheets lined with parchment — keeps cookies from sticking and helps them bake evenly
- Wire cooling rack — lets air circulate so cookies cool fully before you start decorating

How to Make Sugar Skull Cookies Recipe?
This whole process breaks down into two parts: baking the cookies, then decorating them once they’ve cooled completely. Neither step is complicated, but giving your dough enough chill time makes a real difference in how well the shapes hold. Here’s exactly how I work through it every time.
Cream the Butter and Sugar
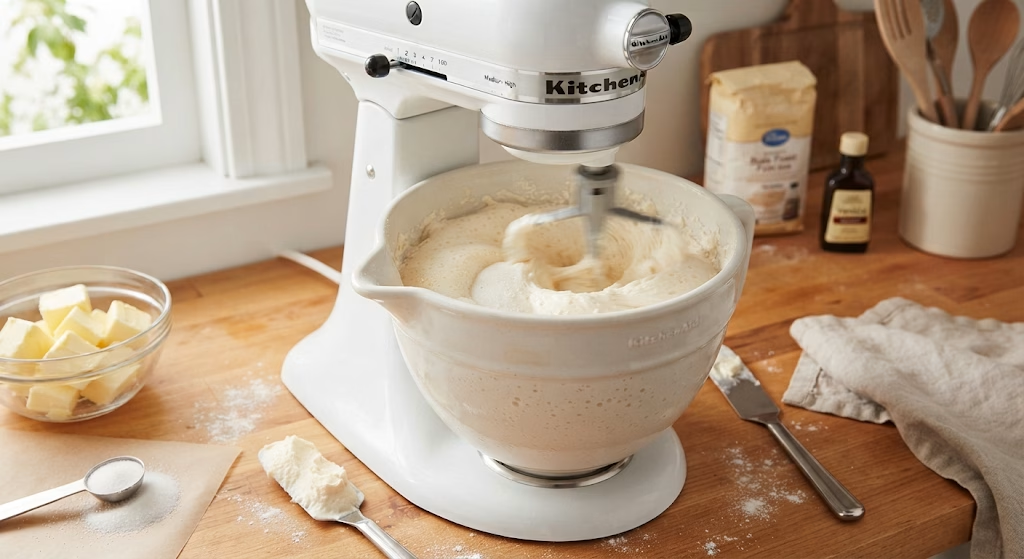
Add your softened butter and sugar to a mixing bowl and beat on medium-high speed for about two minutes. You’re looking for a pale, fluffy texture rather than anything grainy or separated. This step builds the airy structure your dough needs.
Add the Egg and Extracts
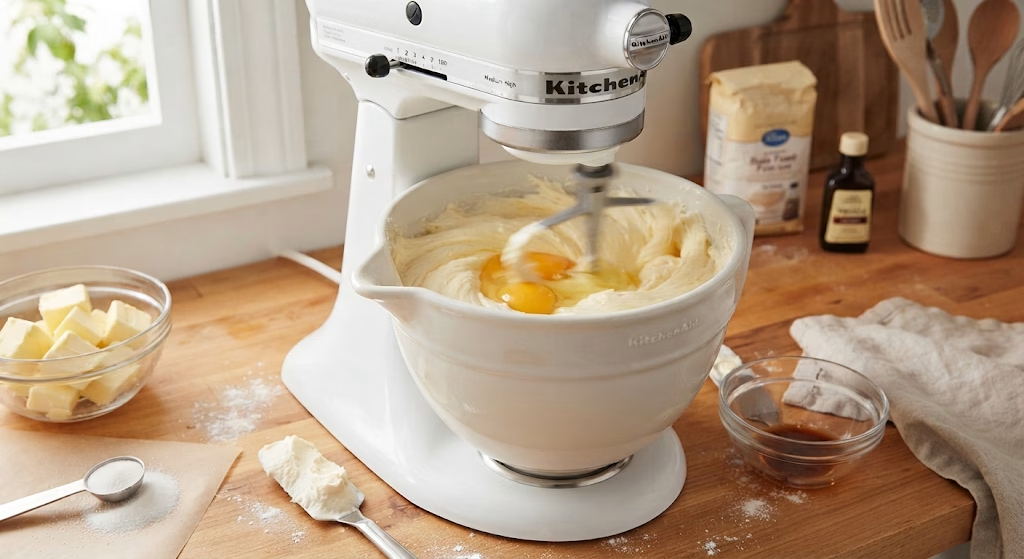
Crack in your egg along with the vanilla and almond extract, then mix until fully combined. The almond extract is subtle but noticeable, giving the dough a slightly more complex flavor than a typical sugar cookie.
Mix in the Dry Ingredients
Whisk together your flour, baking soda, and cream of tartar in a separate bowl first. Add this dry mixture into your wet ingredients gradually, stirring just until a smooth dough comes together without overmixing it.
Chill the Dough
Shape the dough into a ball, cover it, and refrigerate for about an hour. This step firms everything up so your cookies keep a crisp, clean skull shape once you cut and bake them.
Roll and Cut the Shapes
Once chilled, let the dough sit at room temperature for about ten minutes to soften slightly. Roll it out on a floured surface to about half an inch thick, then press your skull cutter firmly into the dough.
Bake Until Just Set
Arrange your cut cookies on a parchment-lined sheet with a little space between each one. Bake at 325°F for 8 to 10 minutes, watching for edges that are just barely golden rather than deeply browned.
Cool Completely Before Decorating
Let the cookies rest on the baking sheet for a minute before moving them to a wire rack. They need to be fully cool to the touch before any icing goes on, or your colors will run and blur together.
Additional Tips for Making This Recipe Better
I’ve baked more batches of these than I can count at this point, and a few things always make the process smoother for me.
- I always chill my dough for the full hour, since skipping it makes the dough too soft to hold clean skull edges.
- I like using a stencil taped over my cookies as a guide, it makes the decorating step so much less intimidating.
- I keep my icing slightly thicker than I think I need, since a runnier icing tends to bleed past the lines I’ve piped.
- I decorate one color at a time and let each layer dry a bit before adding the next, which keeps my designs crisp.
- I always make a double batch of dough, because these disappear fast once my family sees them on the counter.
Common Mistakes to Avoid
- I once skipped chilling the dough because I was short on time, and my skull shapes spread out and lost their detail in the oven.
- I overbaked a batch trying to get more color on the edges, and they turned out too hard instead of tender.
- I tried decorating cookies that weren’t fully cooled, and my icing slid right off the warm surface.
- I made my icing too thin the first time, thinking it would spread easier, but it just pooled over every line I piped.
- I rushed the drying time between icing colors once, and everything smeared together into a muddy mess.
How to Serve Sugar Skull Cookies?
I love arranging these on a tiered stand or a simple wooden board so all those bright colors really stand out. Grouping a few plain white ones next to the fully painted designs gives the display some visual contrast.
They work beautifully as part of a Día de Muertos altar, a Halloween dessert table, or a themed classroom treat, and they pair nicely alongside other festive Halloween bakes if you’re setting up a full spread, like a batch of grinning jack-o-lantern cookies. A light dusting of edible glitter or a few extra dots of color on the serving plate finishes the presentation without much extra effort.
Variations
- Use a white royal icing base if you’d rather skip the multicolor painting and still get a striking look
- Swap the almond extract for orange zest if you want a citrusy twist instead of a nutty note
- Try a dairy-free version by using a plant-based butter substitute in the dough
- Go sugar-free in the dough with a granulated sugar alternative if you’re watching your sugar intake
- Add a touch of cinnamon or cocoa powder to the dough for a spiced or chocolate variation on the classic skull cookie recipe
- Skip royal icing entirely and use edible markers to draw simple sugar skull designs by hand
Nutritional Information
Here’s a general breakdown per cookie, though this will shift slightly depending on your exact cutter size and icing amount.
- Calories: 177 kcal
- Protein: 2 g
- Carbohydrates: 28 g
- Fat: 6 g
Make Ahead and Storage
You can make the cookie dough up to two days ahead and keep it wrapped tightly in the fridge until you’re ready to roll and bake.
Store fully decorated cookies in a single layer in an airtight container at room temperature, where they’ll stay fresh for about a week.
For longer storage, freeze undecorated baked cookies in a sealed bag for up to one month, then thaw and decorate them closer to when you plan to serve them.
Why You’ll Love This Recipe?
These have become a fall tradition in my house, and here’s why I think they’re worth adding to yours too.
- They look far more impressive than they are difficult: With a simple stencil trick, even beginner decorators can create a design that looks professionally done.
- They’re a meaningful way to celebrate: Whether you’re honoring Día de Muertos or just love a good Halloween cookie cutter shape, these carry real cultural significance and heart.
- They’re a fun activity for kids: My daughter genuinely looks forward to helping paint each one, making this as much a memory as it is a dessert.
- They hold their shape beautifully: The dough is sturdy enough for cutouts, so your skull details stay crisp instead of spreading in the oven.
- They’re easy to customize: From color palettes to icing styles, you can make each batch completely your own.
FAQs
Can I use a store-bought sugar skull cookie cutter?
Yes, a store-bought skull cookie cutter works great here and gives you clean, consistent shapes every time you bake a batch.
Why did my cookies spread too much in the oven?
This usually happens when the dough wasn’t chilled long enough, so give it the full hour in the fridge before rolling and cutting.
Can I make these ahead of Día de los Muertos?
Absolutely, you can bake the plain cookies a few days early and decorate them the day before your celebration for the freshest look.
What if I don’t want to make royal icing from scratch?
You can use a store-bought decorating icing instead, though homemade royal icing tends to dry harder and hold detail better for intricate designs.
Can I freeze decorated sugar skull cookies?
It’s best to freeze them undecorated, since royal icing can crack or become sticky once thawed, so decorate fresh after freezing the plain baked cookies.
If you’re planning a bigger Halloween dessert table alongside these, they hold their own next to a batch of Halloween Rice Krispie treats for guests who want something a little gooier next to the decorated cookies.

Sugar Skull Cookies Recipe
Ingredients
Method
- Add your softened butter and sugar to a mixing bowl and beat on medium-high speed for about two minutes. You’re looking for a pale, fluffy texture rather than anything grainy or separated. This step builds the airy structure your dough needs.
- Crack in your egg along with the vanilla and almond extract, then mix until fully combined. The almond extract is subtle but noticeable, giving the dough a slightly more complex flavor than a typical sugar cookie.
- Whisk together your flour, baking soda, and cream of tartar in a separate bowl first. Add this dry mixture into your wet ingredients gradually, stirring just until a smooth dough comes together without overmixing it.
- Shape the dough into a ball, cover it, and refrigerate for about an hour. This step firms everything up so your cookies keep a crisp, clean skull shape once you cut and bake them.
- Once chilled, let the dough sit at room temperature for about ten minutes to soften slightly. Roll it out on a floured surface to about half an inch thick, then press your skull cutter firmly into the dough.
- Arrange your cut cookies on a parchment-lined sheet with a little space between each one. Bake at 325°F for 8 to 10 minutes, watching for edges that are just barely golden rather than deeply browned.
- Let the cookies rest on the baking sheet for a minute before moving them to a wire rack. They need to be fully cool to the touch before any icing goes on, or your colors will run and blur together.
Notes
- I always chill my dough for the full hour, since skipping it makes the dough too soft to hold clean skull edges.
- I like using a stencil taped over my cookies as a guide, it makes the decorating step so much less intimidating.
- I keep my icing slightly thicker than I think I need, since a runnier icing tends to bleed past the lines I’ve piped.
- I decorate one color at a time and let each layer dry a bit before adding the next, which keeps my designs crisp.
- I always make a double batch of dough, because these disappear fast once my family sees them on the counter.