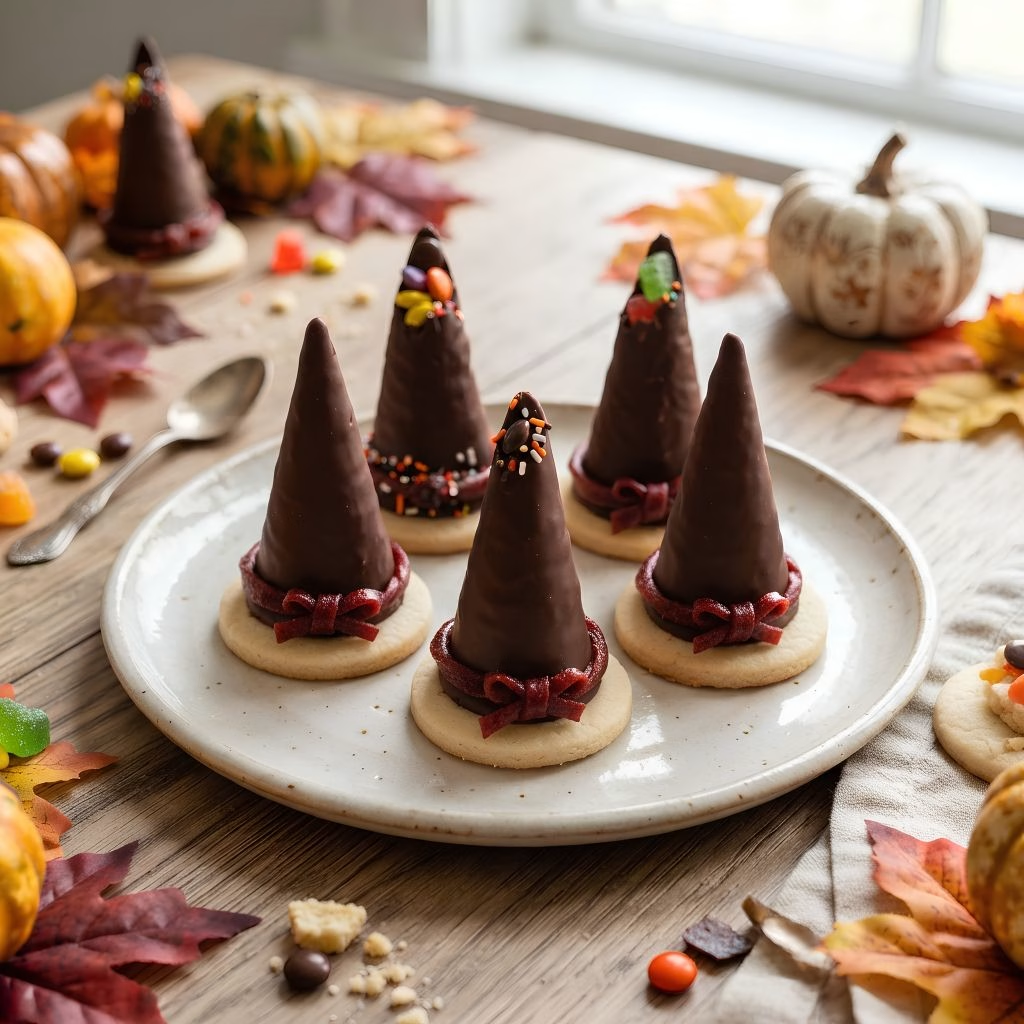
I started making this Witch Hat Ice Cream Cone Recipe for our neighborhood Halloween party a few years back, and I haven’t stopped since. There’s something about handing a kid a chocolate-dipped cone with a hidden treasure inside that makes their whole face light up.
I promise you don’t need any baking skills for this one, just a little patience while things set. If you’ve ever loved a witches hat ice cream cone from the UK or a novelty treat like screwball ice cream, this homemade version captures that same fun, hidden-surprise magic.
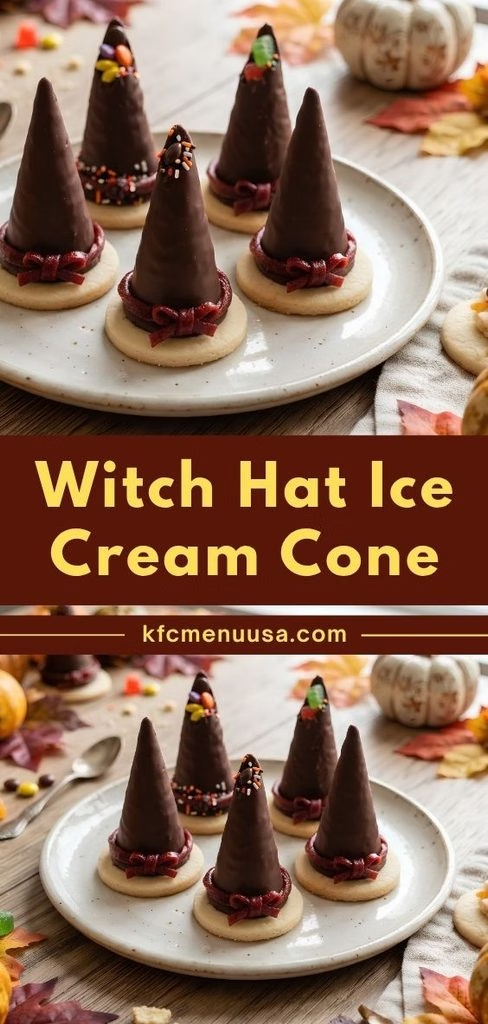
Cooking Time
- Prep Time: 45 minutes
- Cooking Time: 0 minutes (no oven needed)
- Total Time: 1 hour 30 minutes (includes setting time)
Ingredients
- 12 sugar cones — these form the pointed part of the hat, so avoid the flat-bottomed waffle bowls
- 12 ounces dark chocolate candy melts — melts smoothly and hardens quickly, which makes coating the cones much easier
- 12 chocolate cookies (round, flat ones work best) — these become the wide brim of each witch hat
- 4 orange fruit roll-ups — twisted into ropes, they form the colorful band where the cone meets the cookie
- Assorted Halloween candy for filling — candy corn, mini M&M’s, or gummy worms all work great tucked inside
Note: this recipe serves 12, making one witch hat per person.
Equipment You Need
- Microwave-safe bowl — for melting the candy melts smoothly and evenly
- Pastry brush or small spoon — used to coat the cones evenly in melted chocolate
- Wax paper — gives the cones and cookies a clean surface to set on without sticking
- Small offset spatula or butter knife — helps you smooth chocolate onto the cookie base
- Scissors — for cutting the fruit roll-ups into thin strips for the hat bands
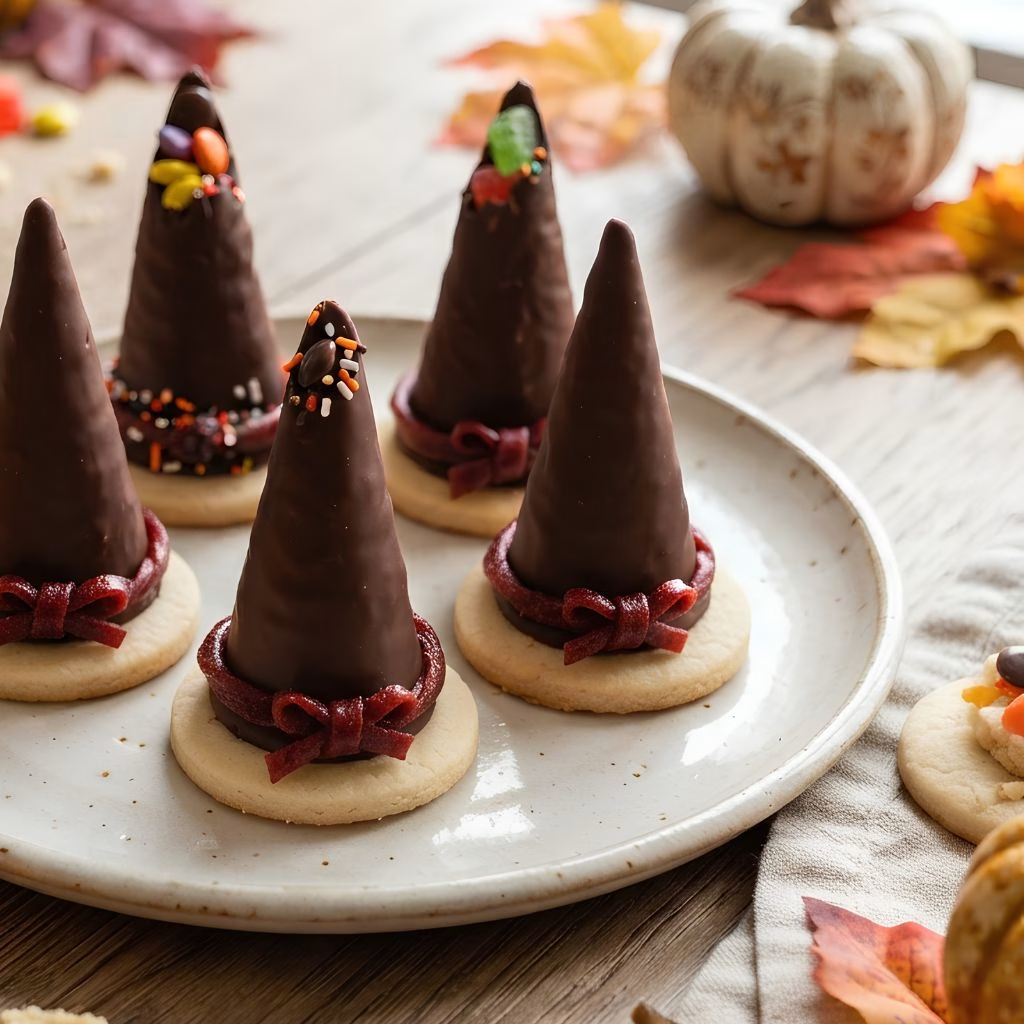
How to Make a Witch Hat Ice Cream Cone Recipe?
This recipe comes together in stages, and none of them require any actual cooking. It’s really more of an assembly project than a baking one, which makes it a fun activity to do with kids. Here’s exactly how I build mine from start to finish.
Melt and Coat the Cones
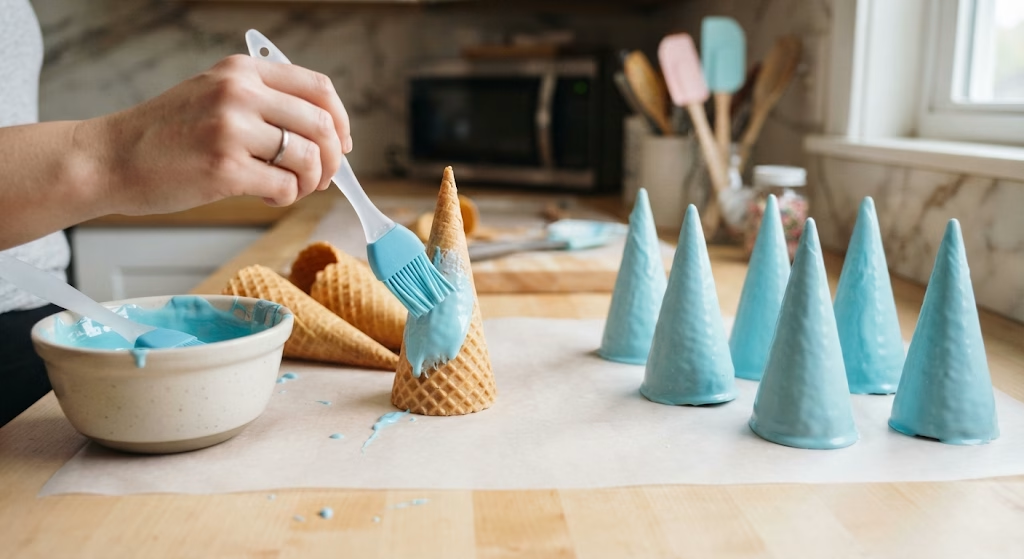
Start by microwaving your candy melts in short bursts, stirring in between, until they’re completely smooth. Use a pastry brush to paint each sugar cone in a thin, even layer, then stand them upright on wax paper to firm up.
Fill Each Cone with Candy
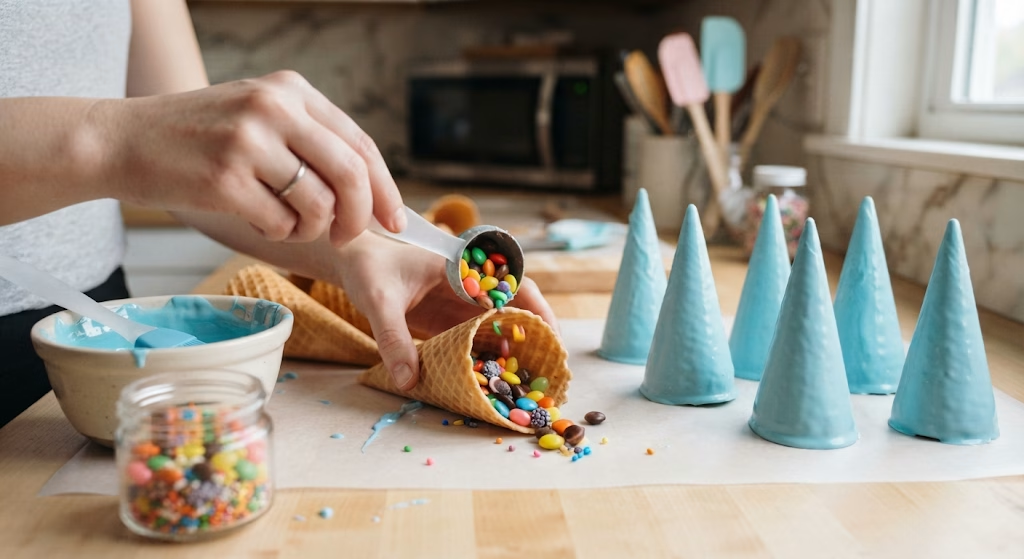
Once the coating on your cones has hardened, it’s time for the fun part. Fill each cone with your candy of choice, stopping just below the rim so nothing spills out once you flip it over.
Attach the Cookie Base
Paint a circle of melted chocolate onto one side of a cookie, then press the filled cone onto it so the cone sits right in the center. Carefully flip the whole thing over so it’s now sitting upright like a hat.
Let Everything Set
Repeat the filling and attaching process with the rest of your cones and cookies. Let them all sit undisturbed until the chocolate has fully hardened, which usually takes about 20 to 30 minutes.
Add the Hat Bands
Cut your fruit roll-ups into thin strips and gently twist each one into a rope. Wrap a rope around the base of each hat, right where the cone meets the cookie, then pinch the ends together at the back.
Additional Tips for Making This Recipe Better
I’ve made a lot of batches of these, and here’s what I’ve picked up along the way.
- I always coat my cones a day or two ahead of time, since it saves me a lot of stress on party day.
- I keep my fruit roll-ups in the freezer for a few minutes before unrolling them, which stops them from tearing.
- I like using candy melts instead of regular chocolate chips, since they set up faster and don’t need tempering.
- I dab a little extra melted chocolate at the base of any hat that feels wobbly, just to be safe.
- I always make a couple of extras, since one or two hats inevitably crack while I’m working.
Common Mistakes to Avoid
- I once rushed the chocolate coating and it dripped everywhere, so now I always let each layer set before moving to the next step.
- I overfilled a few cones the first time I made these, and the candy spilled out the moment I flipped them, so I stick to filling just below the rim now.
- I tried unrolling a fruit roll-up straight from the pantry once and it tore apart, so freezing it first really does make a difference.
- I skipped reinforcing wobbly hats early on, and a couple toppled over before the party even started.
- I stored a batch in a warm spot once, and the chocolate coating turned soft and melty within an hour.
How to Serve Witch Hat Ice Cream Cone Recipe?
I love setting these out on a black or orange platter so the hats really pop against the background. Scatter a few extra candy corn pieces or Mellowcreme pumpkins around the base for a festive touch.
They work beautifully as a centerpiece for a dessert table, and they’re just as fun tucked into a Halloween party favor bag for guests to take home. If you’re planning a full spread, these pair really nicely with a colorful bowl of Halloween party mix set out right alongside them.
Variations
- Swap the dark chocolate coating for white candy melts tinted with purple or green food coloring for a spookier look
- Use mini ice cream cones instead of full-sized ones for a bite-sized version that’s perfect for younger kids
- Fill the cones with mini marshmallows and chocolate chips instead of candy for a s’mores-inspired witch hat dessert
- Try black cocoa cookies as the base for an extra-dark, more dramatic hat brim
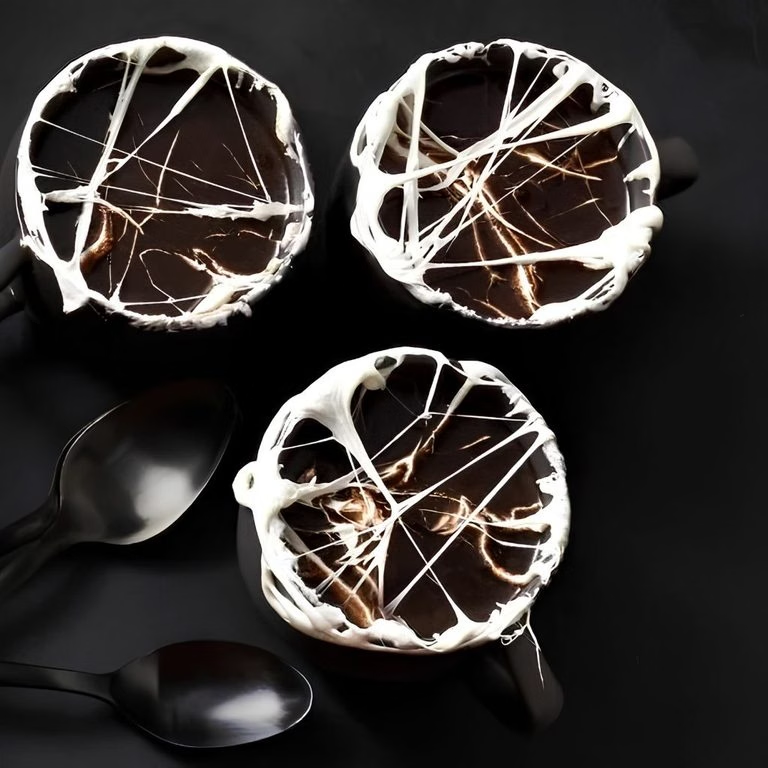
- Add a drizzle of white chocolate over the finished hats for a spiderweb effect
- For a grown-up twist, hide a few chocolate-covered espresso beans inside, similar to how oyster ice cream or popeye ice cream hides a little something extra inside its shell
Nutritional Information
Here’s a rough estimate per hat, though this will shift depending on the candy you use to fill each one.
- Calories: 290 kcal
- Protein: 3 g
- Carbohydrates: 40 g
- Fat: 14 g
Make Ahead and Storage
You can coat and harden your sugar cones up to two days in advance, then store them in a cool, dry spot until you’re ready to assemble.
Once fully assembled, keep the hats in a covered container in a cool room away from direct sunlight, since warm spots will soften the chocolate coating.
These witch hats stay fresh and hold their shape for about two days, so they’re best made the day before or the morning of your event.
Why You’ll Love This Recipe?
This has become one of my go-to Halloween projects, and here’s why I think you’ll want to add it to yours too.
- It’s a fun hands-on activity: Kids love painting the cones and picking out which candy goes inside each one.
- It’s endlessly customizable: From the candy filling to the coating color, this witch hat dessert adapts to whatever theme you’re going for.
- It requires no baking: Between melting chocolate and assembling pieces, there’s zero oven time involved.
- It’s a total showstopper: These look far more impressive than the short amount of hands-on effort they actually take.
- It works for any Halloween gathering: Whether it’s a classroom party or an adult get-together, these hats fit right in.
FAQs
Can I use regular chocolate chips instead of candy melts?
Yes, though chocolate chips take longer to harden and may need a bit of coconut oil stirred in to help them coat the cones smoothly.
What candy works best for filling the cones?
Small, lightweight candies like candy corn, mini M&M’s, or Mellowcreme pumpkins work best since they won’t weigh down or crack the cone.
Can I make a mini ice cream cones version for a crowd?
Absolutely, just use smaller cones and cookies, and you’ll get a cute, bite-sized version that’s perfect for a big Halloween spread.
How far in advance can I make these witch hats?
You can fully assemble them up to two days ahead, as long as you keep them stored in a cool spot away from heat and sunlight.
Why did my cone crack while I was filling it?
This usually happens if the chocolate coating is too thin, so try brushing on a slightly thicker layer next time for extra support.
If you’re rounding out a full Halloween dessert table, these witch hats look especially fun next to a batch of spider web cookies for a spread that covers every spooky craving.

Witch Hat Ice Cream Cone Recipe
Ingredients
Method
- Start by microwaving your candy melts in short bursts, stirring in between, until they’re completely smooth. Use a pastry brush to paint each sugar cone in a thin, even layer, then stand them upright on wax paper to firm up.
- Once the coating on your cones has hardened, it’s time for the fun part. Fill each cone with your candy of choice, stopping just below the rim so nothing spills out once you flip it over.
- Paint a circle of melted chocolate onto one side of a cookie, then press the filled cone onto it so the cone sits right in the center. Carefully flip the whole thing over so it’s now sitting upright like a hat.
- Repeat the filling and attaching process with the rest of your cones and cookies. Let them all sit undisturbed until the chocolate has fully hardened, which usually takes about 20 to 30 minutes.
- Cut your fruit roll-ups into thin strips and gently twist each one into a rope. Wrap a rope around the base of each hat, right where the cone meets the cookie, then pinch the ends together at the back.
Notes
- I always coat my cones a day or two ahead of time, since it saves me a lot of stress on party day.
- I keep my fruit roll-ups in the freezer for a few minutes before unrolling them, which stops them from tearing.
- I like using candy melts instead of regular chocolate chips, since they set up faster and don’t need tempering.
- I dab a little extra melted chocolate at the base of any hat that feels wobbly, just to be safe.
- I always make a couple of extras, since one or two hats inevitably crack while I’m working.